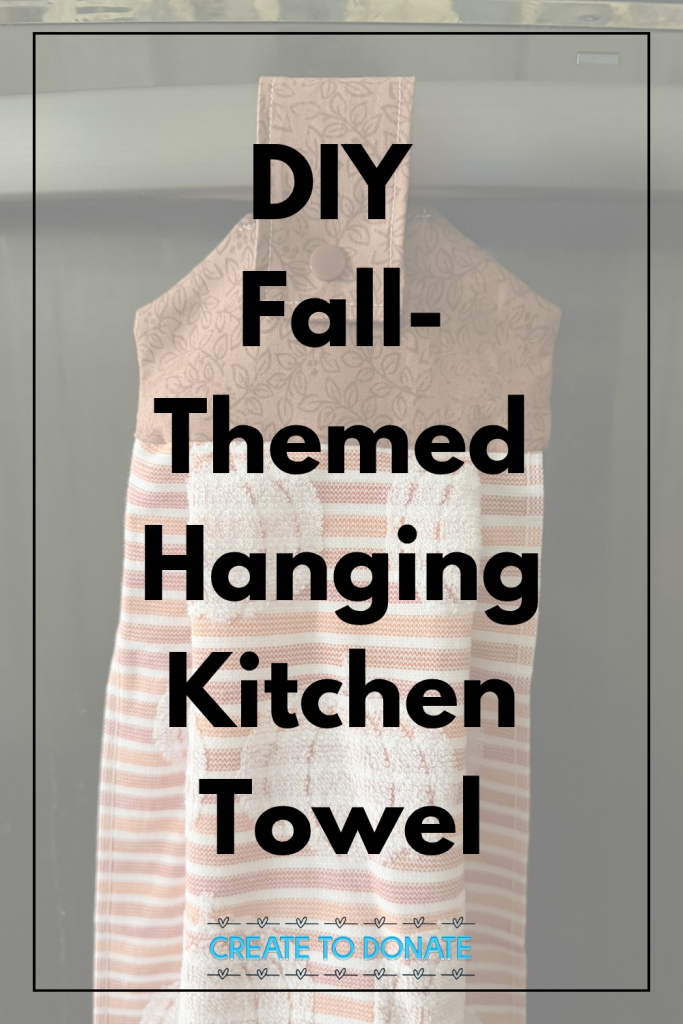
DIY Fall-Themed Hanging Dish Towel
If you like to change your kitchen decor to match the season then you’ll want to make a DIY fall-themed hanging dish towel.
Last winter, I did a tutorial on how to make hanging dish towel and then made a bunch as gifts, and even kept a couple for myself.
Not only has the feedback been great, but people almost immediately asked that I make them some extras so that they always have a hanging towel on hand.
I have to admit, though, I don’t love the way it bunches up and has to be flattened back out to look nice again.
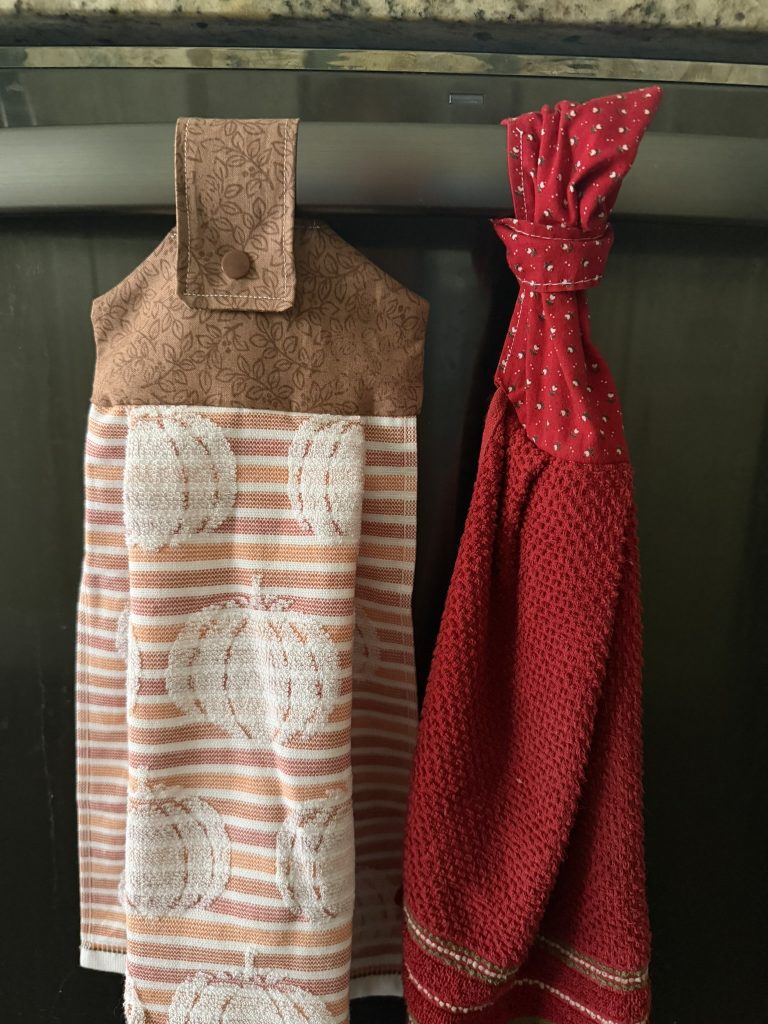
So I decided to try another approach that didn’t require any fancy hanging or folds.
This time I changed the shape of the fabric top and used a plastic snap instead.
What Type Of Towel Do I Need?
You can use almost any kind of towel for this tutorial, but terry cloth is usually your best bet.
Stores like Costco and Target often have a 4 or 8-pack of seasonal-themed towels so it can be very cost effective for home projects and for DIY holiday gifts.
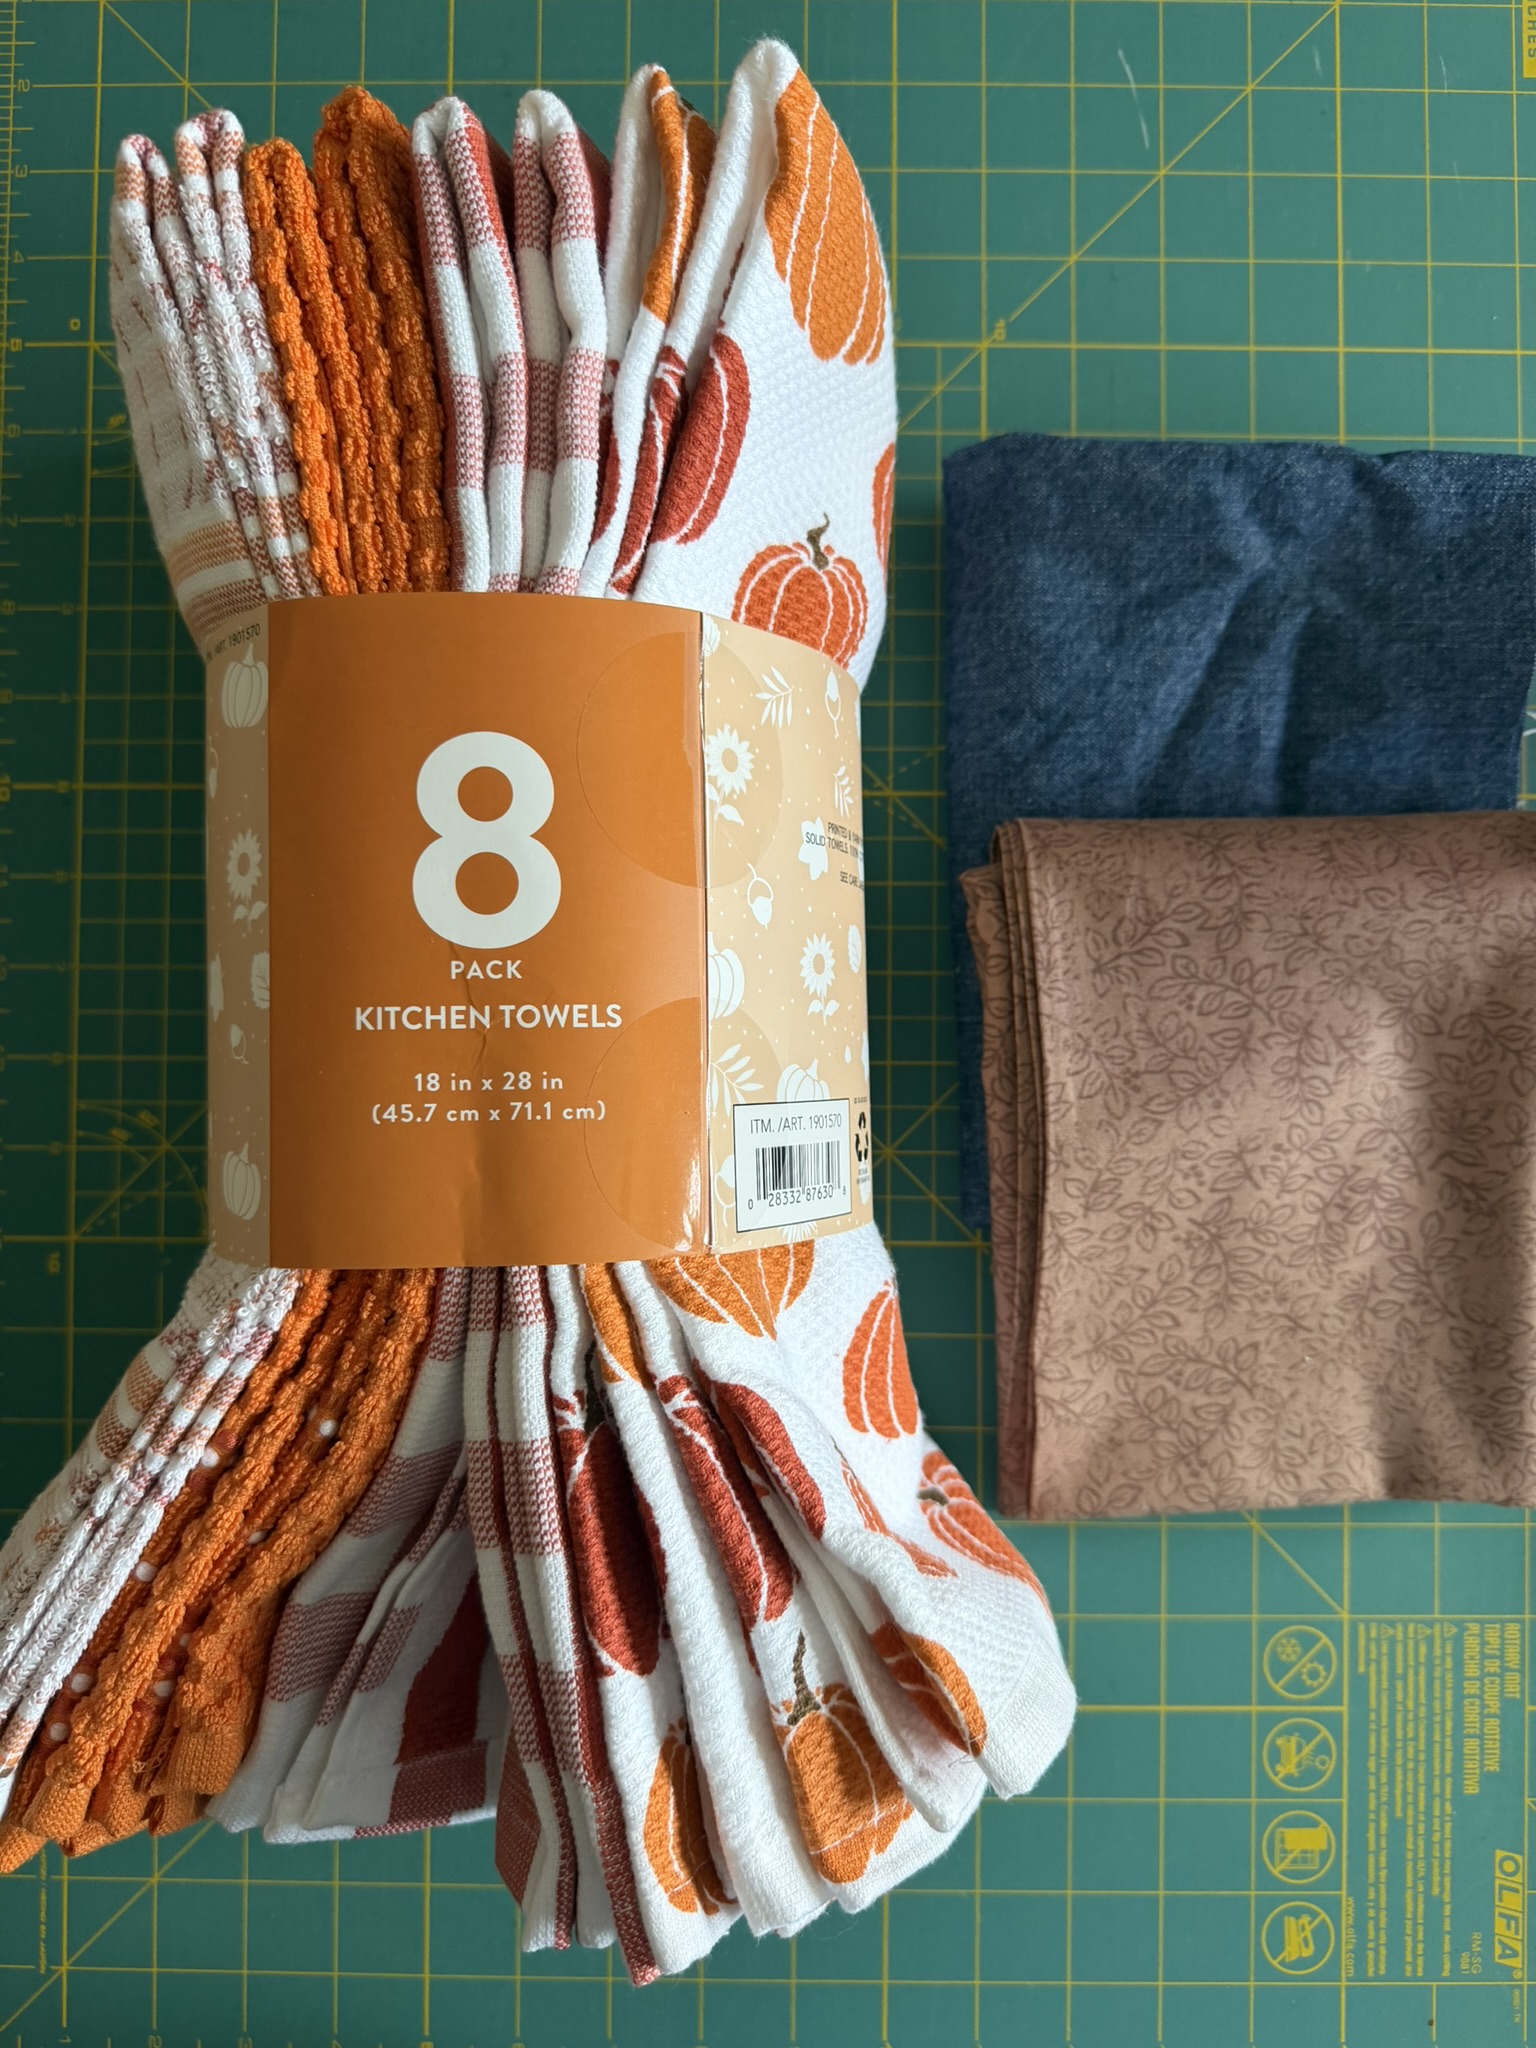
The towel I used for this tutorial was part of this set from Costco that came in a group of eight with four different designs at the end of the 2026 summer. They also had skeleton, ghost, and sunflower sets at the time.
The Dollar Tree is also a great place to find seasonal towels.
One of the best parts is that a single towel can be used to make two hanging dish towels.
Where Do I Find The Hanging Dish Towel Pattern?
Create To Donate’s Hanging Dish Towel Pattern is free and can be accessed two ways:
- Click here to download the hanging dish towel pattern, or
- Access the pattern using the pattern’s Canva link.
Fall Hanging Hand Towel Tutorial
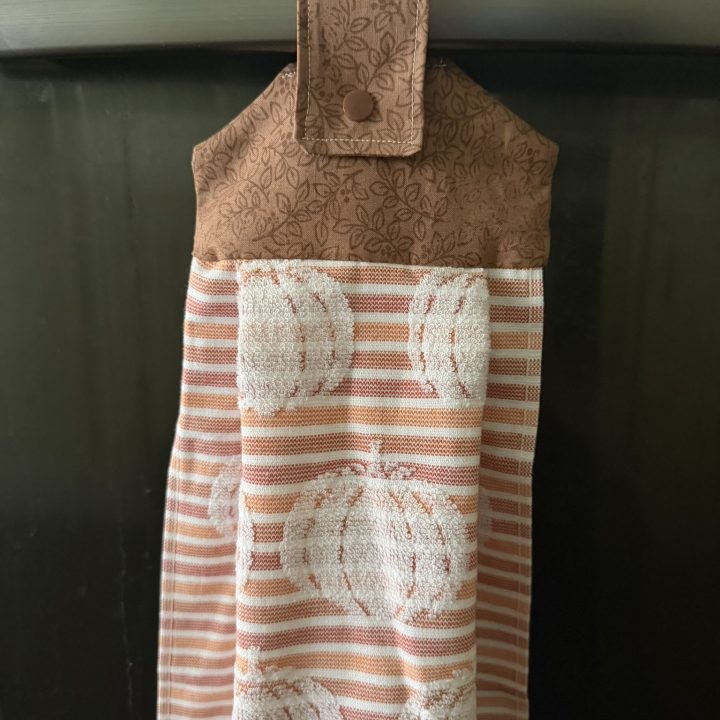
How To Make A Fall-Themed Hanging Dish Towel
Making a hanging dish towel means that you can dry your hands whenever you need without the towel falling to the floor.
You can easily make a towel for each season and this DIY hanging hand towel also makes the perfect gift.
Materials
- 8" x 12.5" piece of 100% cotton fabric or denim
- 18" x 28" hand towel
- Create To Donate's Hanging Dish Towel Pattern.
- One kam (plastic) snap
Tools
- Sewing clips
- Rotary cutter and mat or fabric scissors
- Sewing machine
- Kam snap installation tools
Instructions
- Gather your materials.
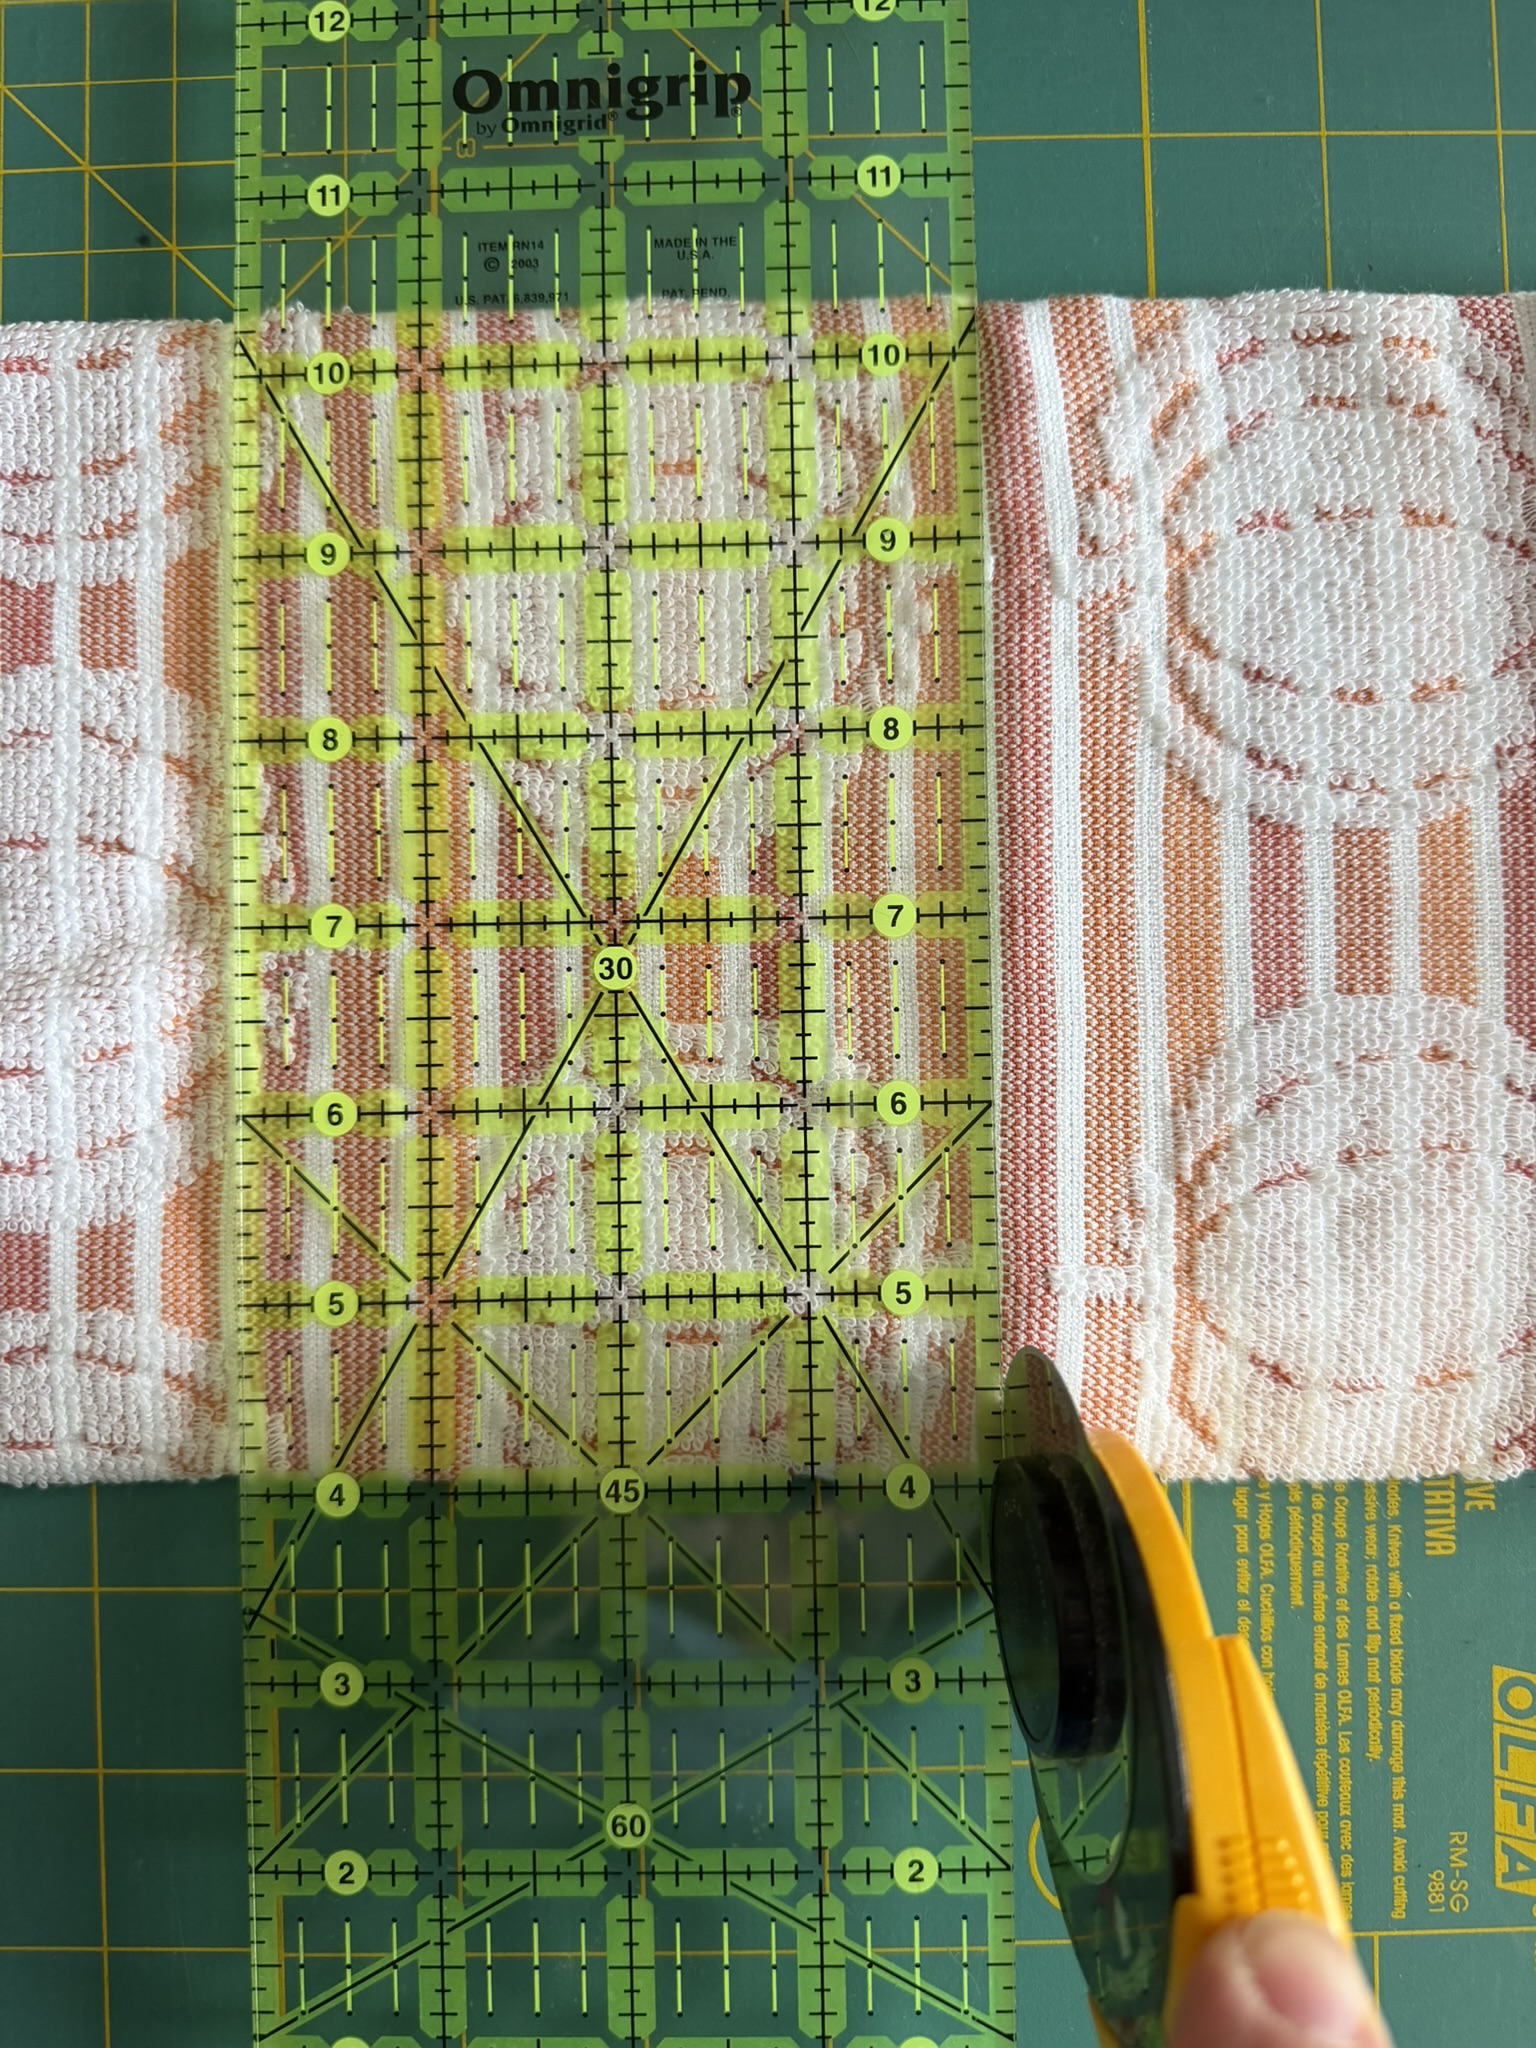
- Cut the towel in half so that it is 14" high.
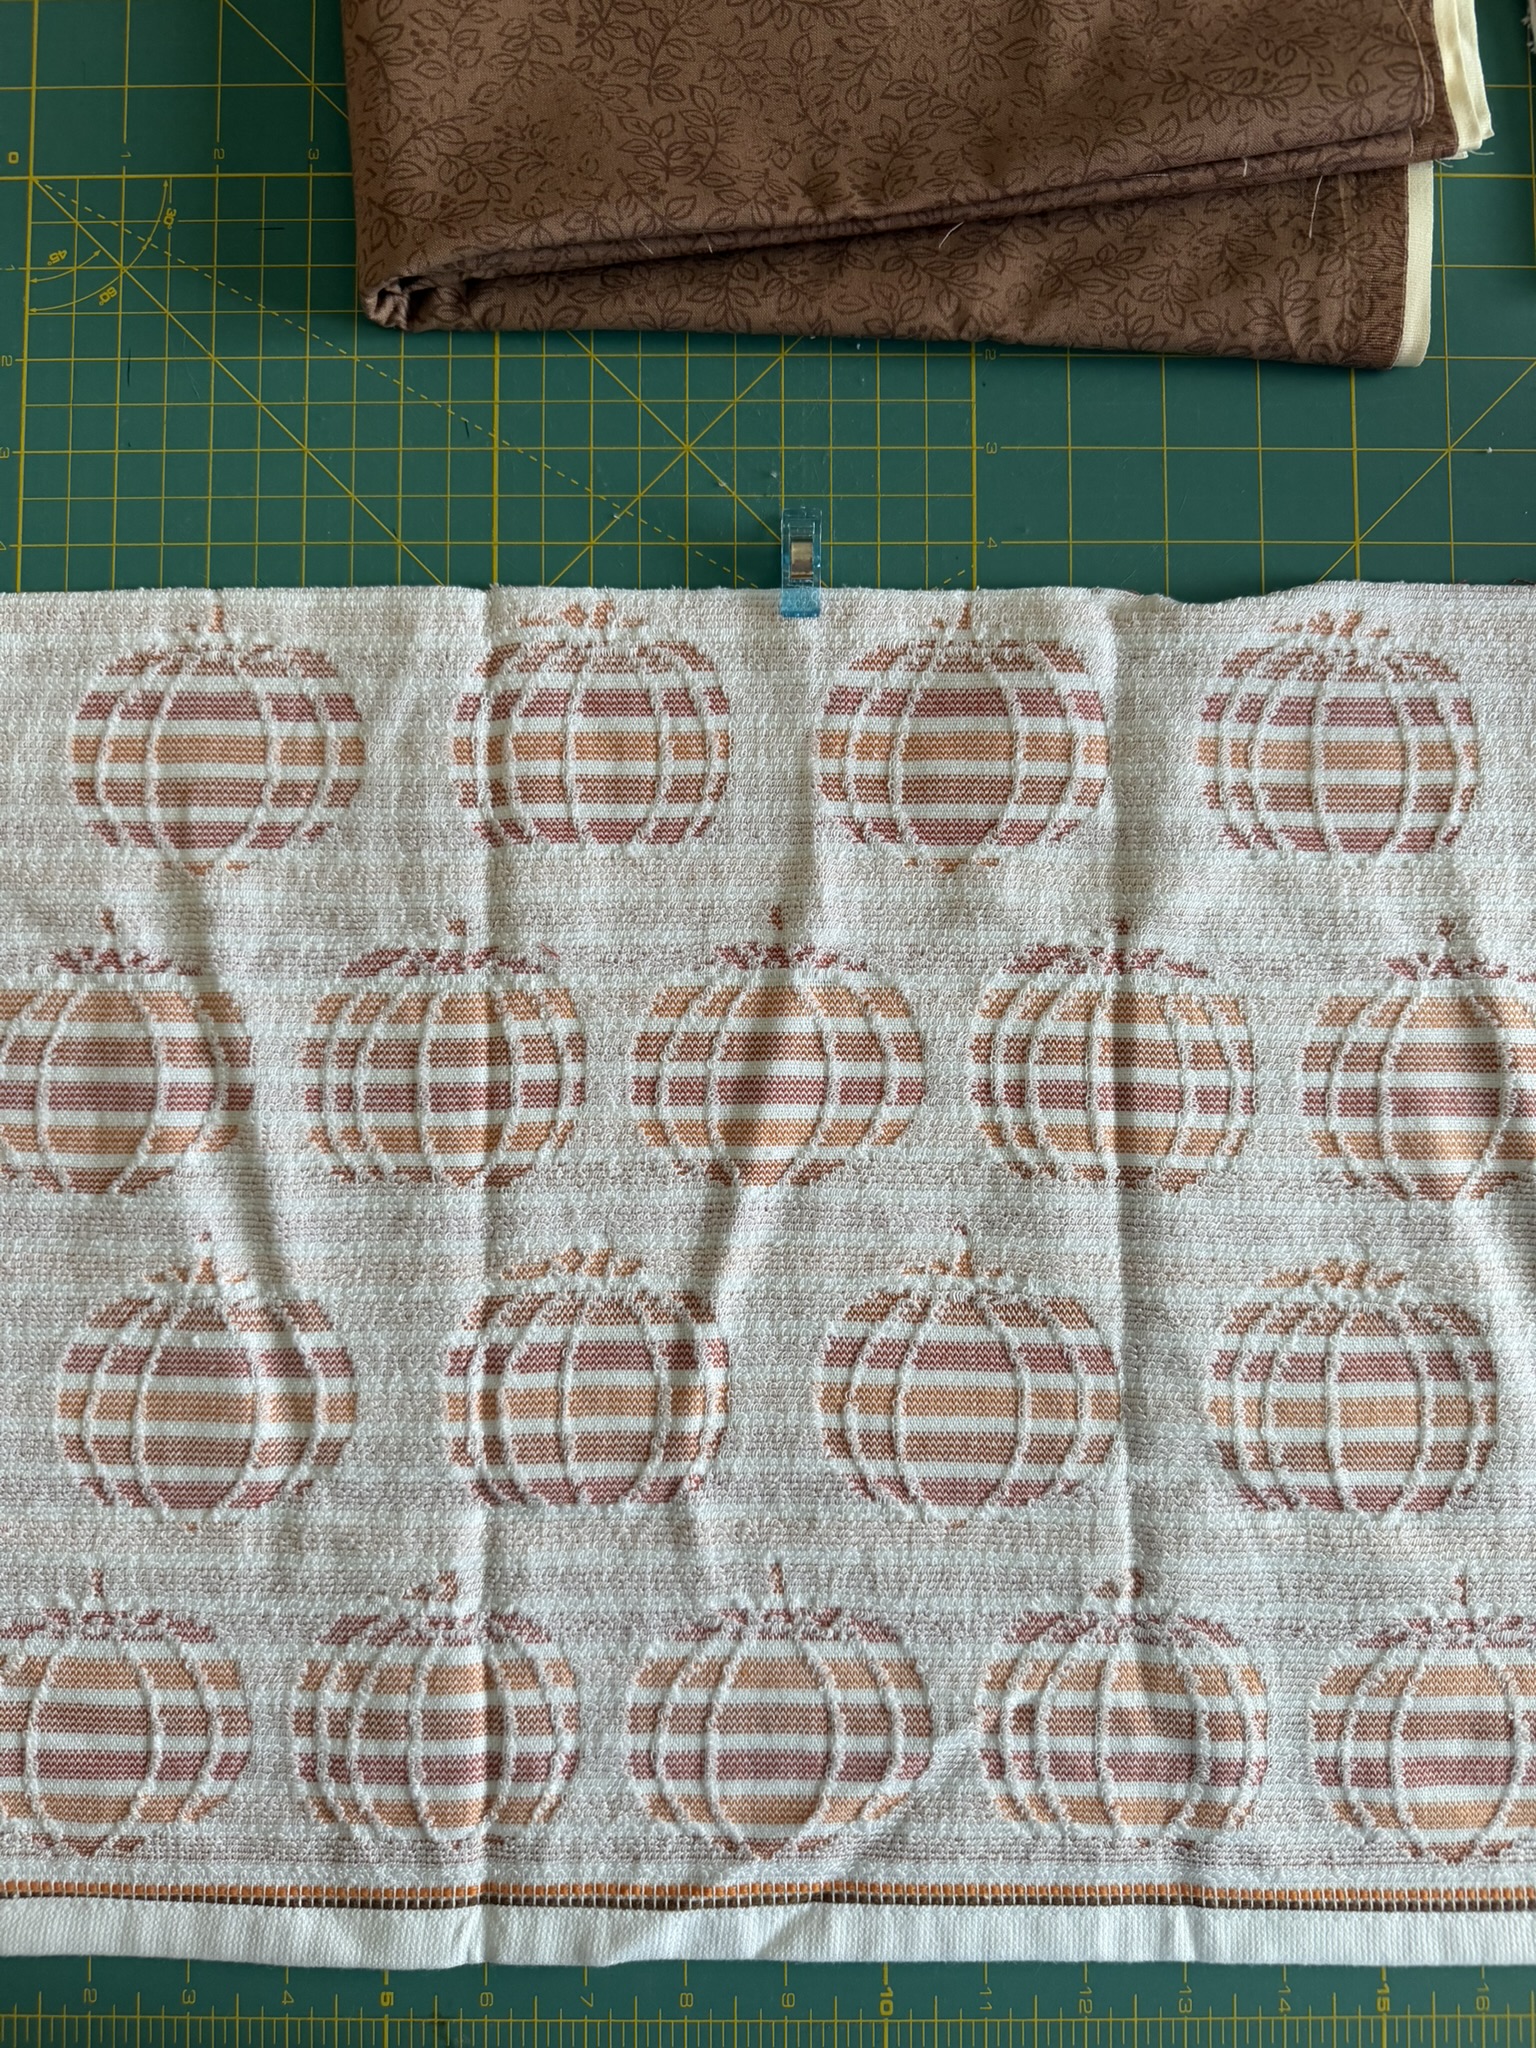
- Open up the towel, place it right side down, and use a sewing clip to mark the center at 9".
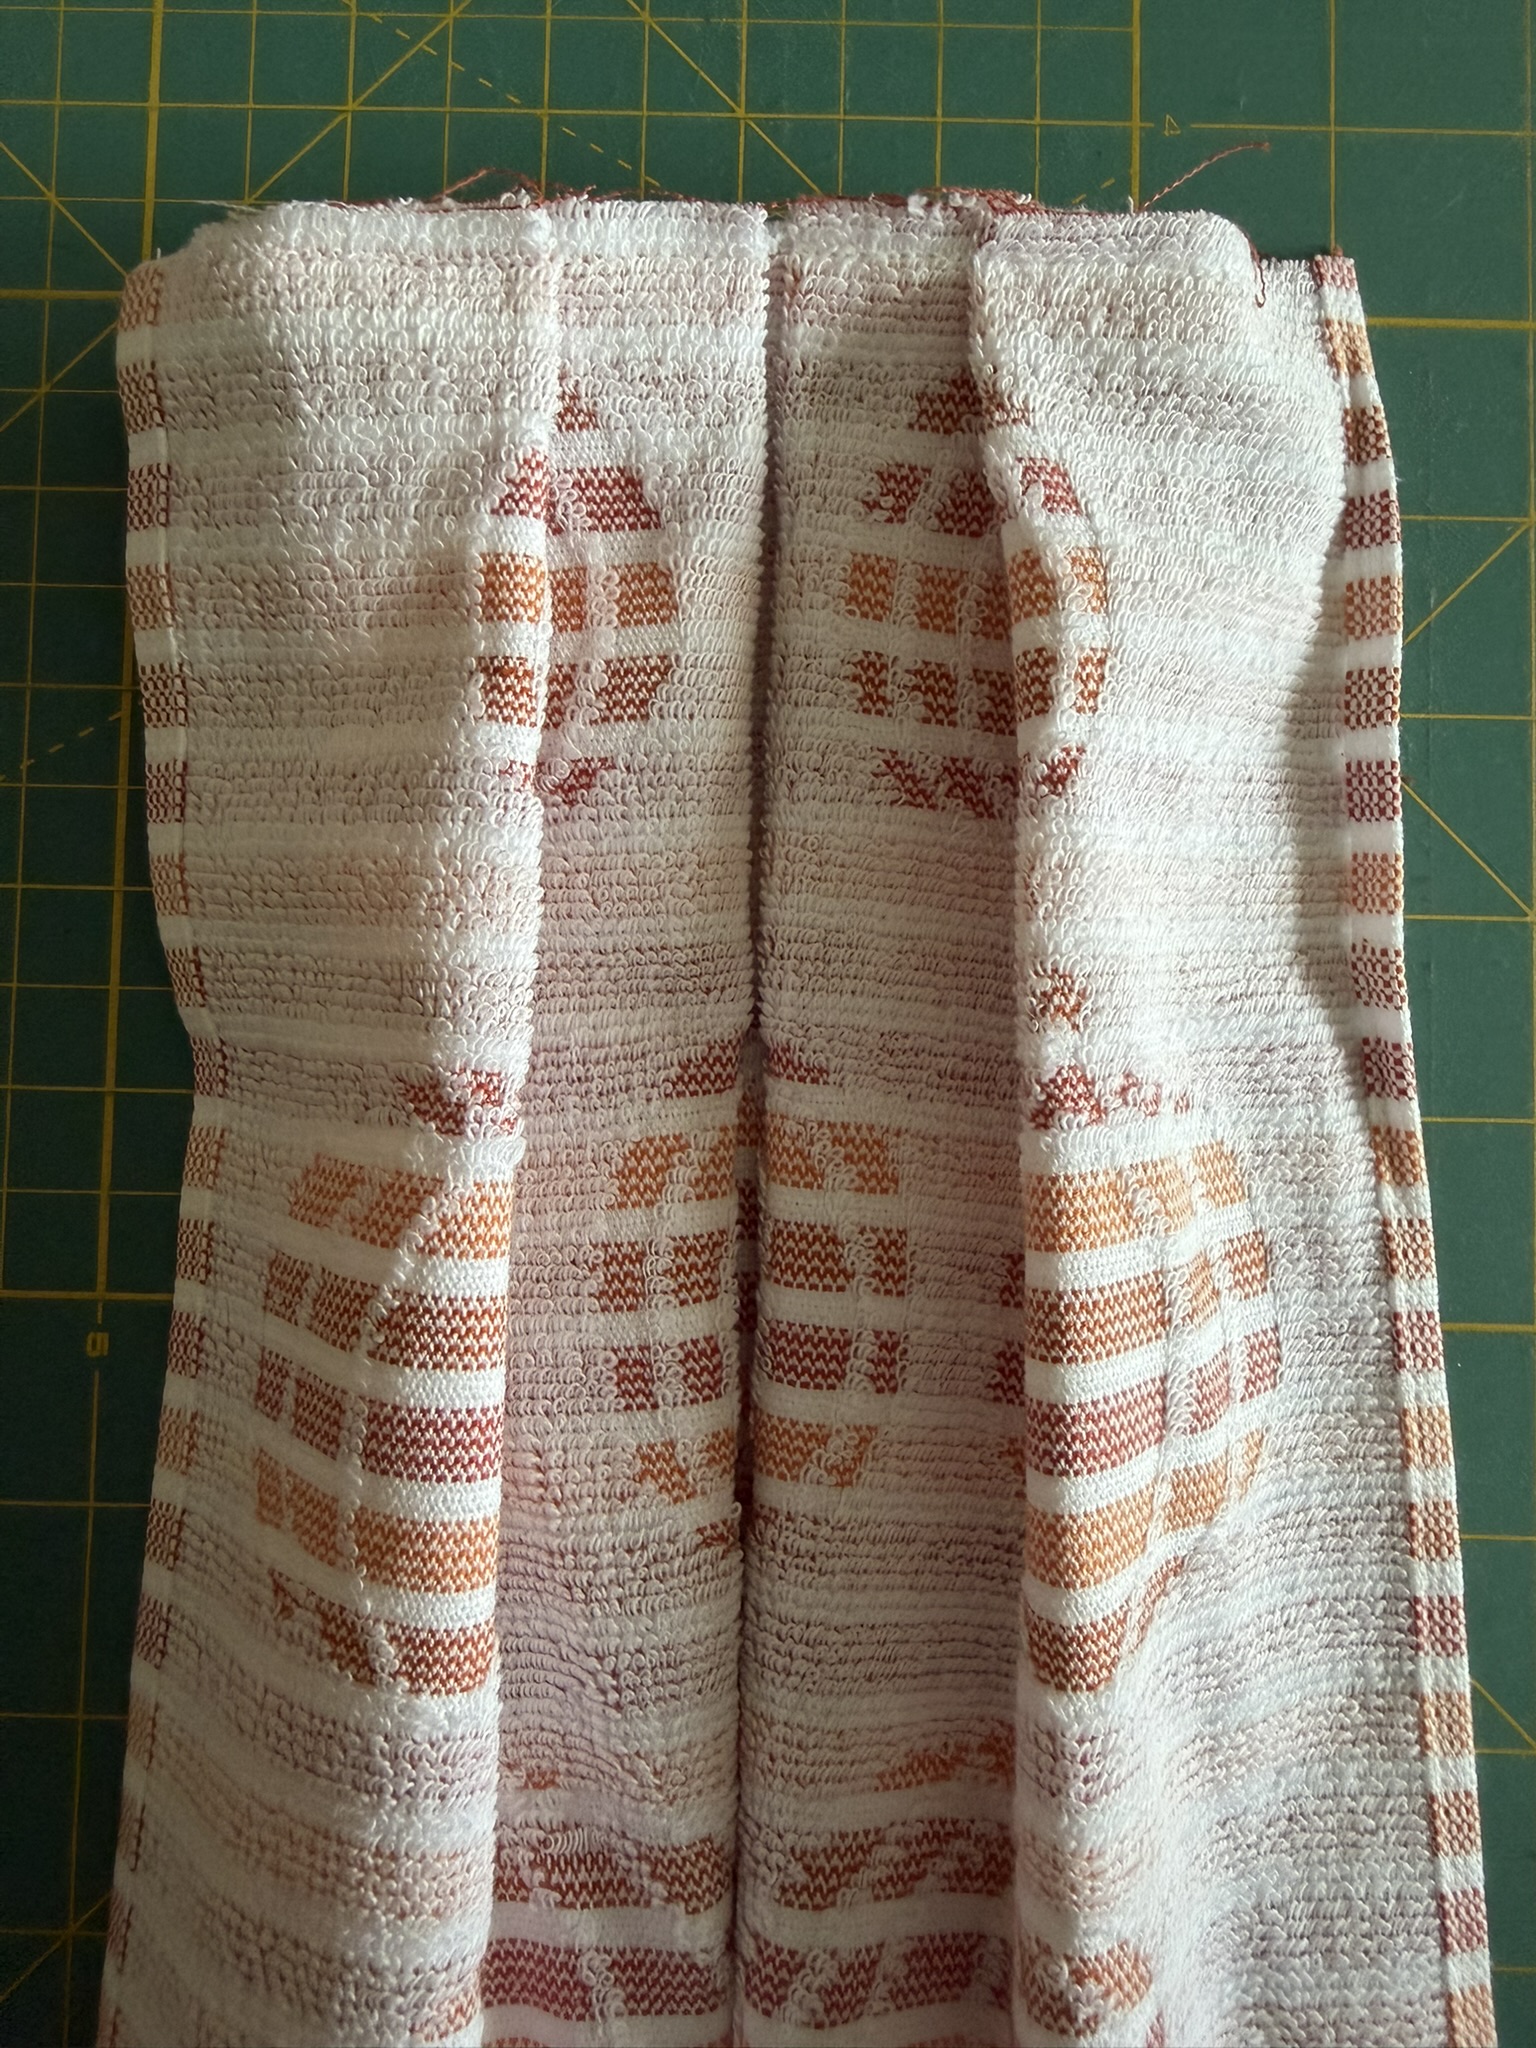
- On the right side, measure 4" out from the center point marked with a clip, pinch the towel at the 4" mark and fold it to the marked center., Clip to secure.
- Repeat step 4 on the left side.
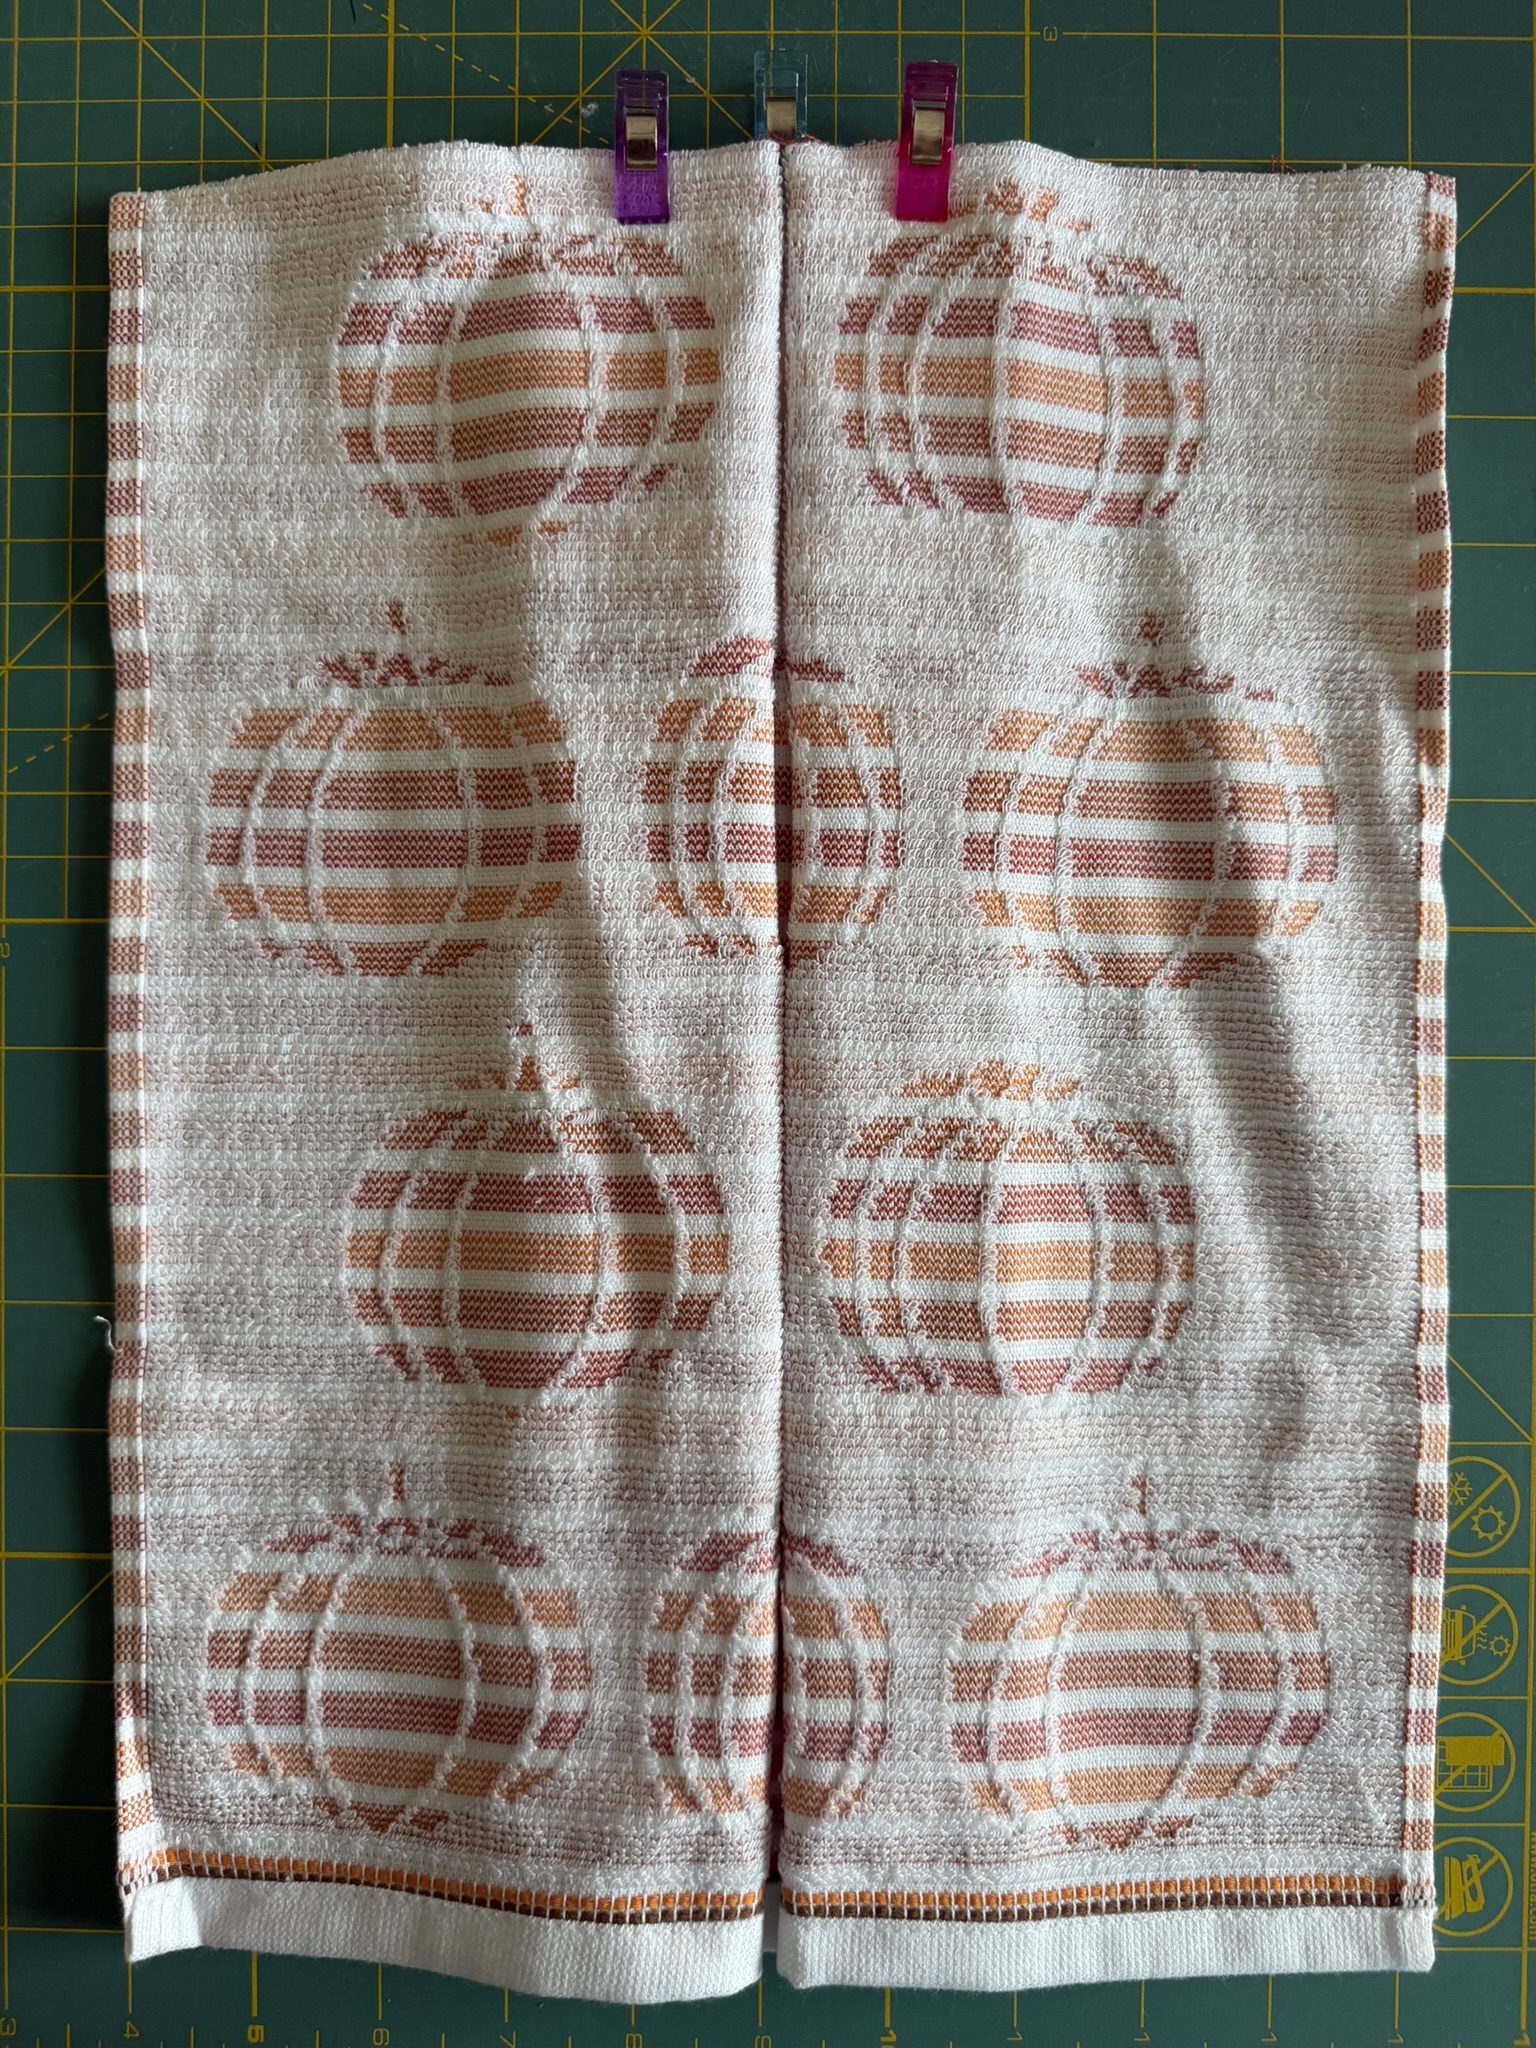
- On the right side, measure 2" from the end of the first fold, pinch and fold that toward the center. Clip to secure.
- Repeat step 6 on the left side.
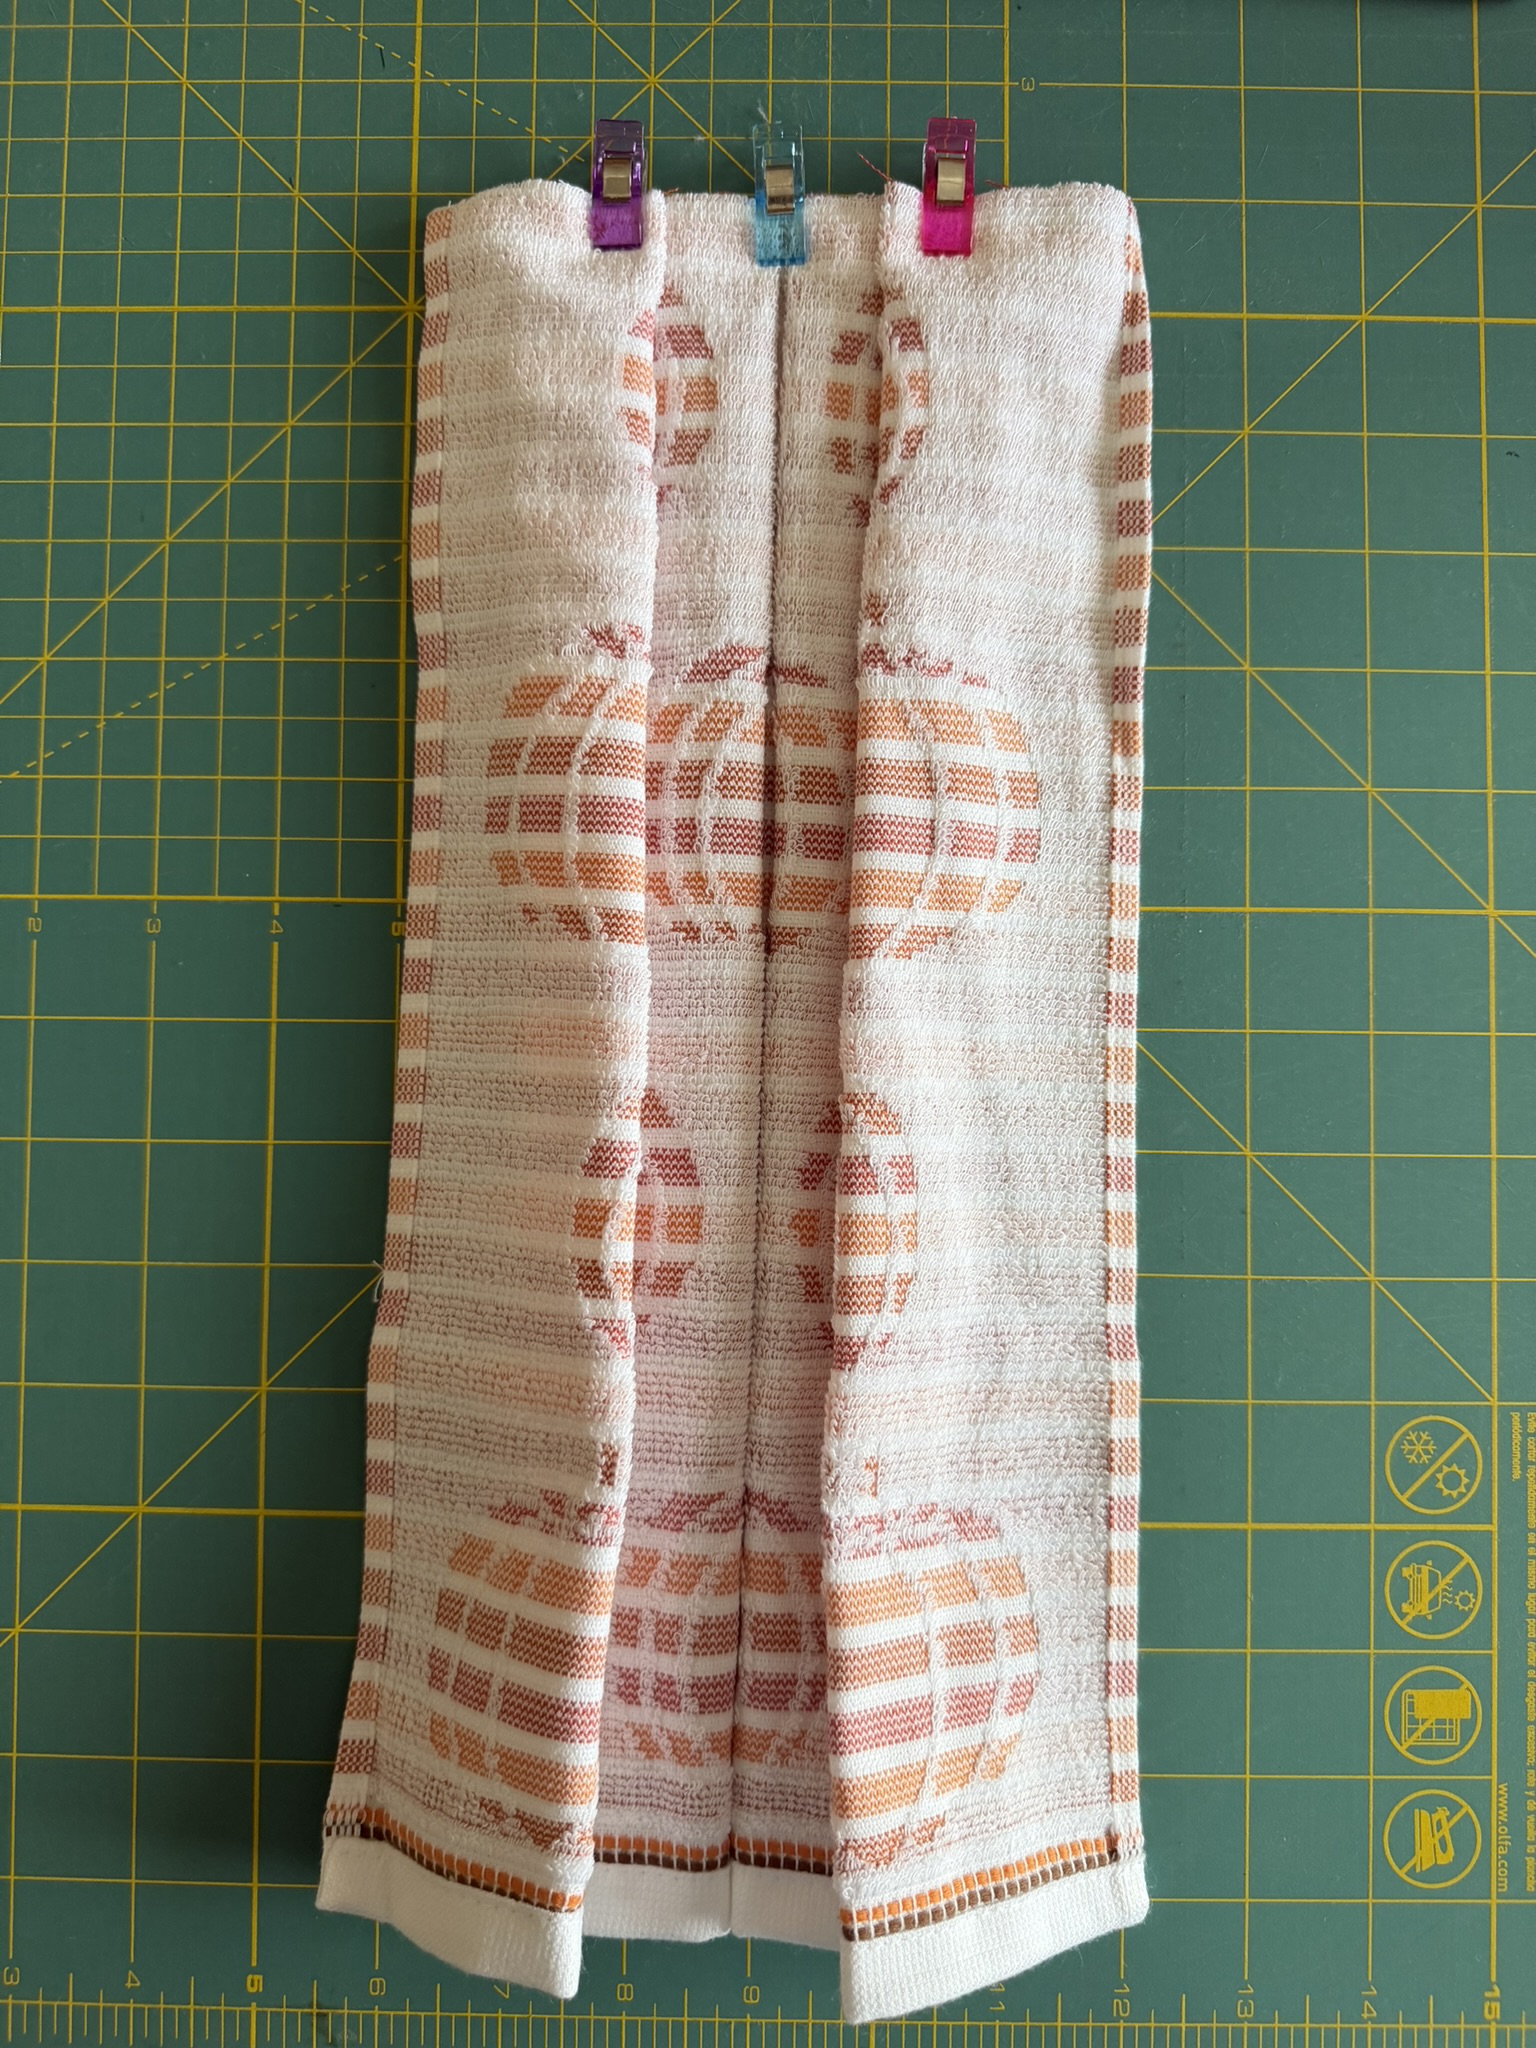
- Use a 1/4" seam allowance to secure the folds.
- Cut a 4.5 x 8" strip from your fabric.
- Use the Hanging Hand Towel Pattern to cut two pieces of fabric for the top of the hanging kitchen towel.
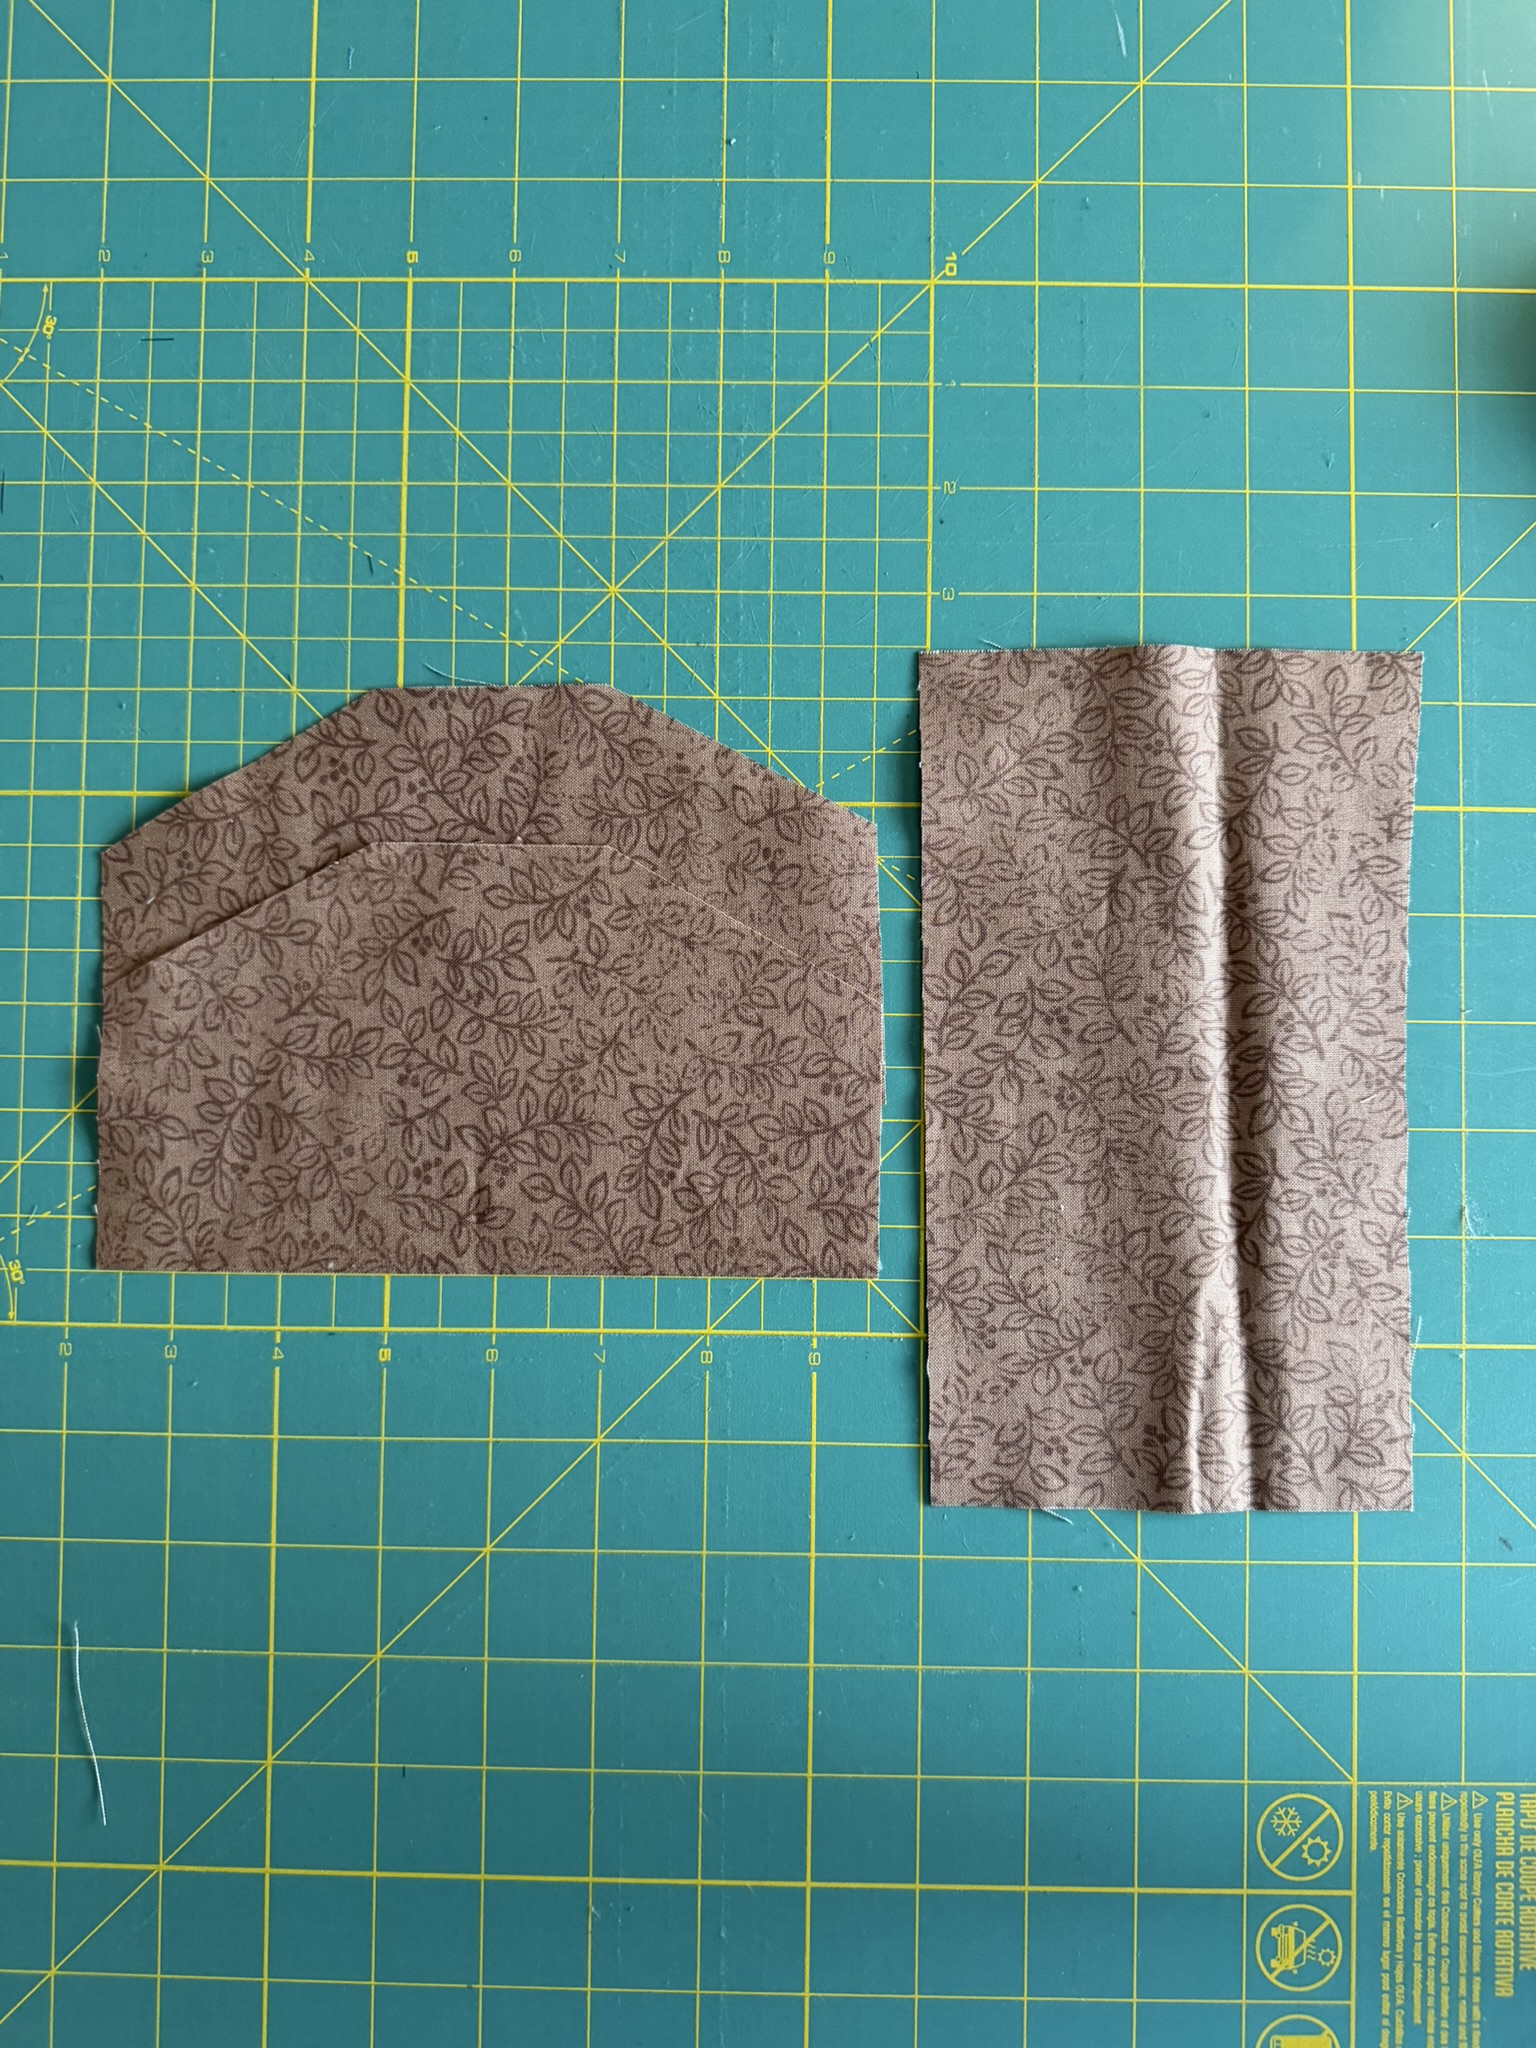
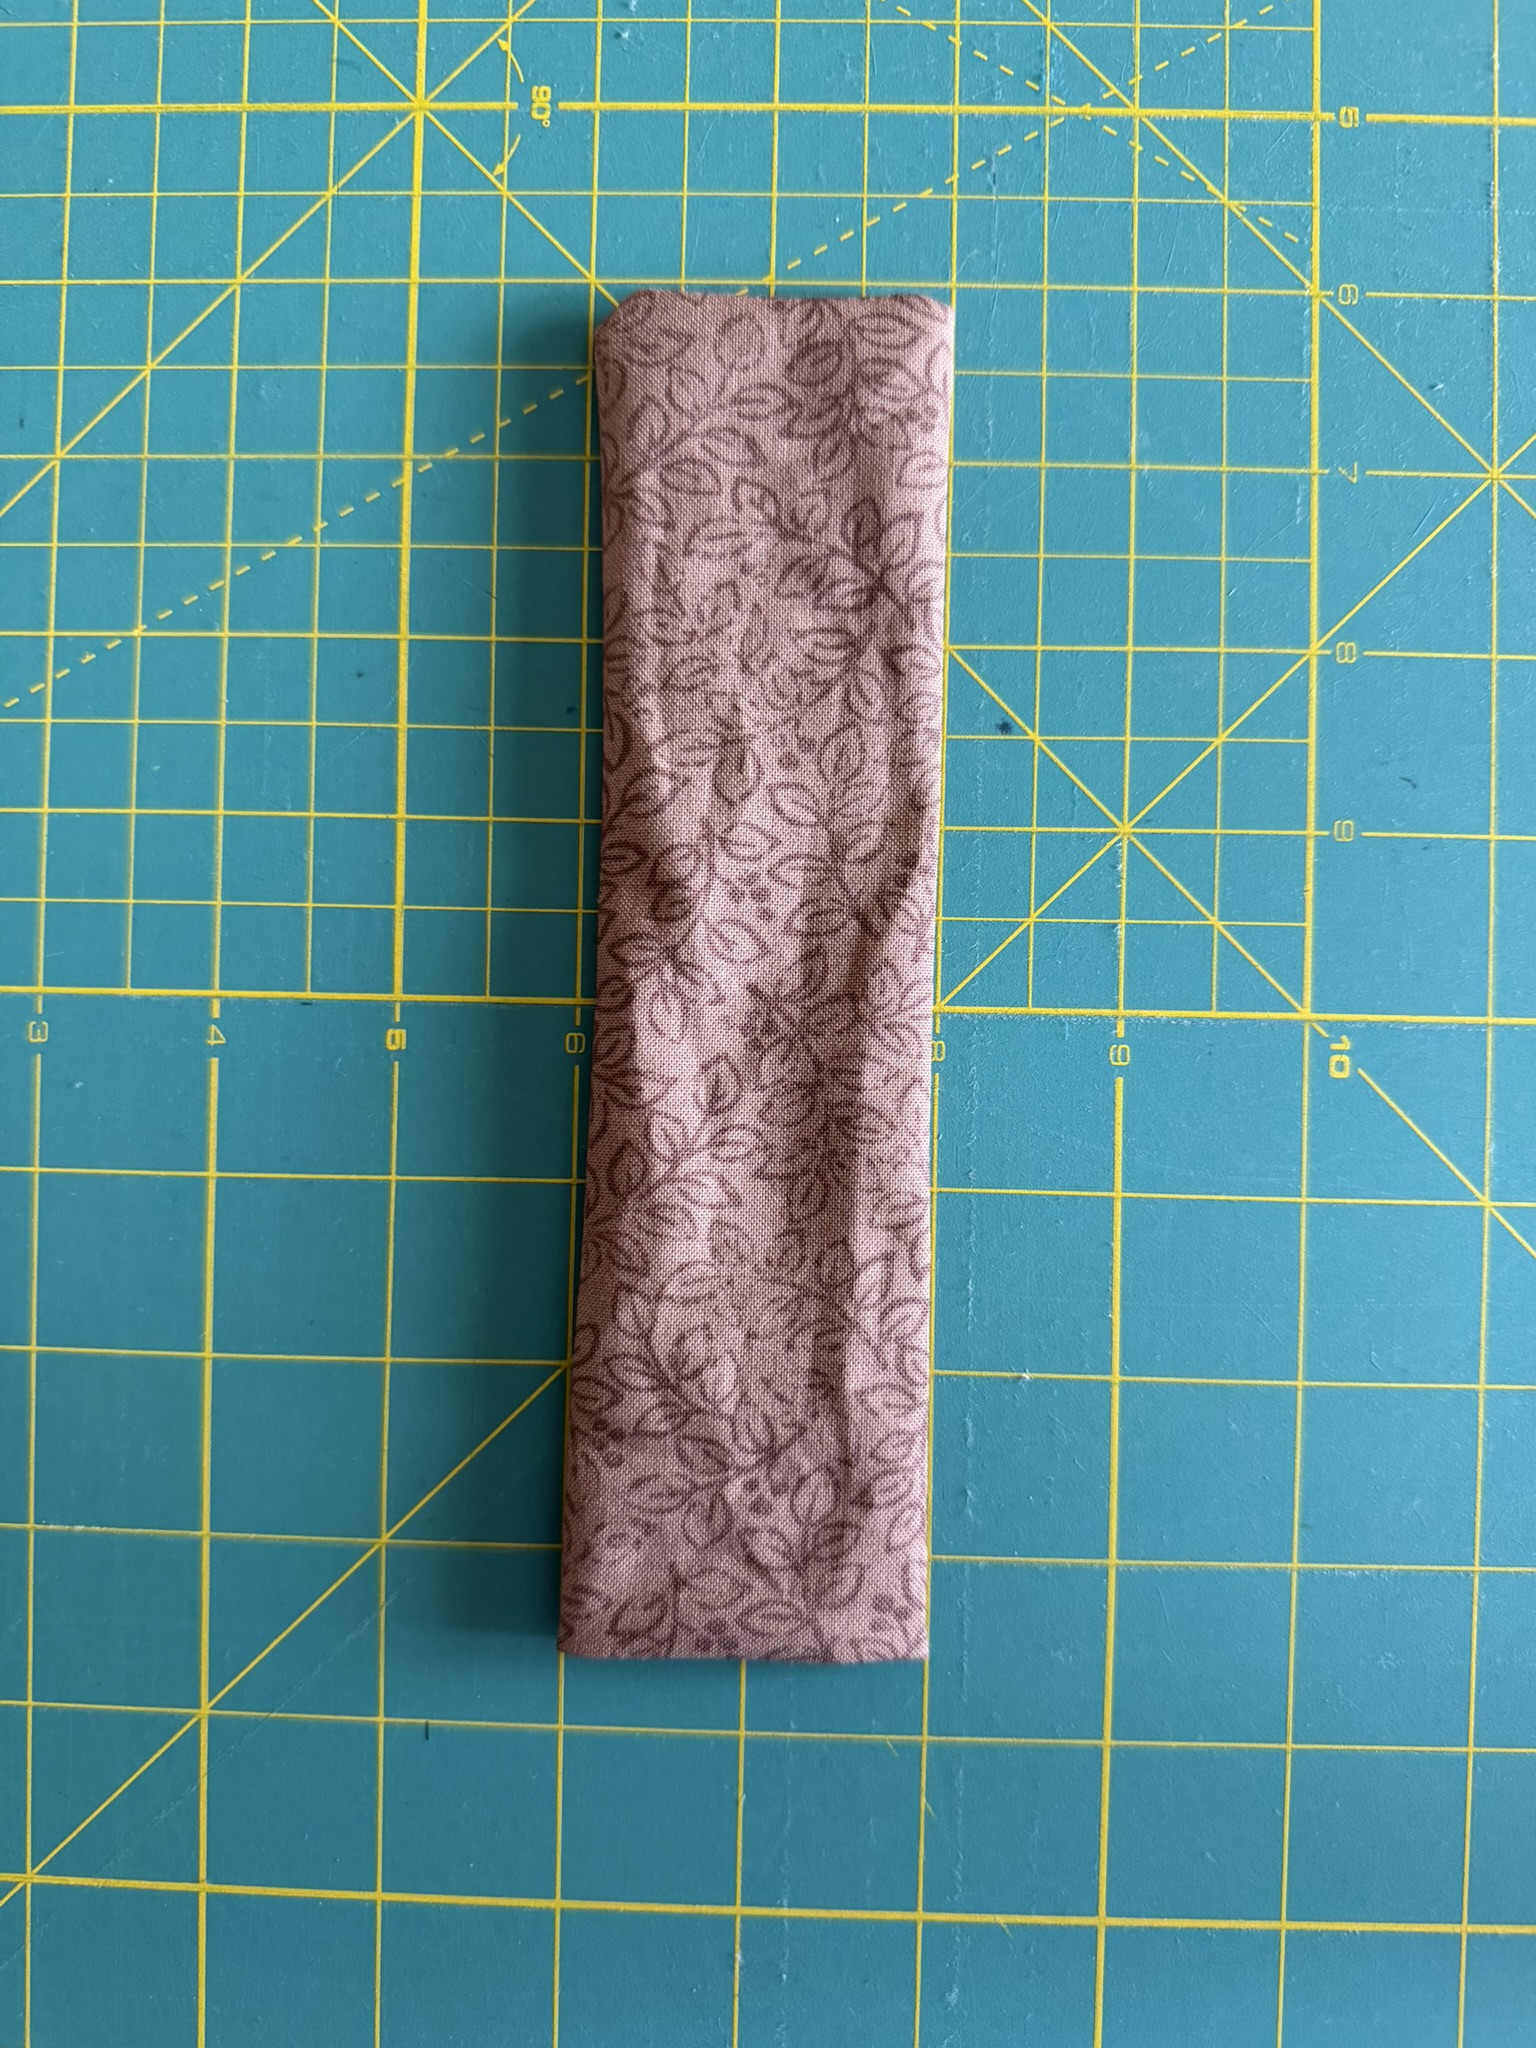
- Fold the fabric rectangle in half right sides together so that the long edge line up.
- Use a sewing clip to secure the long edges for sewing.
- Use a 1/4" seam allowance to sew the top and side edge of the rectangle.
- Turn the fabric tube right sides out.
- Place one of the fabric pieces right side up.
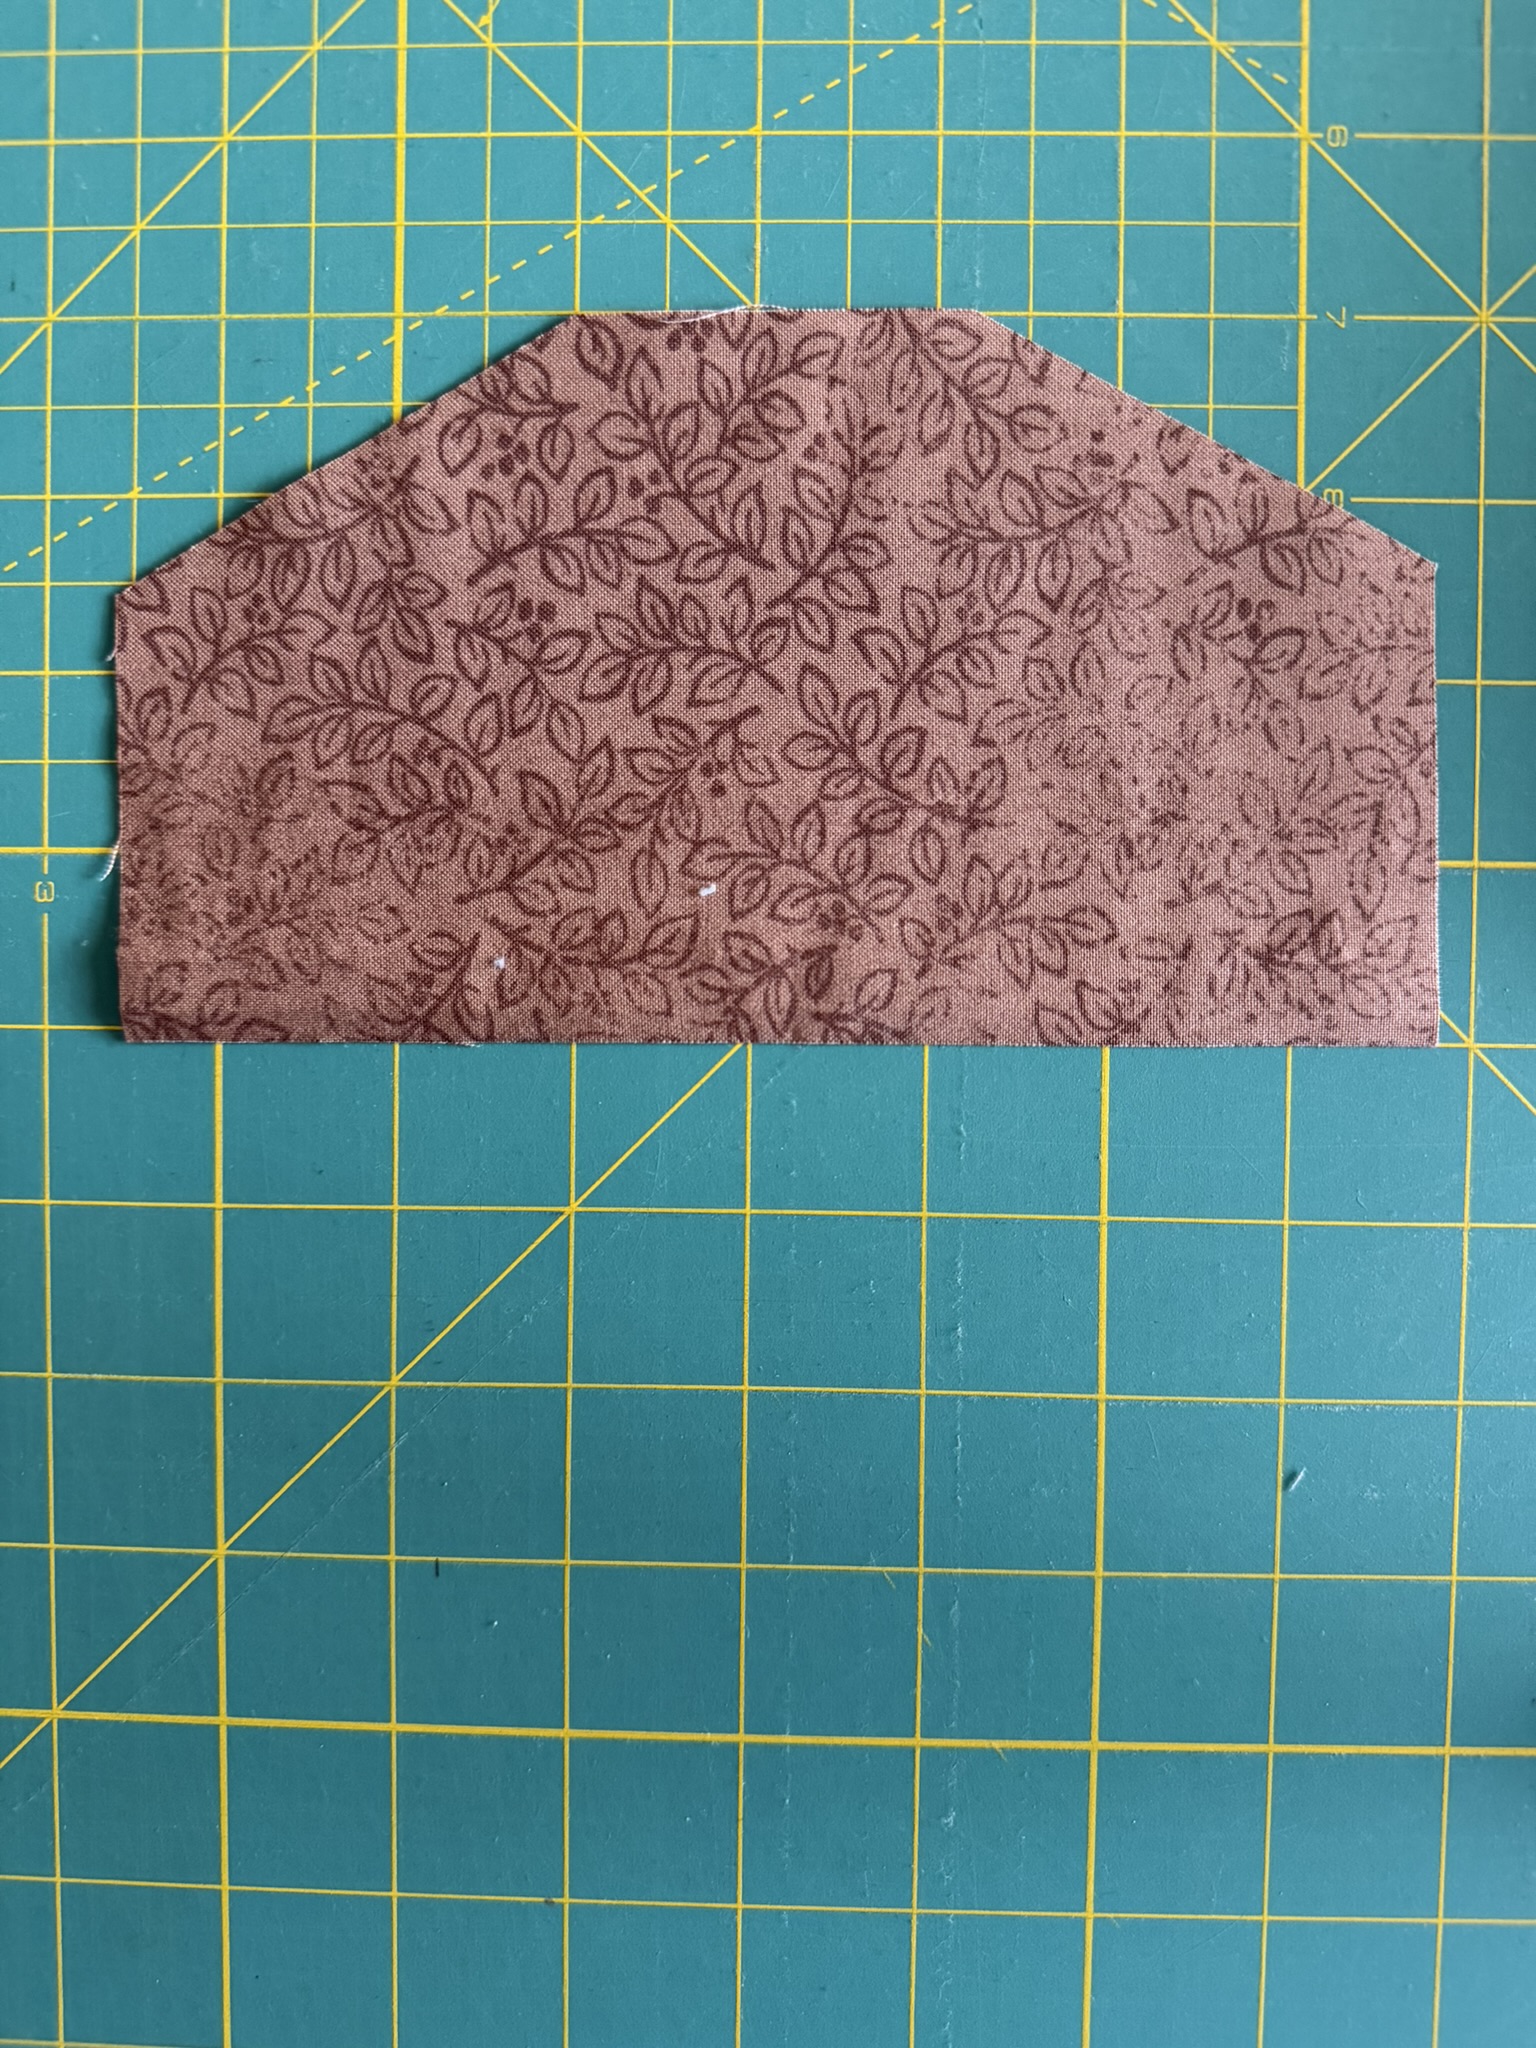
- Take the towel and line up the sewn edge to the bottom edge of the fabric.
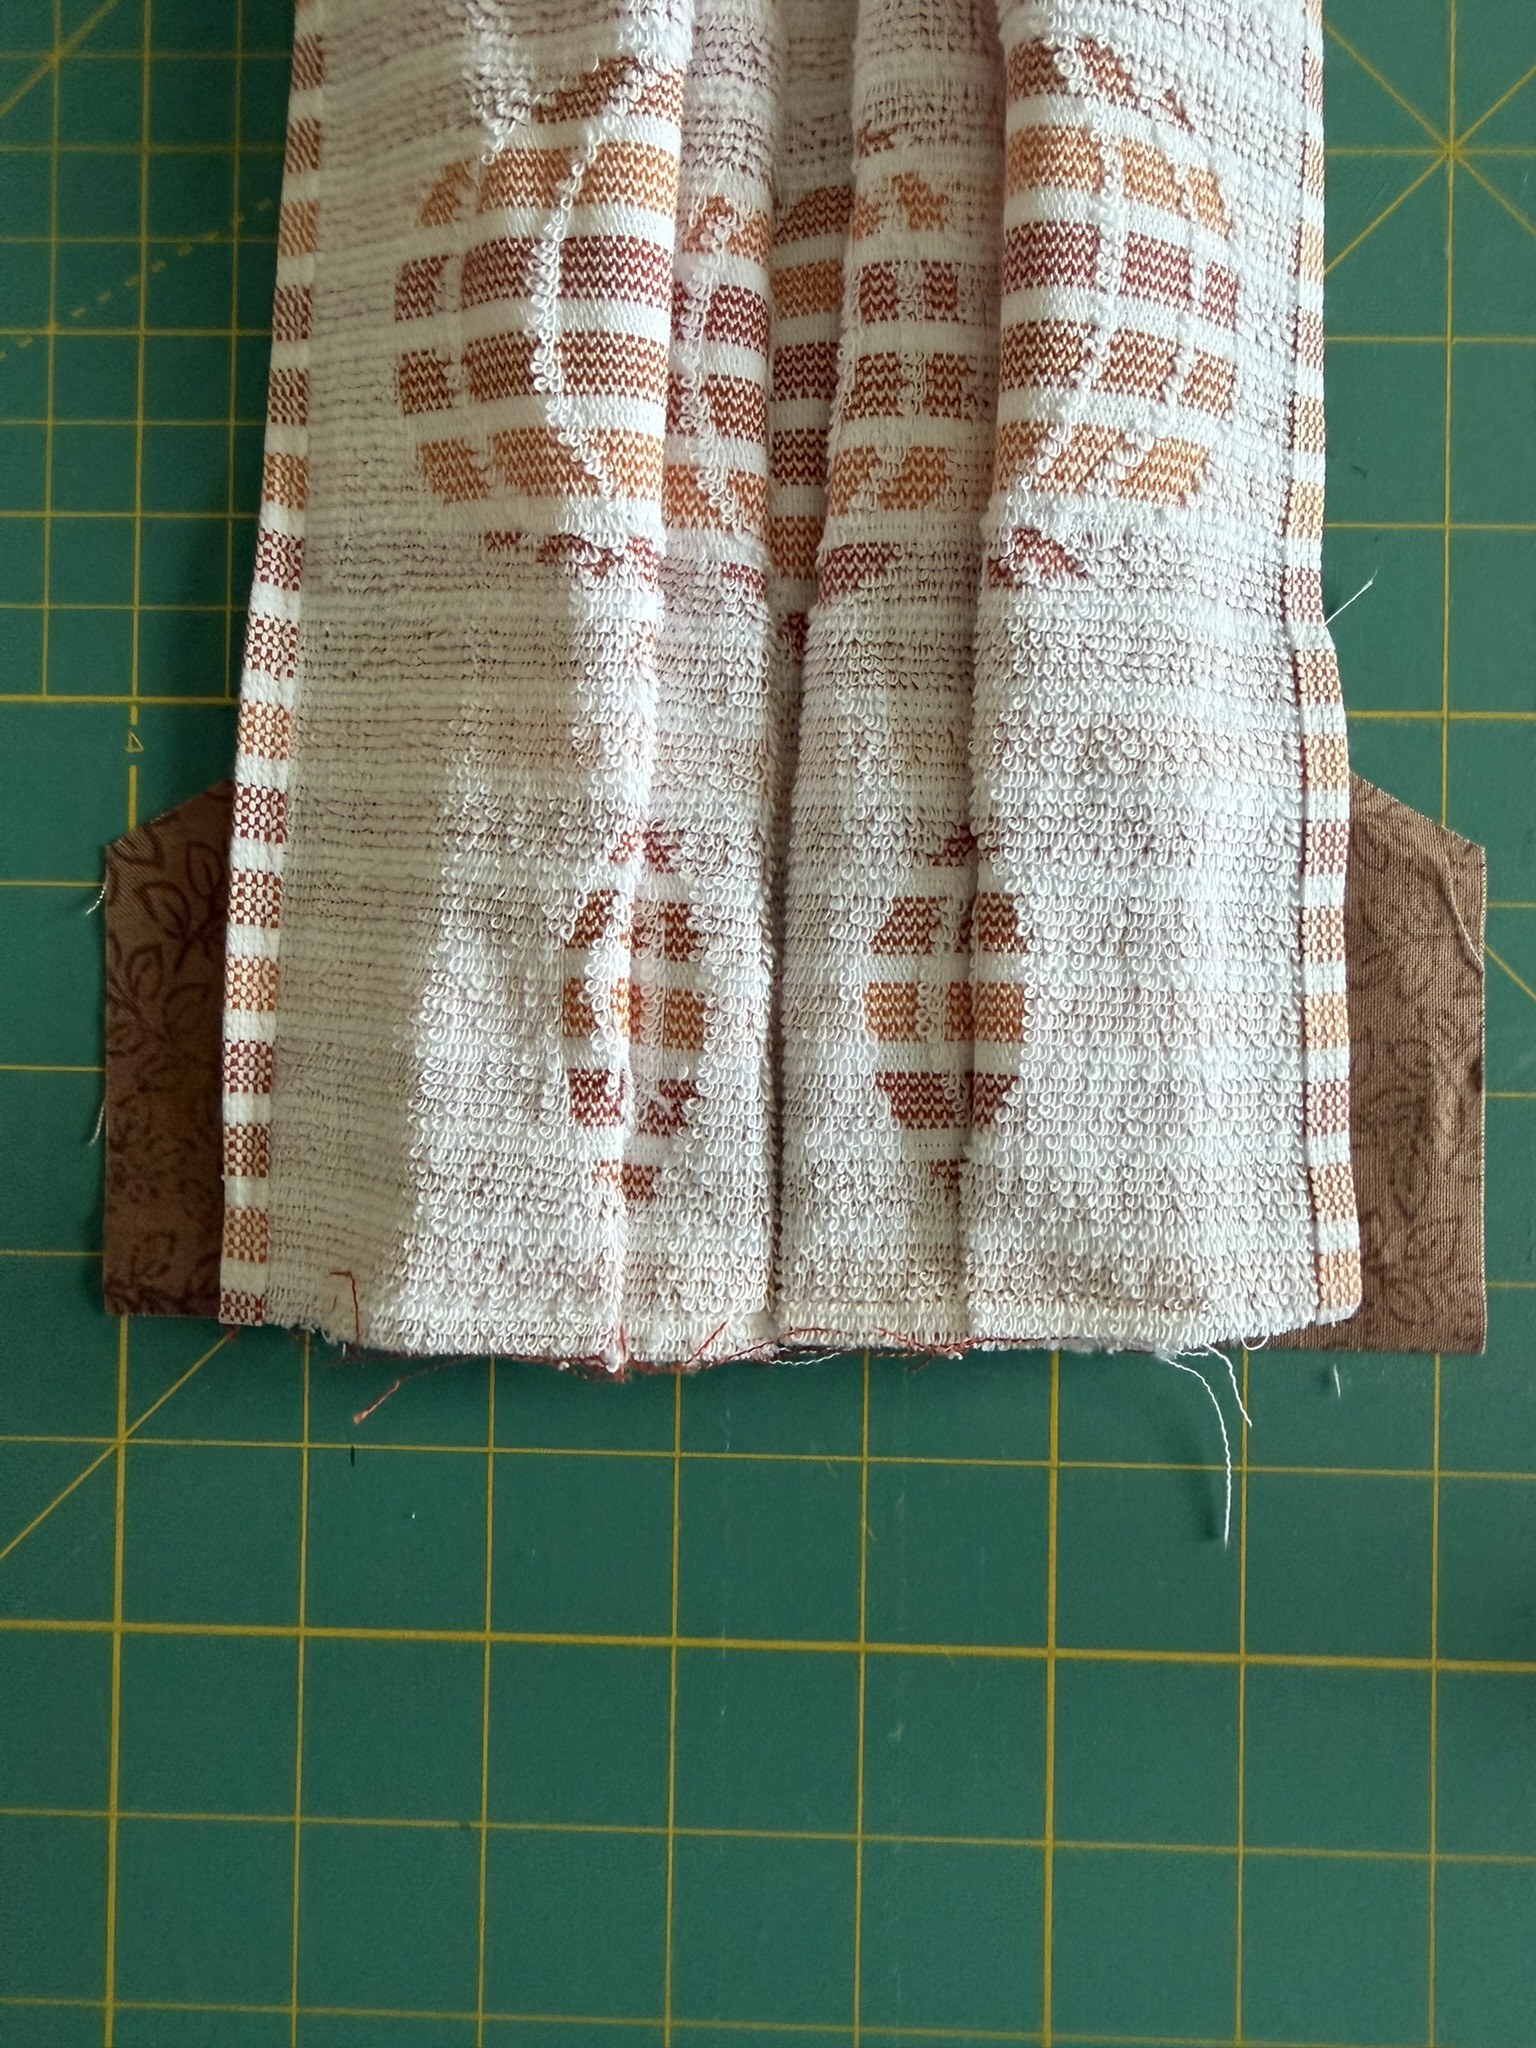
- Place the second piece of fabric on top of the towel right side down.
- Place sewing clips on the bottom edge and the two short edges to prepare for sewing.
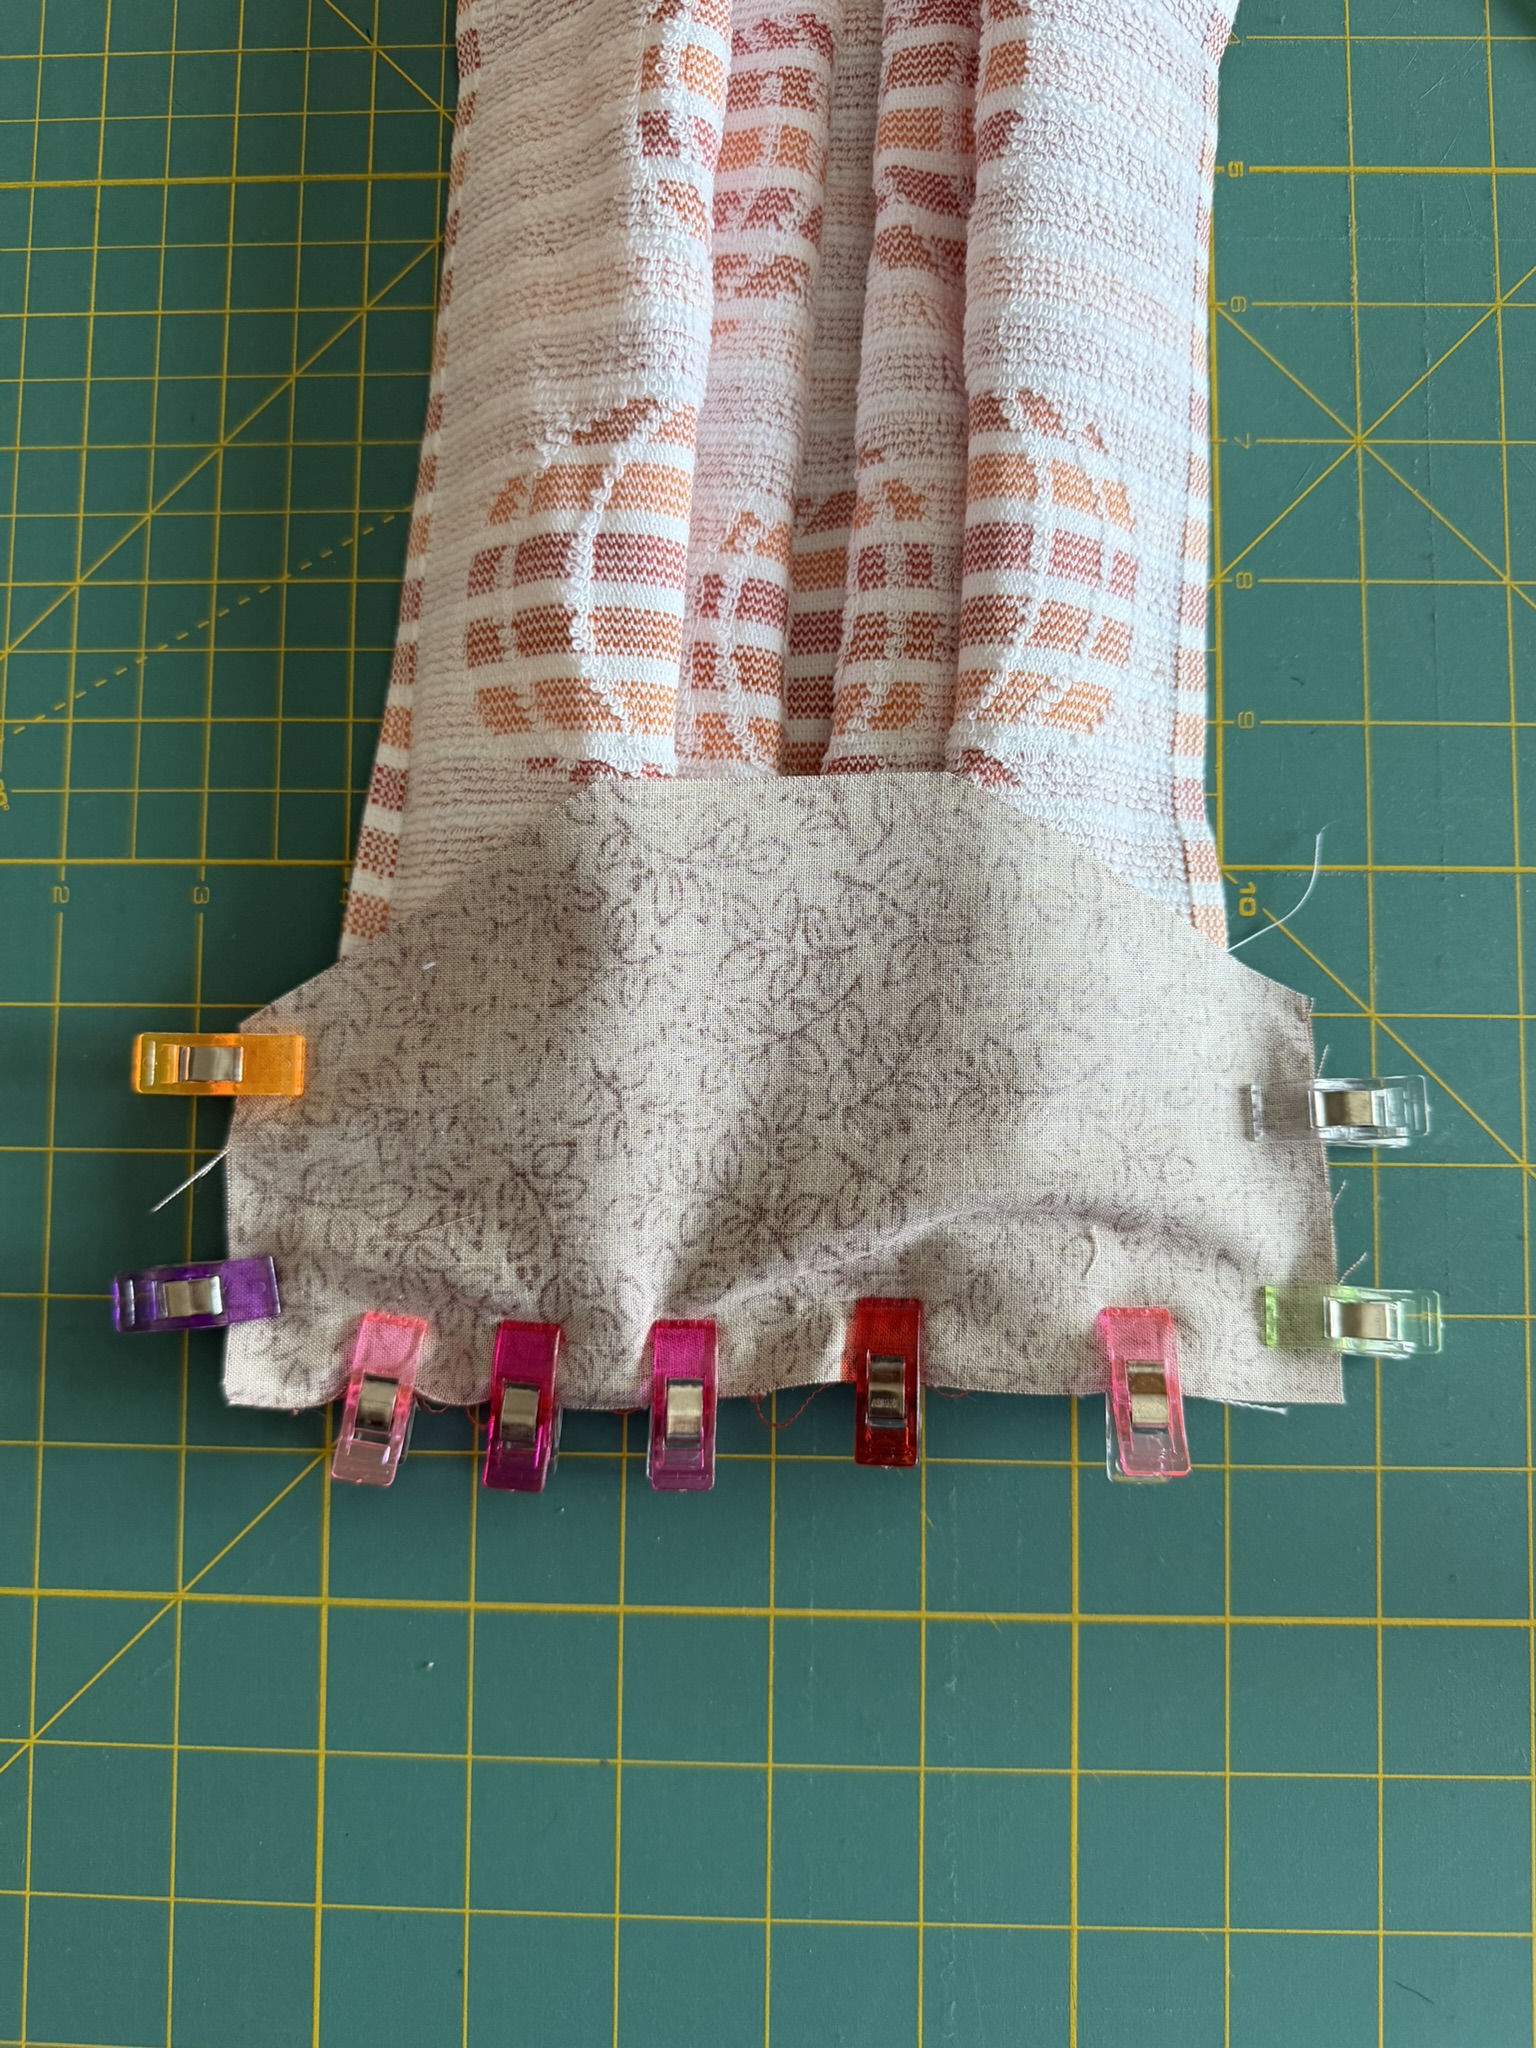
- Use a 1/2" seam allowance to sew the three edges where you placed the clips. Push the edge of the towel in a little bit so that it doesn't get caught in the seam of the short edges.
- Push the towel to the side and place sewing clips on one of the angled edges.
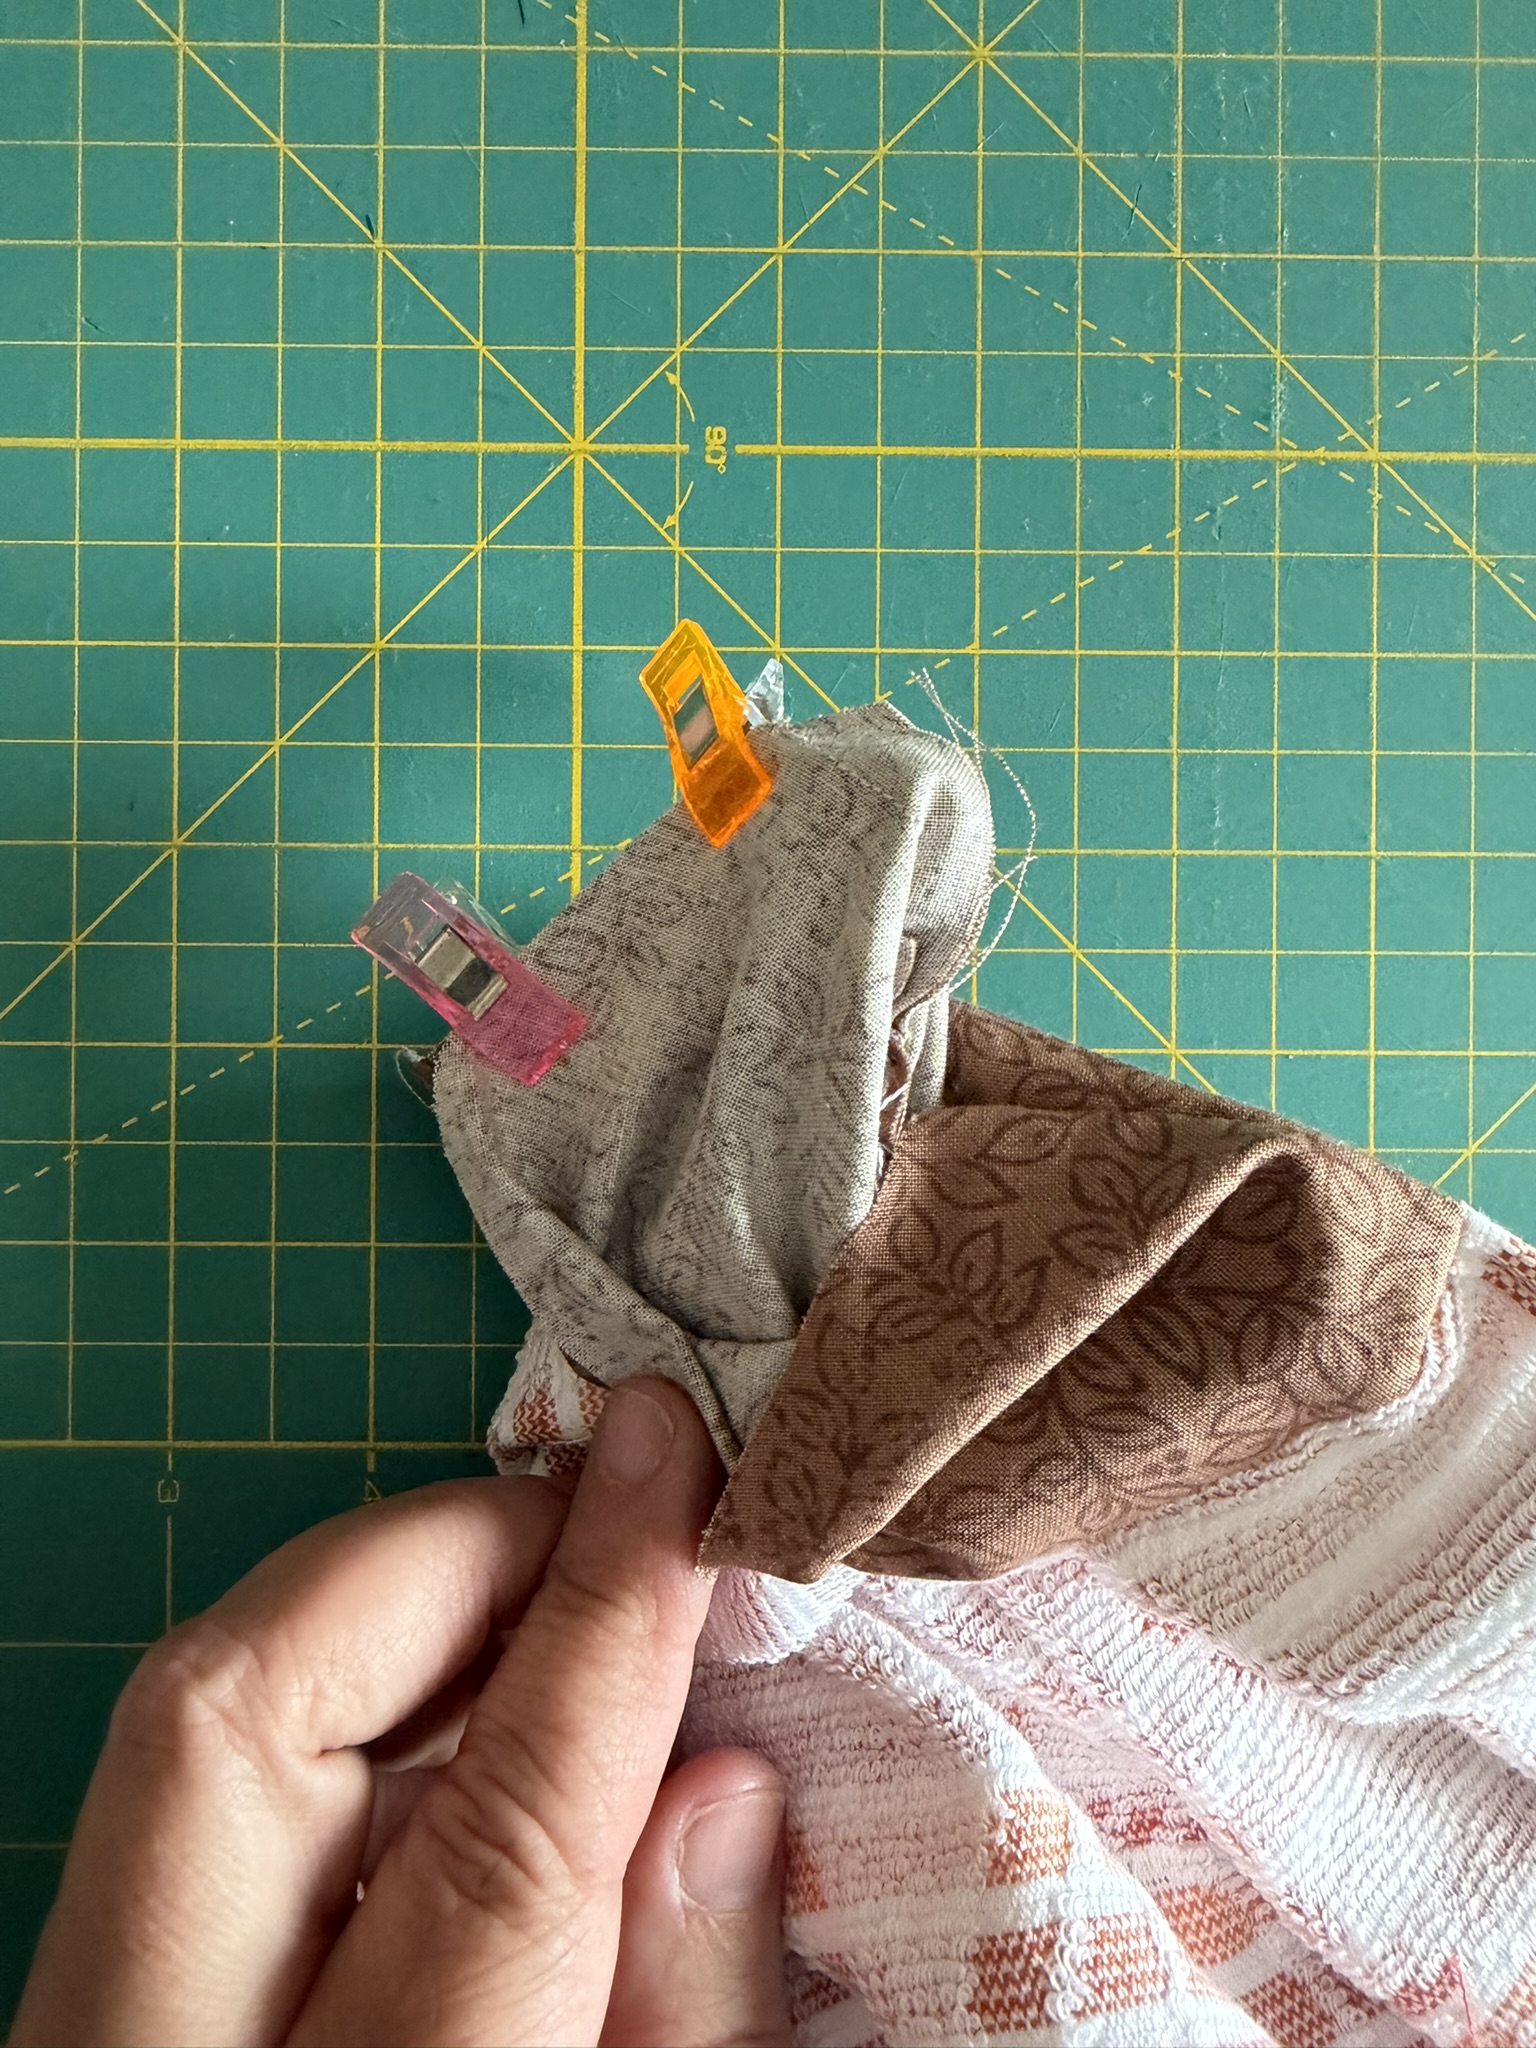
- Use a 1/4" seam allowance to sew the fabric together.
- Push the towel to the other side to place the clips.
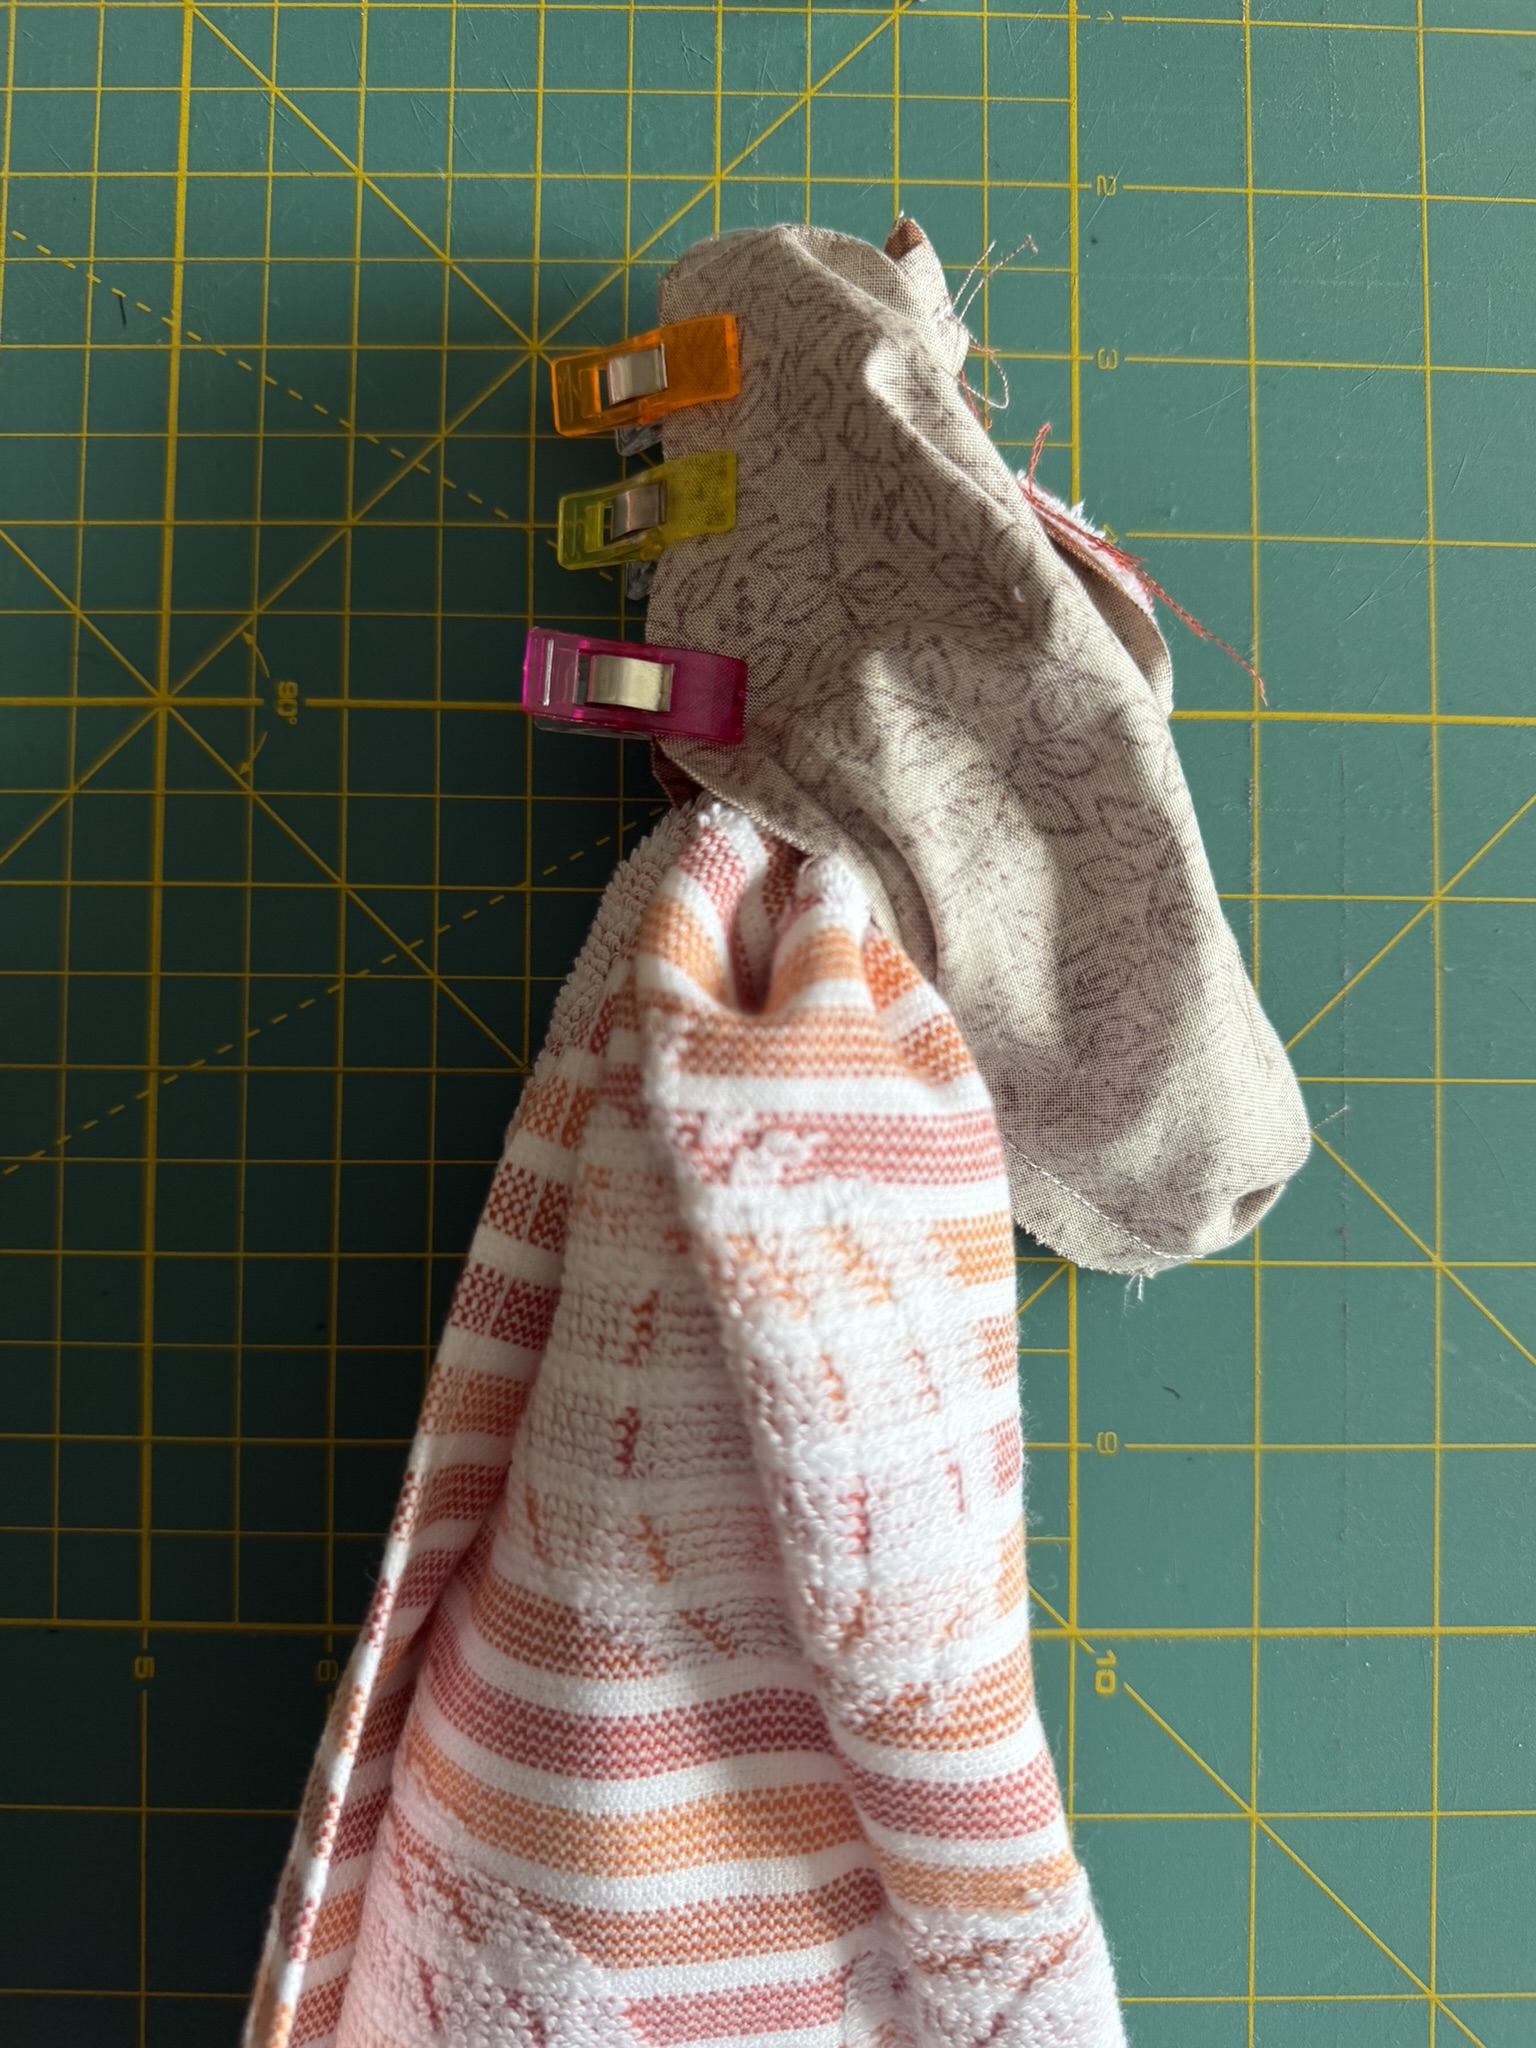
- Use a 1/4" seam allowance to sew the other angled edge. This side is a lttle awkard, but can be sewn cleanly with a little finesse
- Turn the top of the towel right sides out.
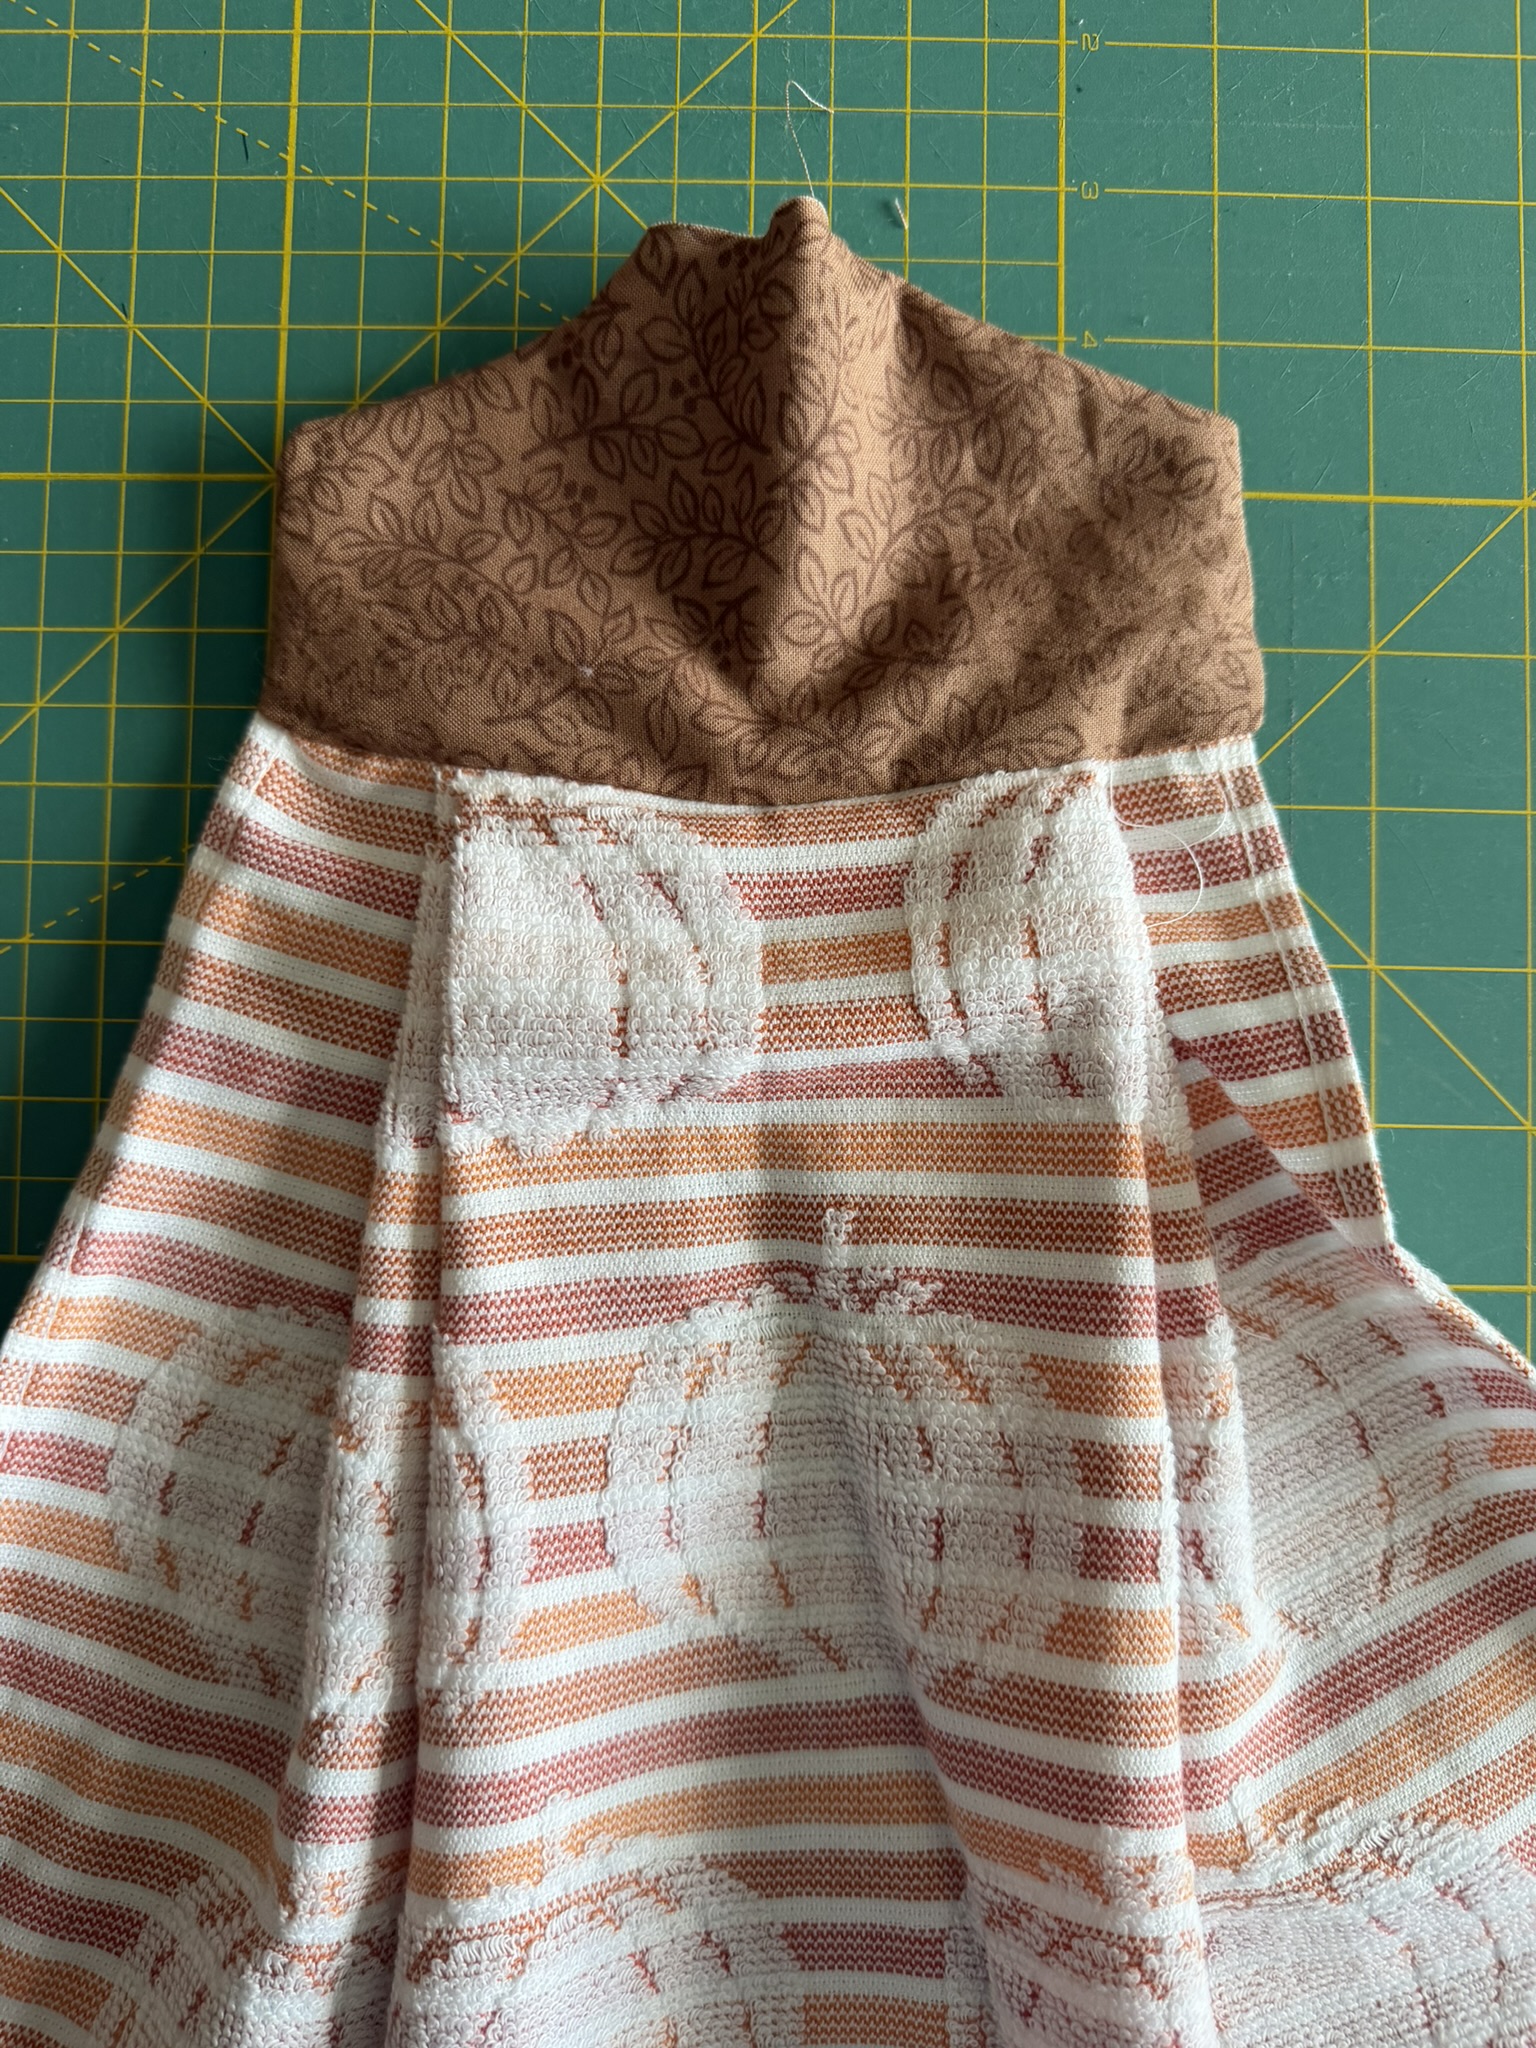
- Turn the raw top edges in about 1/4".
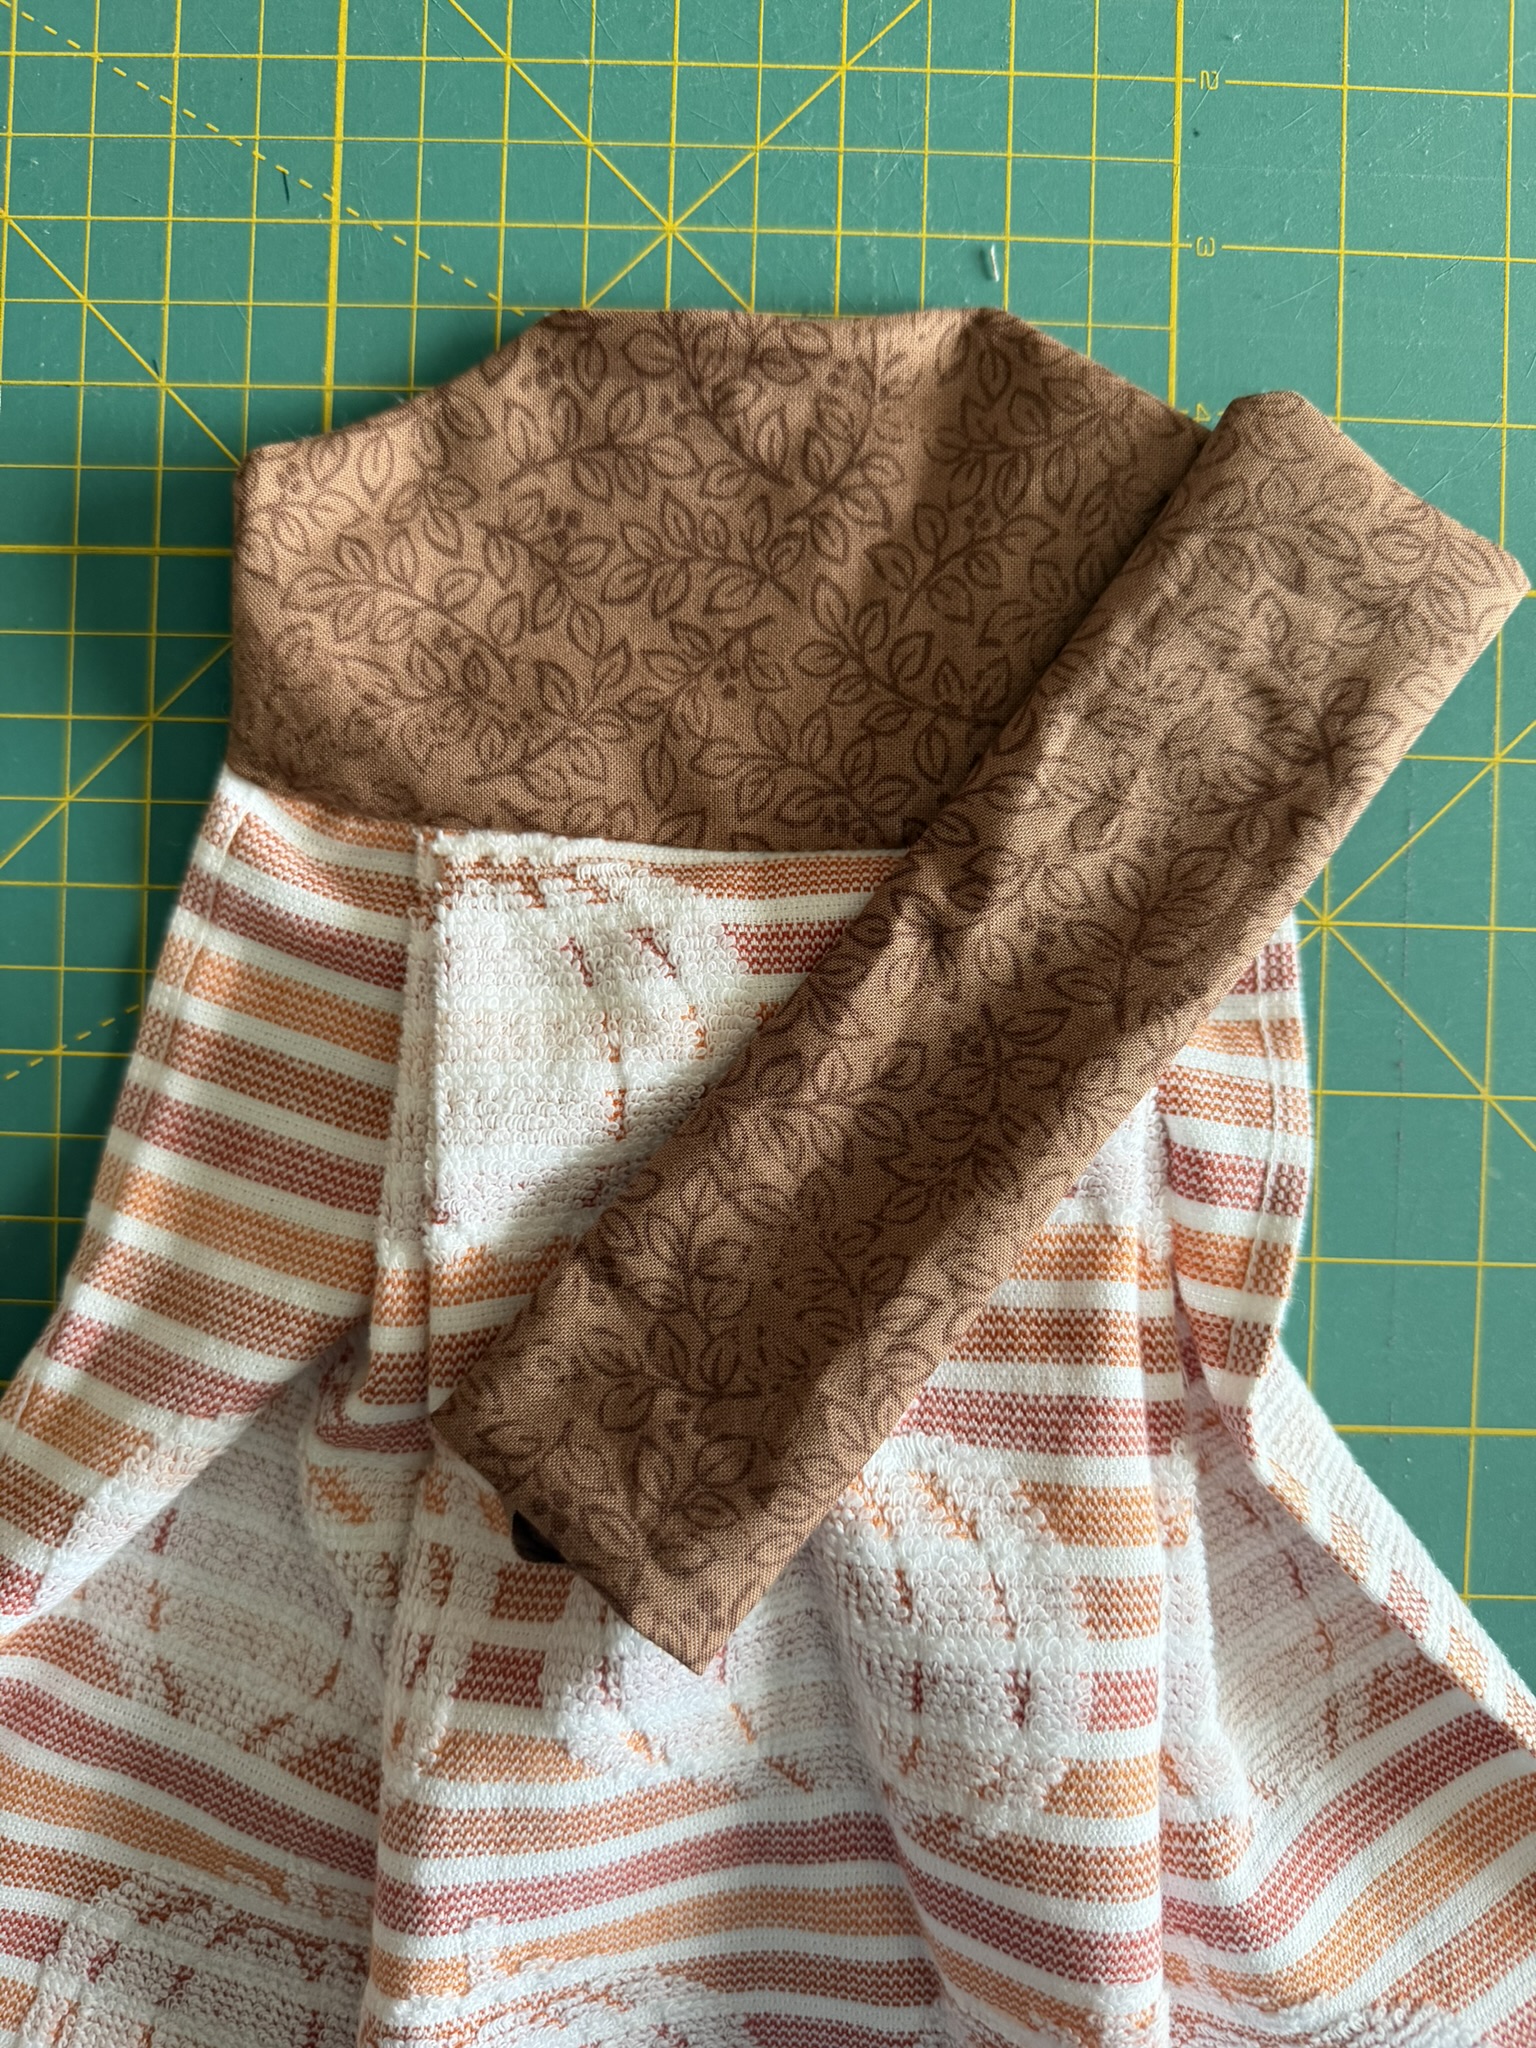
- Take the fabric rectangle and insert about 2.5" of it into the open edge. The outside portion should measure about 5".
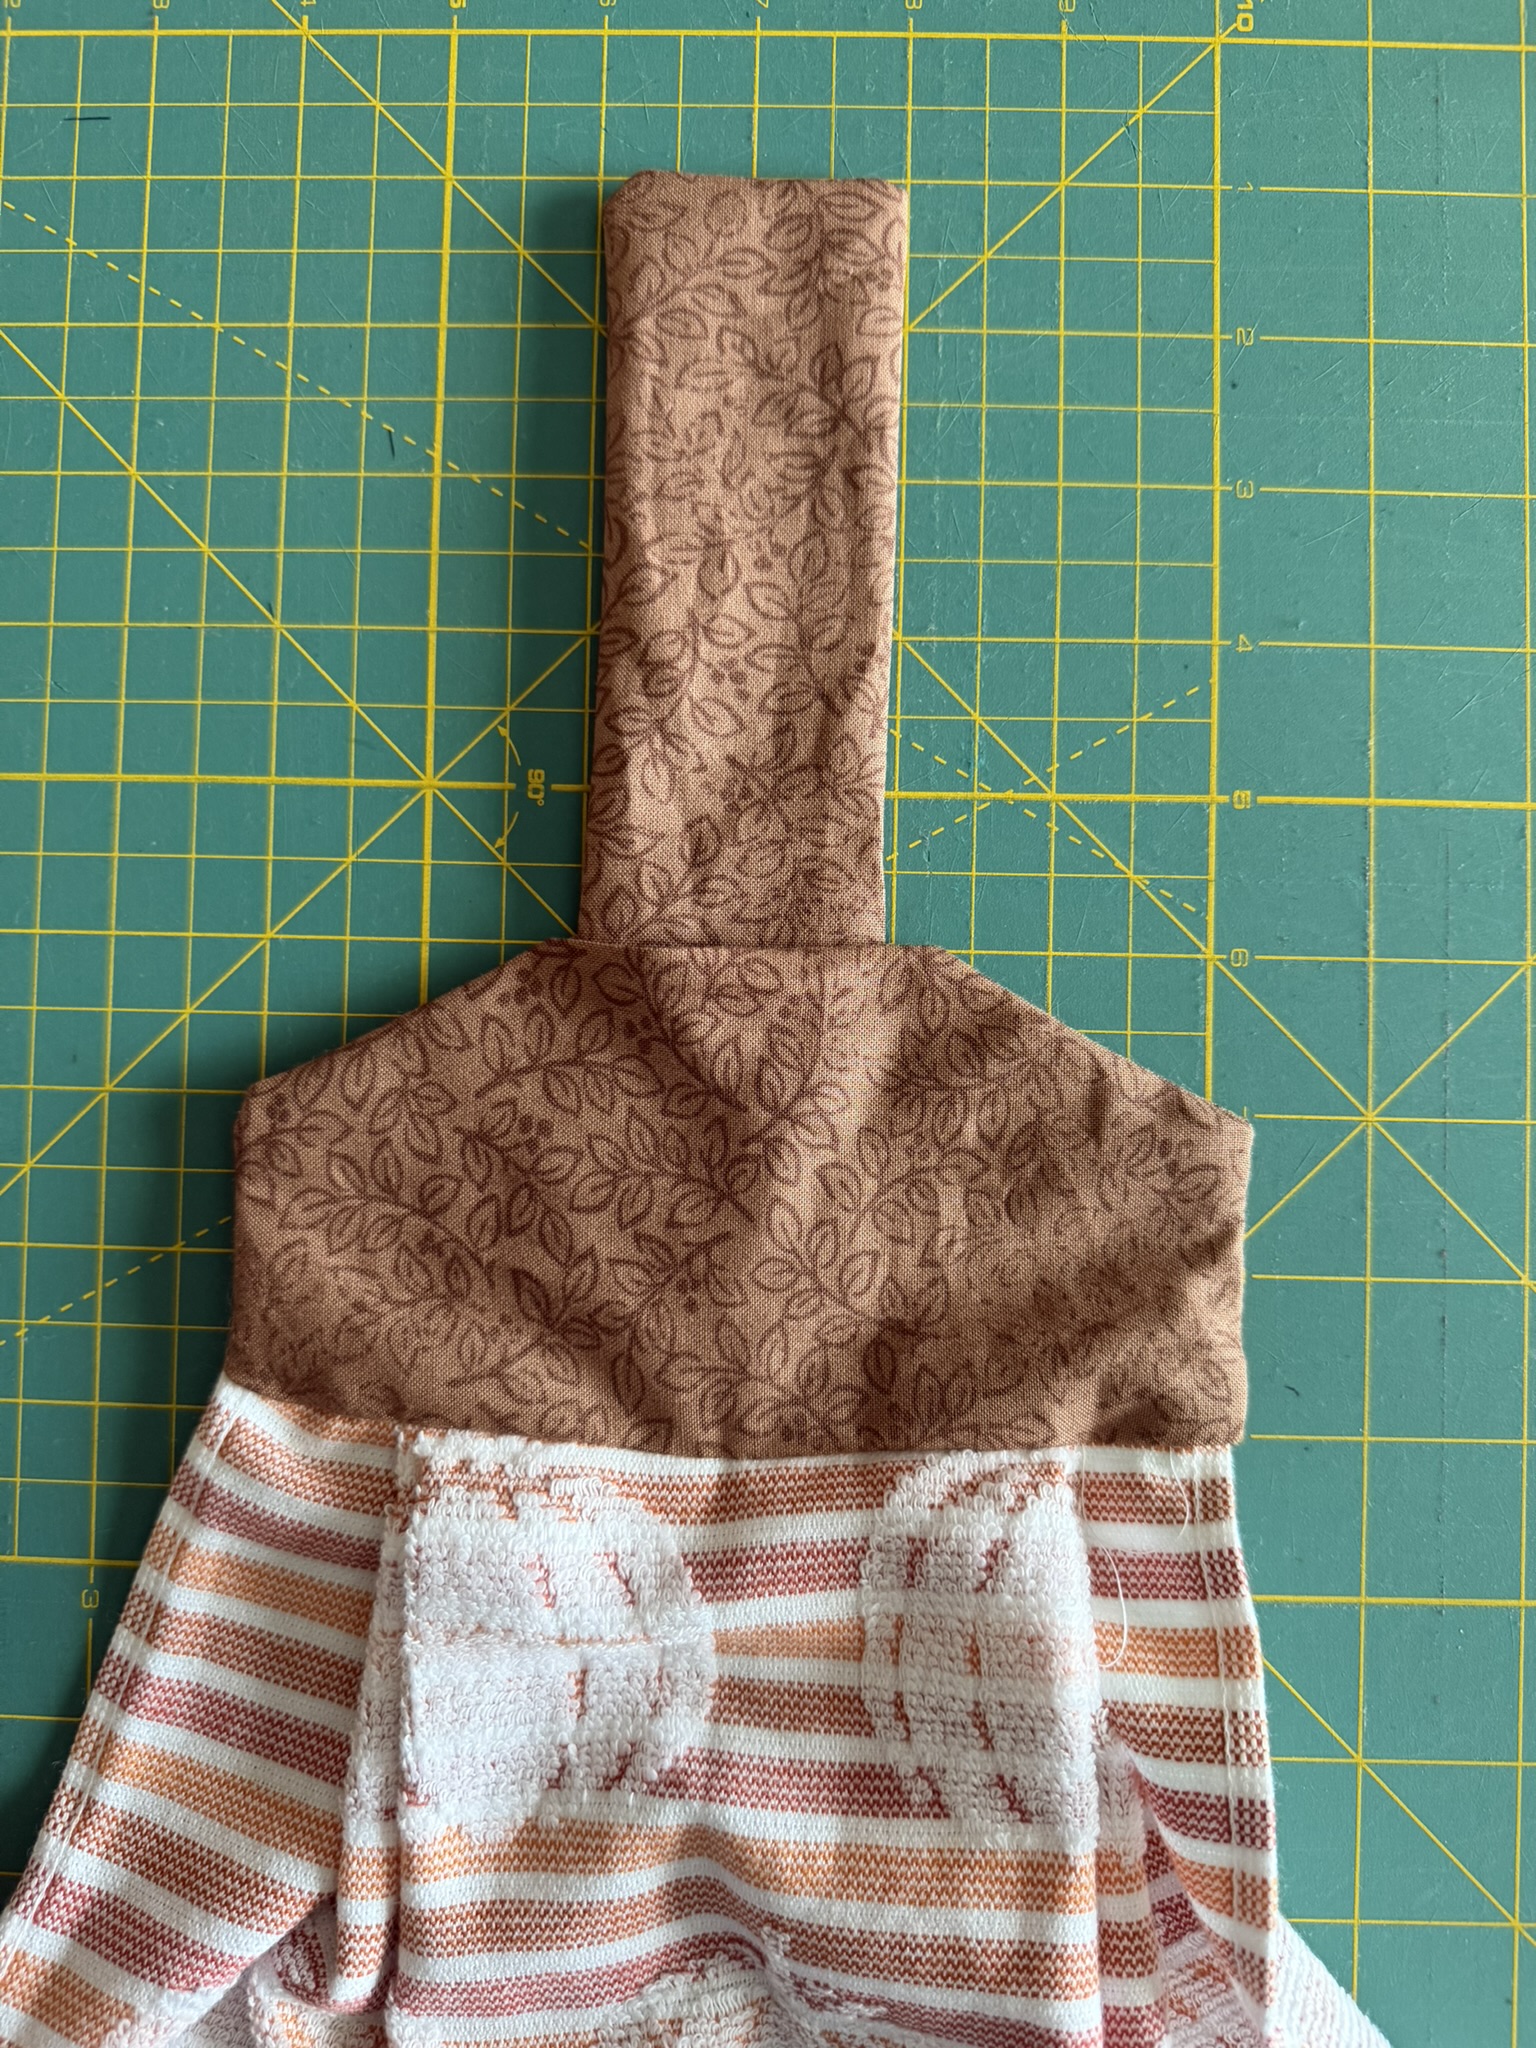
- Top stitch the top edge to close the hole and secure the rectangle tab.
- Top stitch the sides of the rectangle to give it a more finished look the fold over the tab to decide where you want your snap..
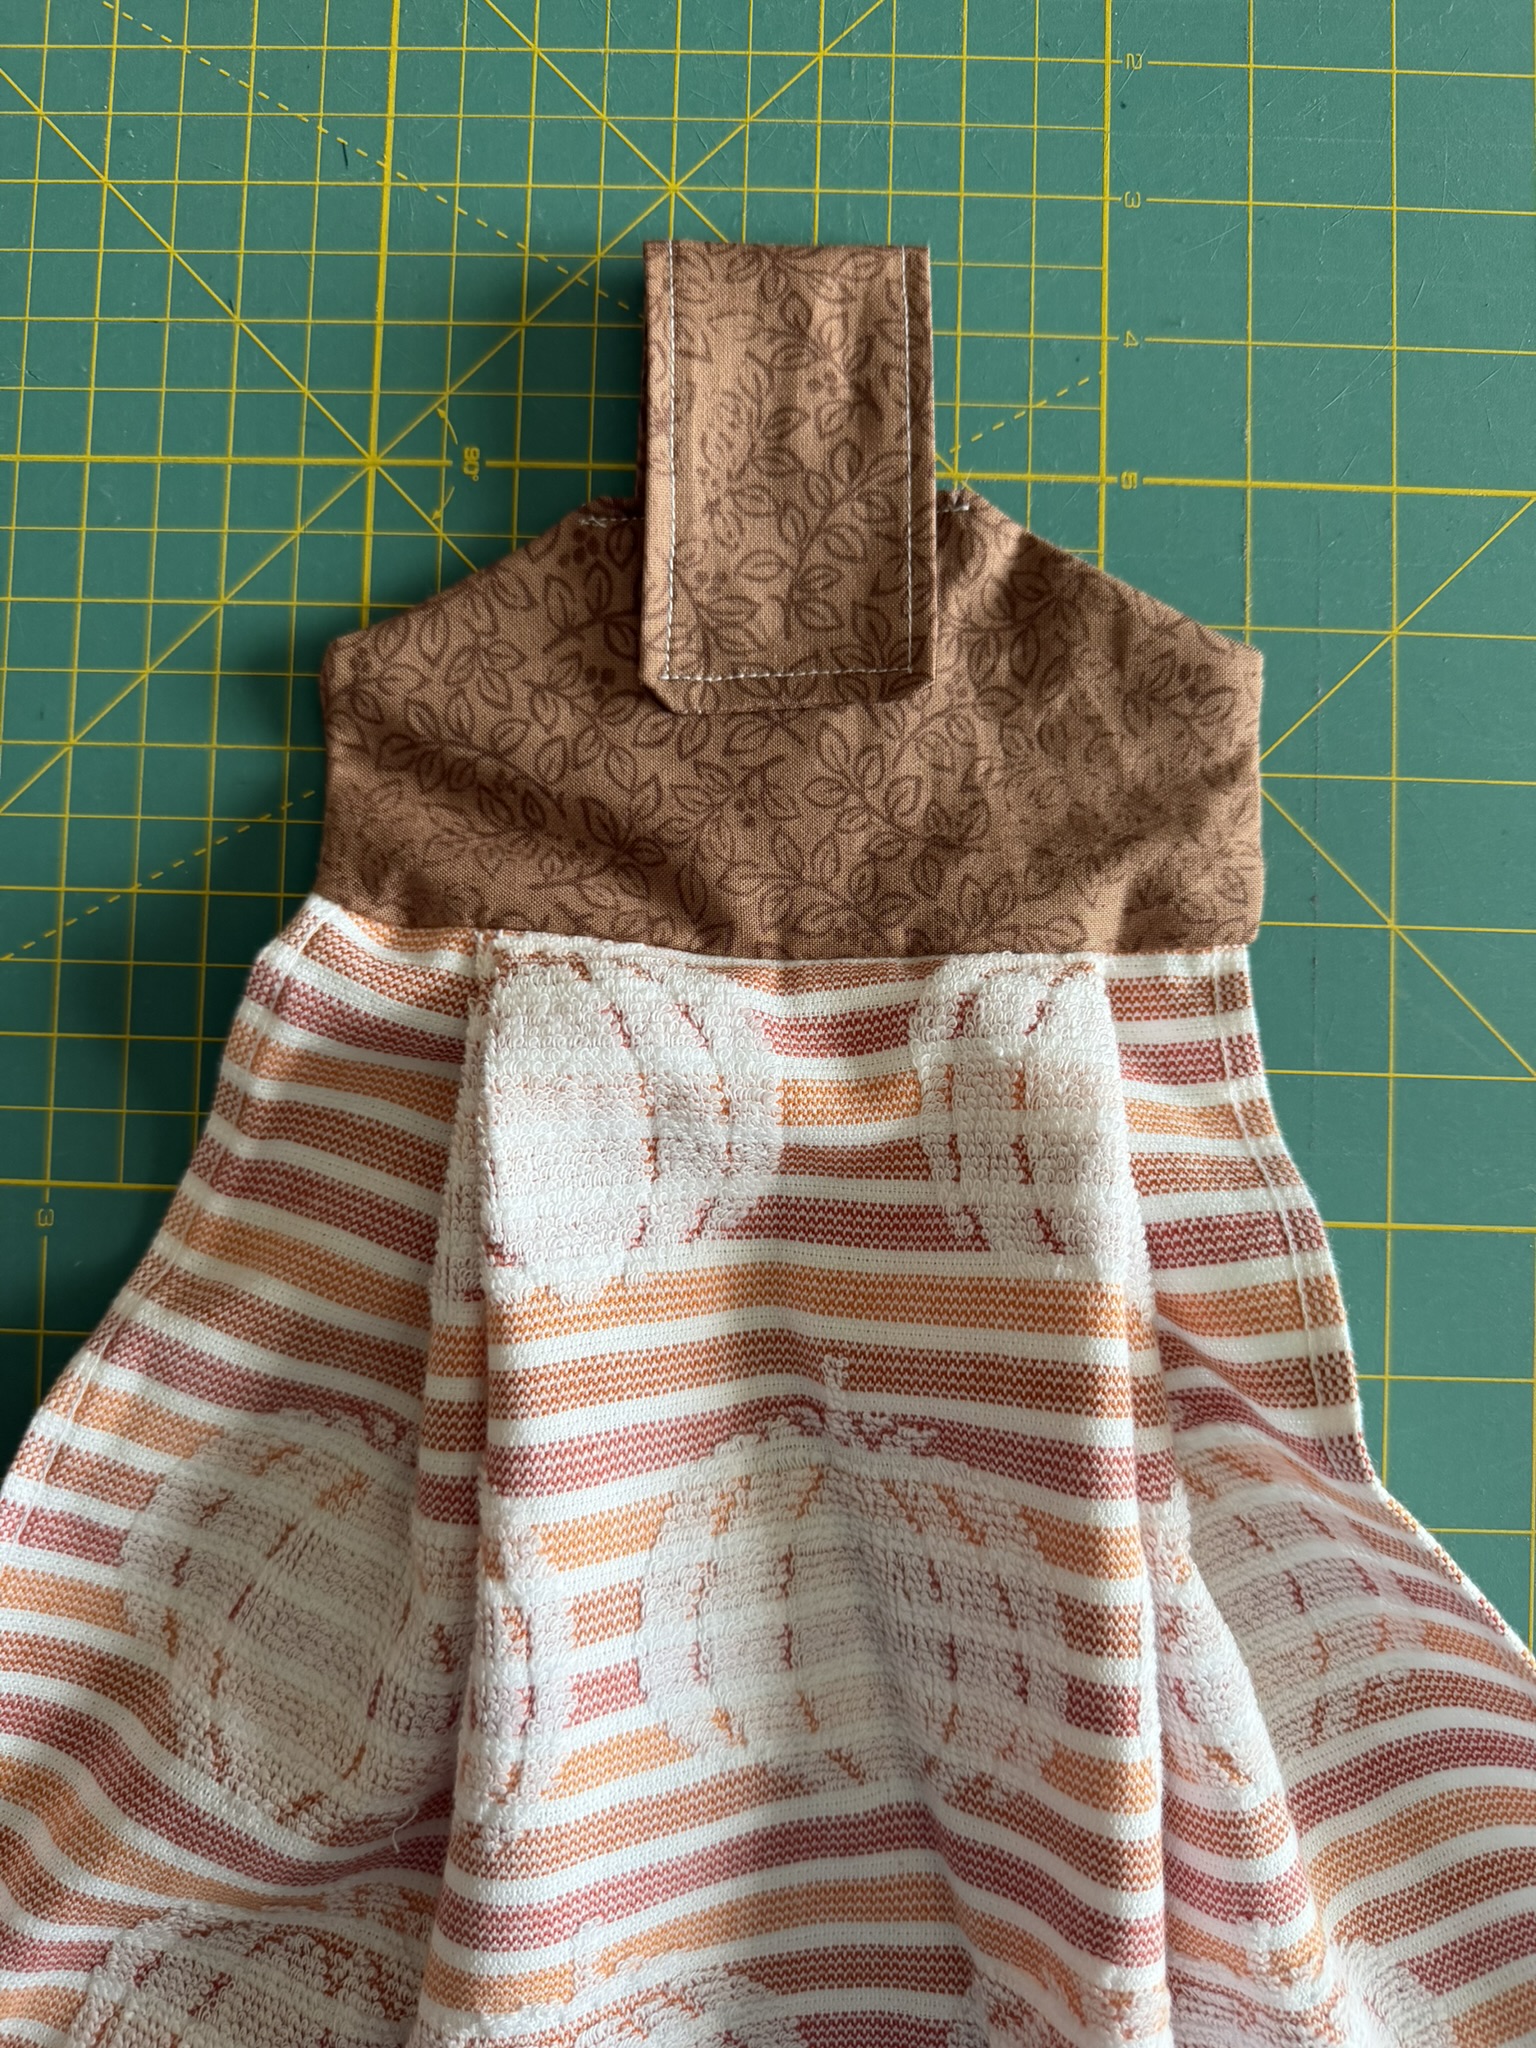
- Use your kam snap tools to install your snap.
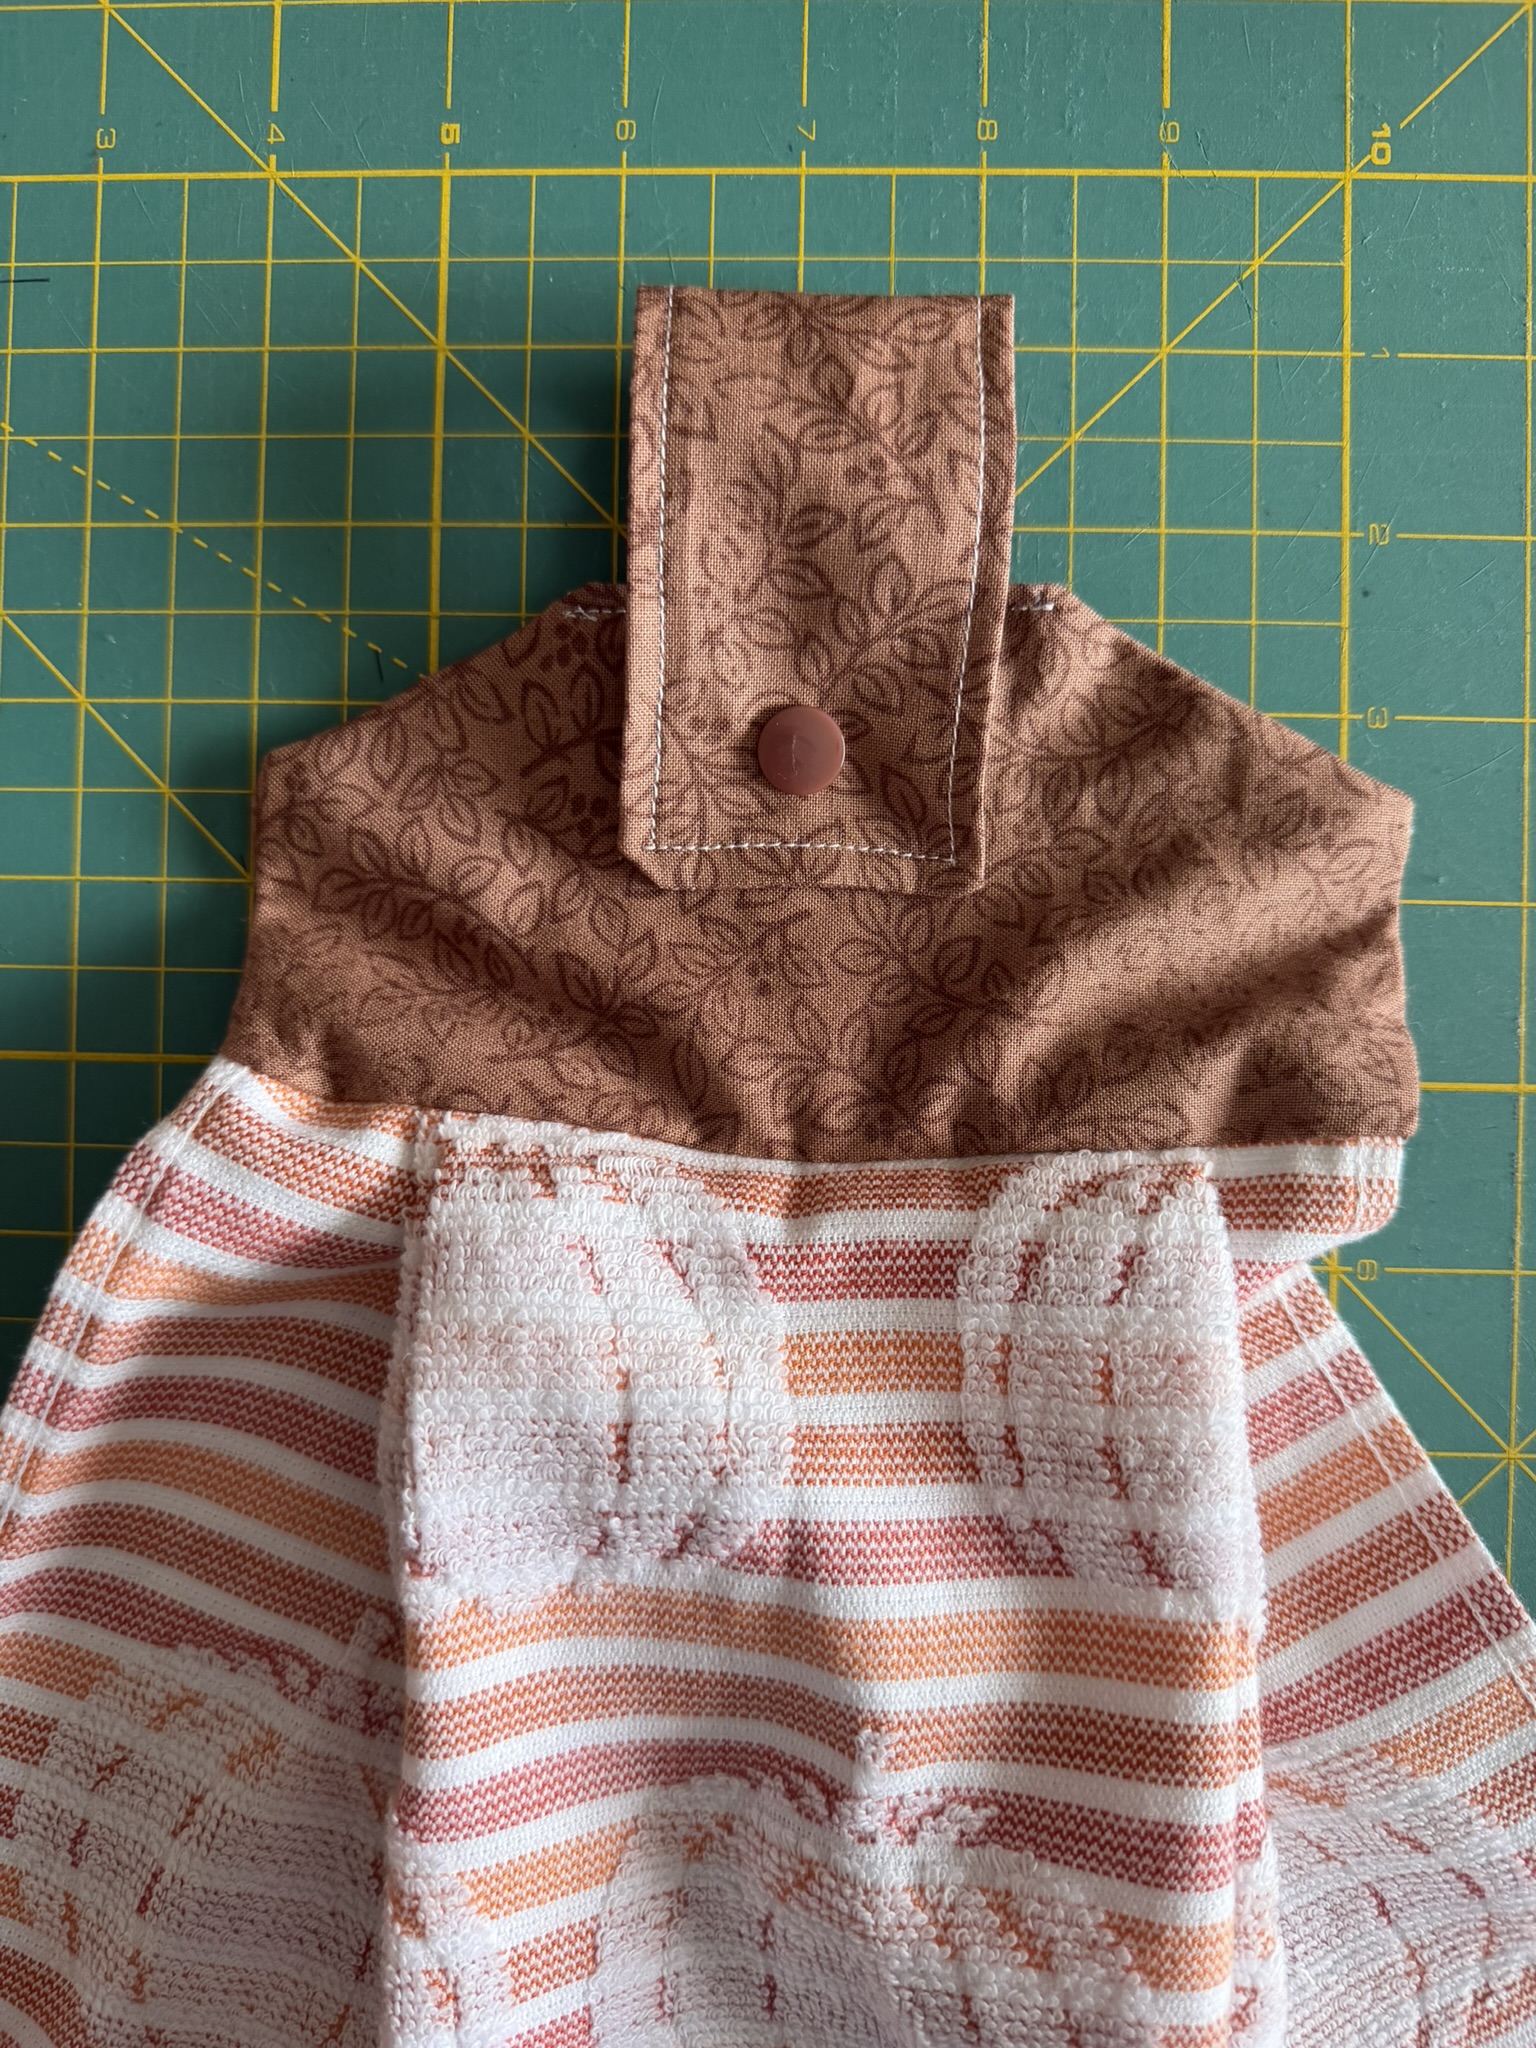
- Test your snap and then start using your towel!
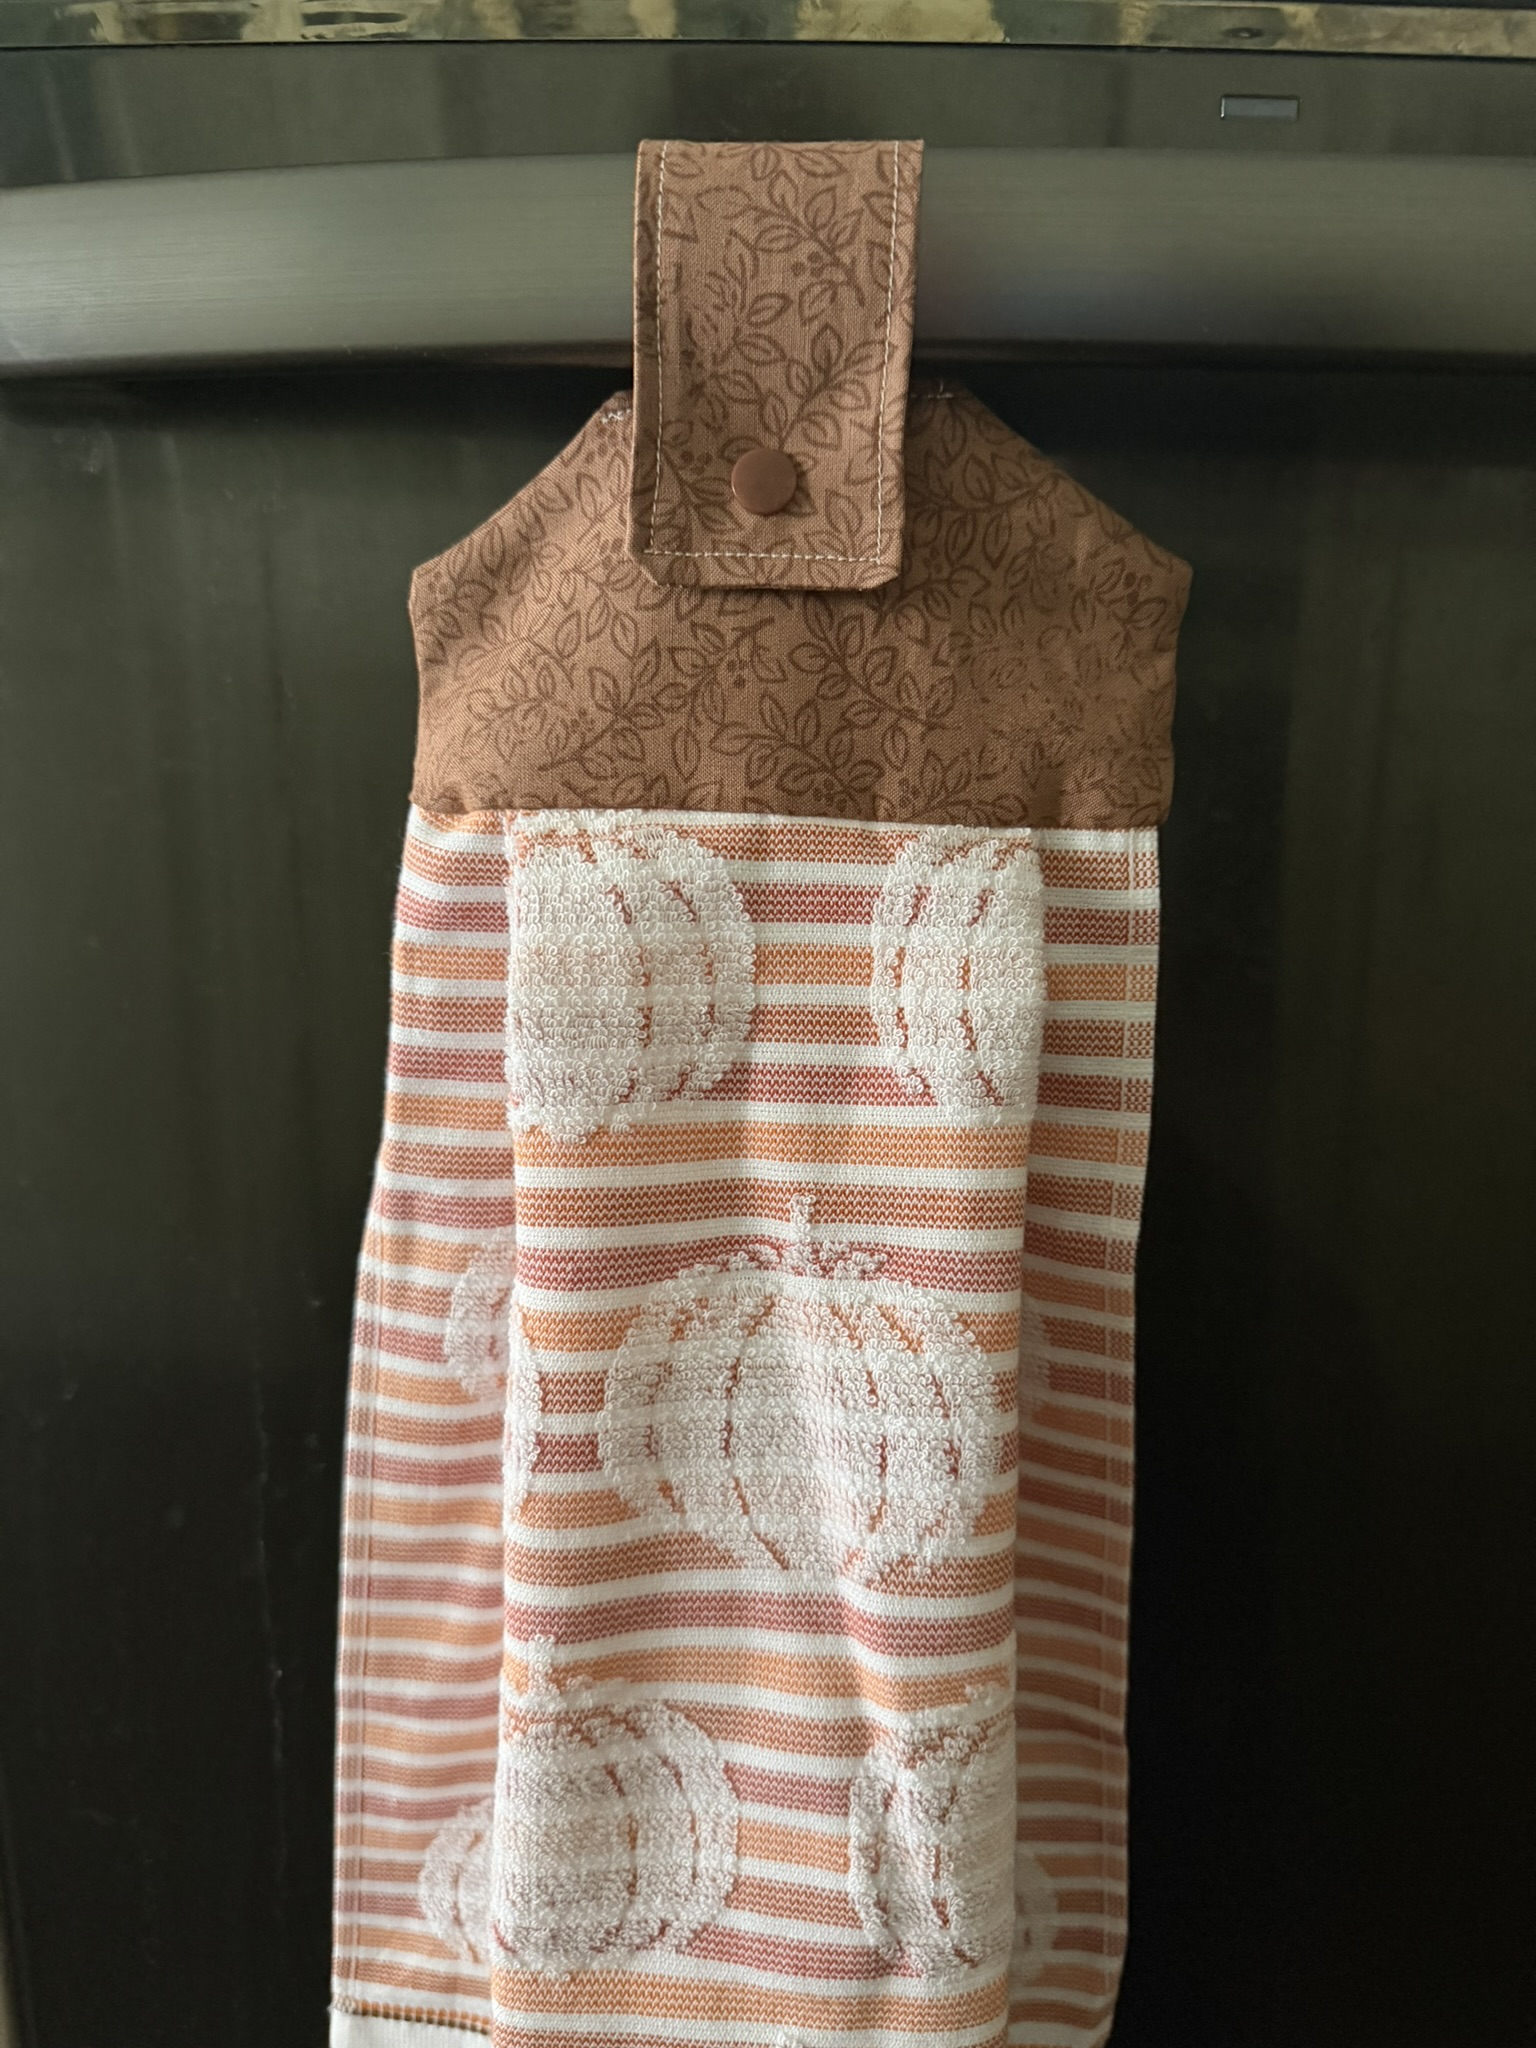
Notes
- You can top stitch the rectangle before you sew it to the top of the towel or after you've attached it.
- You can use a button to secure the towel instead of a snap if you prefer.
Hanging Dish Towels Are Functional And Fun
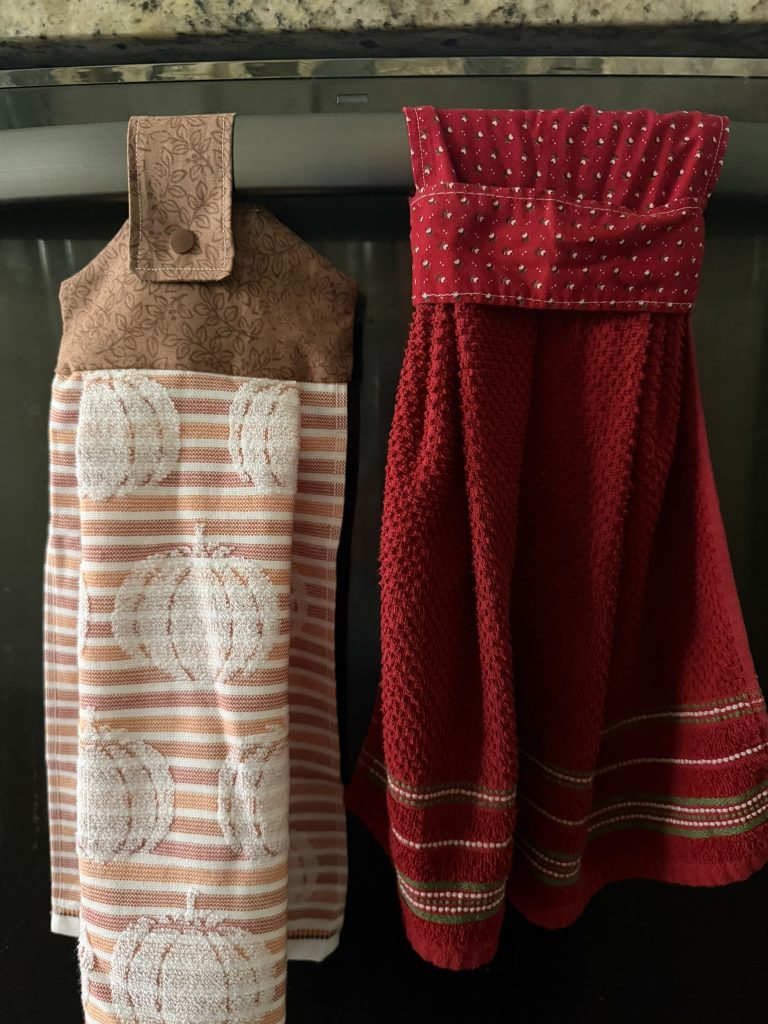
No matter which hanging hand towel you choose to make, this will make a difference in your day-to-day ease in the kitchen.
It’s funny how just knowing that the towel won’t fall to the ground when you give it a tug as you wipe your hands, or open the dishwasher door really does give a person peace of mind.
So when you are making this DIY hanging dish towel, why not make an extra for a friend?