

Fun DIY Craft: No-Sew Tea Tag Tea Wallet
This DIY tea tag tea wallet has been in my queue for a long time.
In fact, my project box is starting to feel like a mini DIY time capsule because so many of the crafting projects have been hanging out in the “to make” box instead of me trying (and in many cases failing) my wacky ideas.
I guess I could argue that I had to drink enough tea to get enough tags to even try this project? Sure, let’s go with that explanation.
The truth of the matter, however, is that I started drinking Good Earth Sweet & Spciy tea (affiliate link) many years ago and have always liked the quotes on the tag.
So I started saving them in the hopes of finding a use for them.
Then, because I was feeling super sassy, I decided this DIY tea wallet from tea tags will be a “that’s so meta moment“.
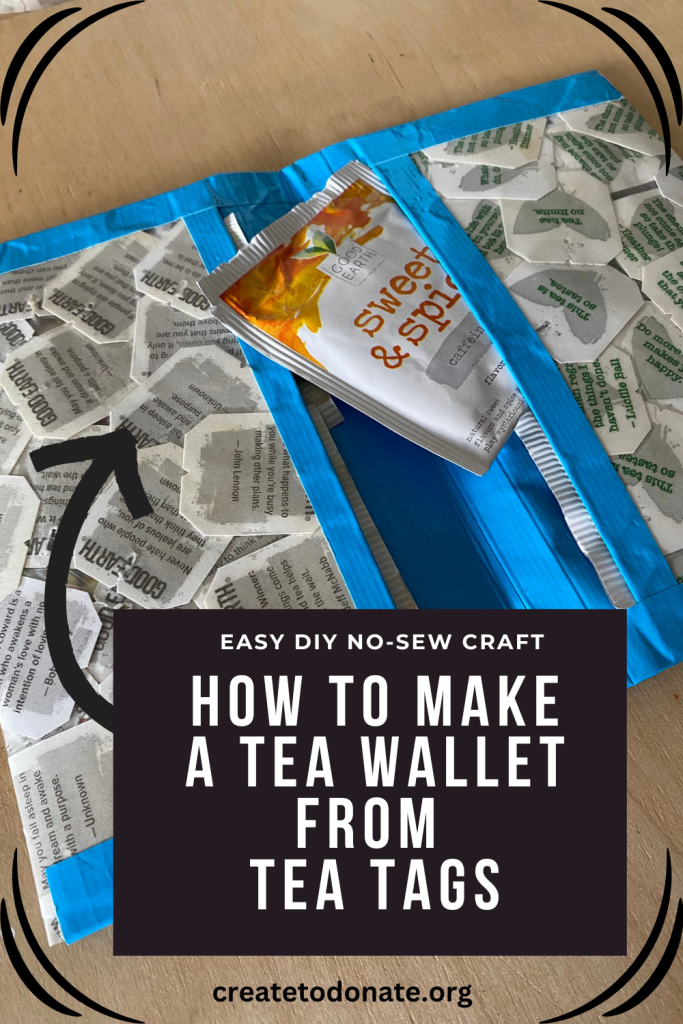
After all, tea wallets are always great for a chemo care bag whether they’re a duct tape tea wallet, motivational tea tag tea wallet, or a fabric tea wallet.
How To Design A Tea Tag Tea Wallet
There are many ways to approach this project, especially if you’re just using standard tea tags without the quotes.
For example, if you collect a colorful bunch of tea tags, you could do an ombre look. Or, find a way to add some accent strips and create a mermaid tail.
If you want to be super organized, you could make a tea wallet for each type of tea and include the tea bag packaging as part of the designs as a visual cue.
Tea tags and the packaging are a fun material to upcycle because once they’re encased in the iron-on vinyl, they are water resistant and very versatile.
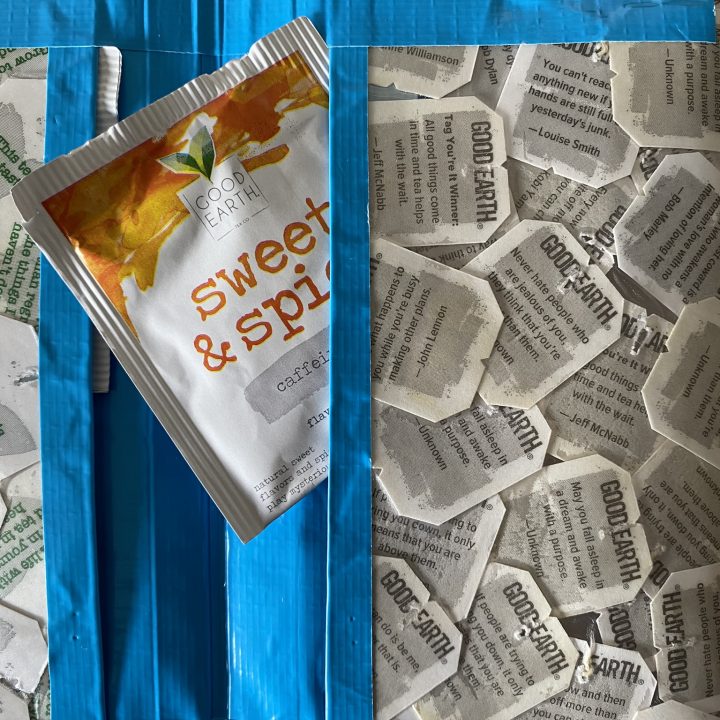
The quotes on the tea tags, however, are my main focus for this project so that the tea wallet provides just a little bit of daily, positive motivation for the person using it.
How To Make A DIY No-Sew Tea Wallet From Tea Tags
This DIY project should come together quickly.
The bulk of your time will likely be spent figuring out which tag to put where if sequence is at all important to you.
At first, I was going to do rows of tags, but it didn’t look right.
Then, I realized my need for order was unnecessary and a layered look with the tags I like best feature on the top was the way to go.
Not having to break out the sewing machine also means a more straightforward and fun beginner DIY project.
So let’s get started with the tea wallet tutorial!
DIY Tea Wallet From Tea Tags
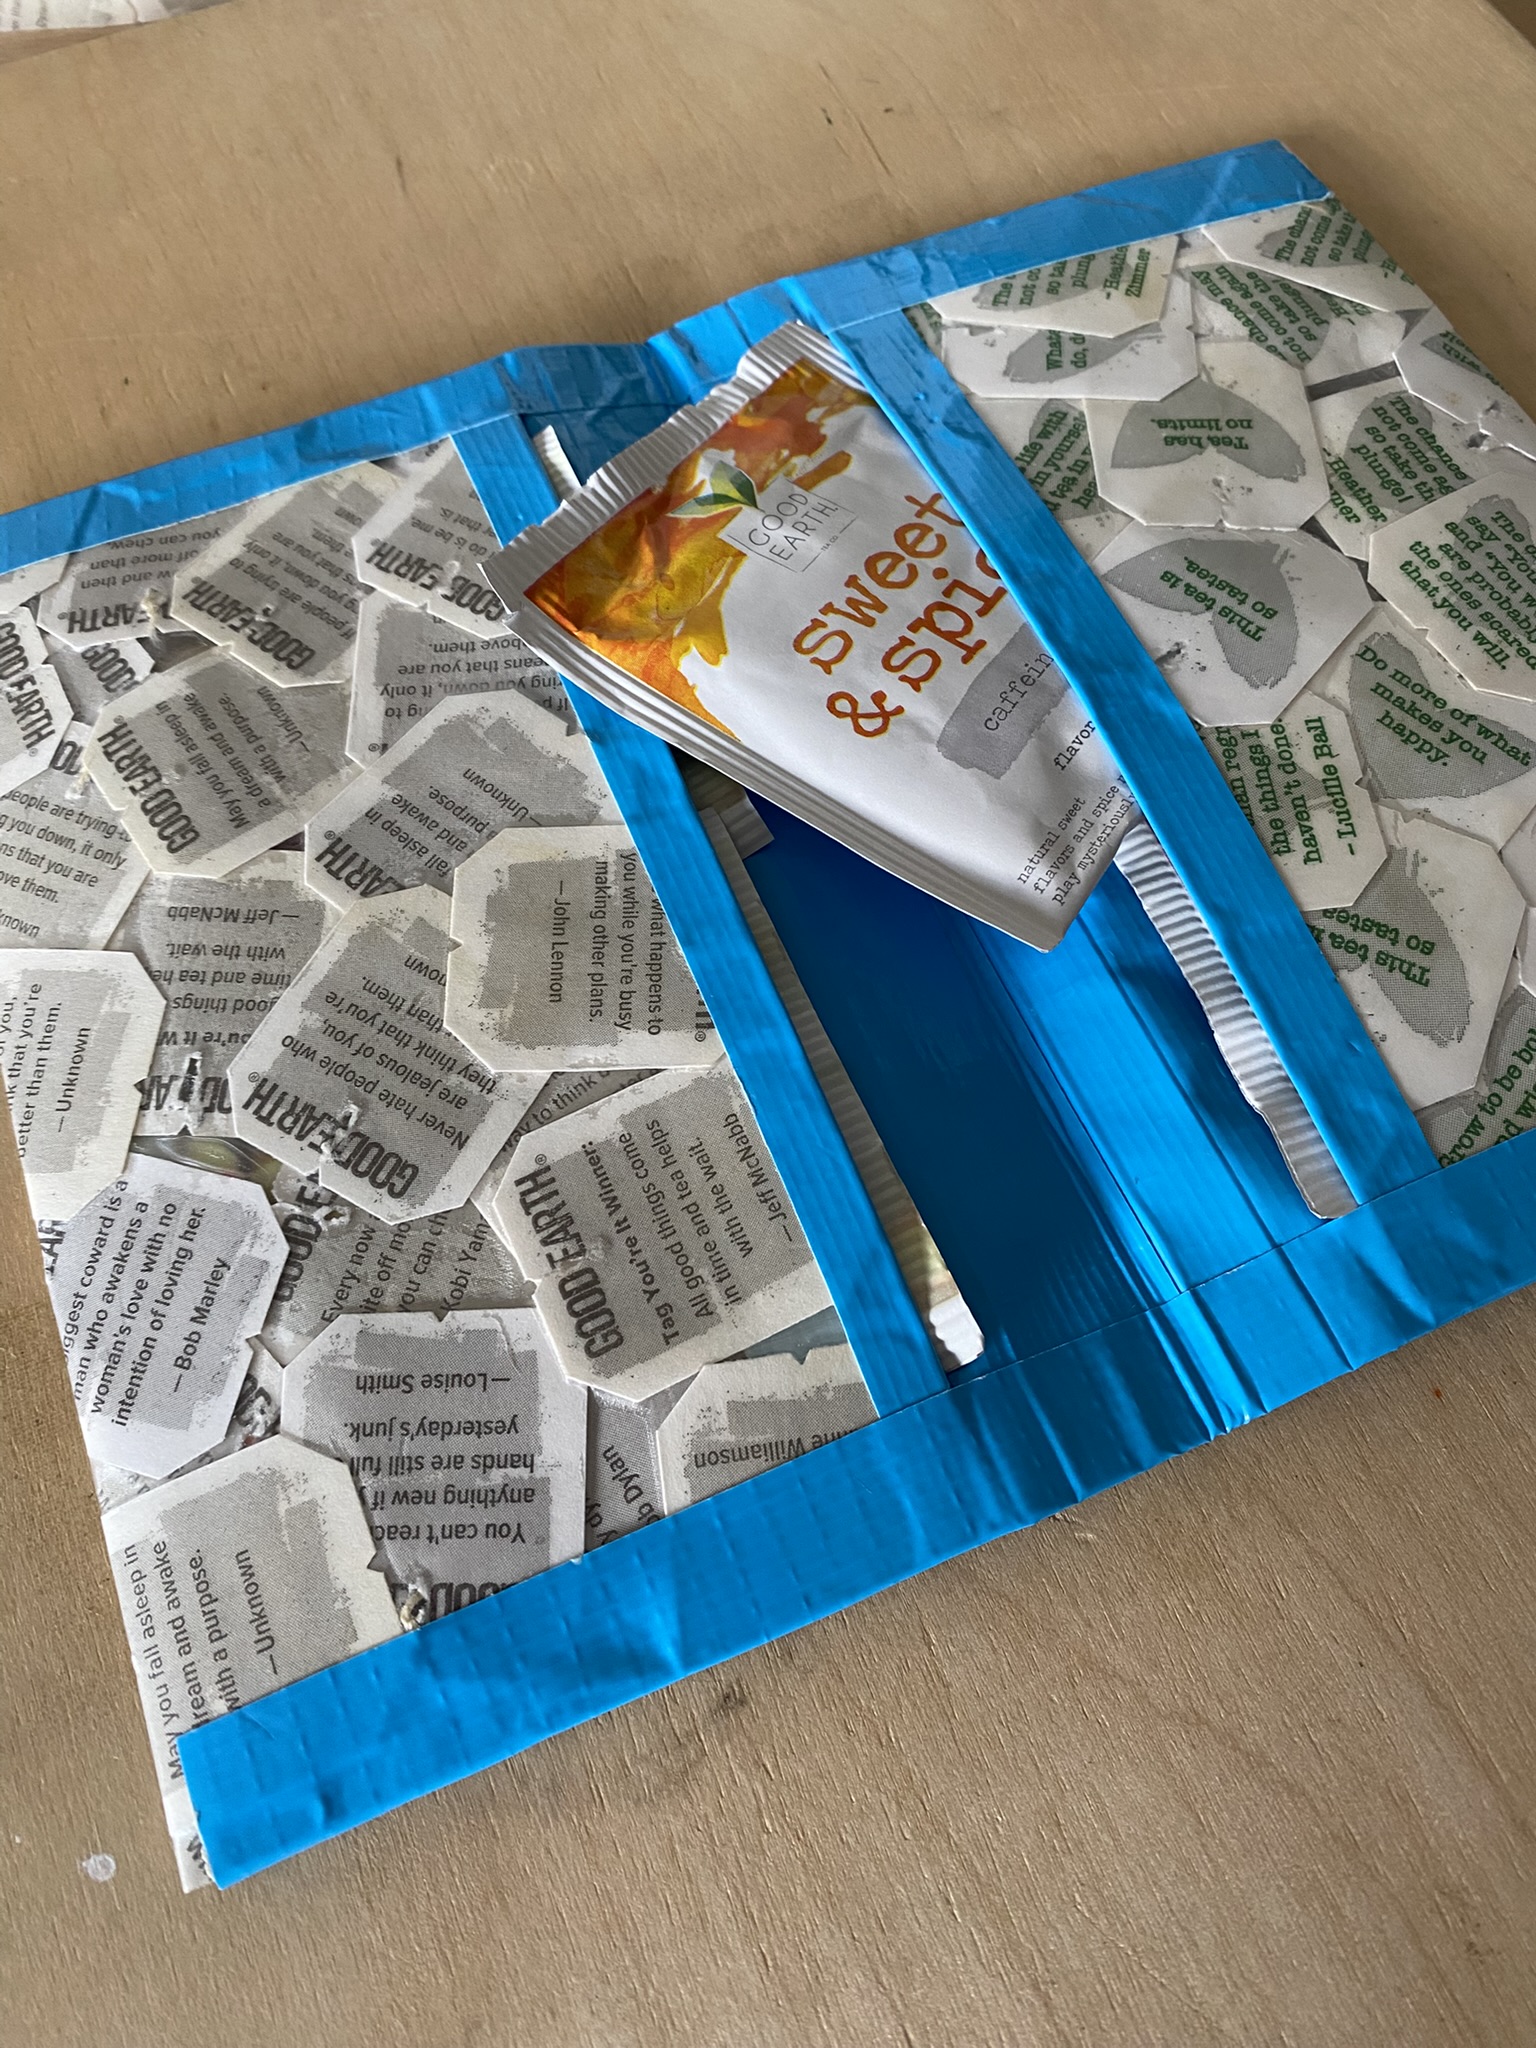
Upcycle tea tags to make this DIY tea wallet that is a unique was to get some motivational mantras incorporated into your daily cup of tea.
Materials
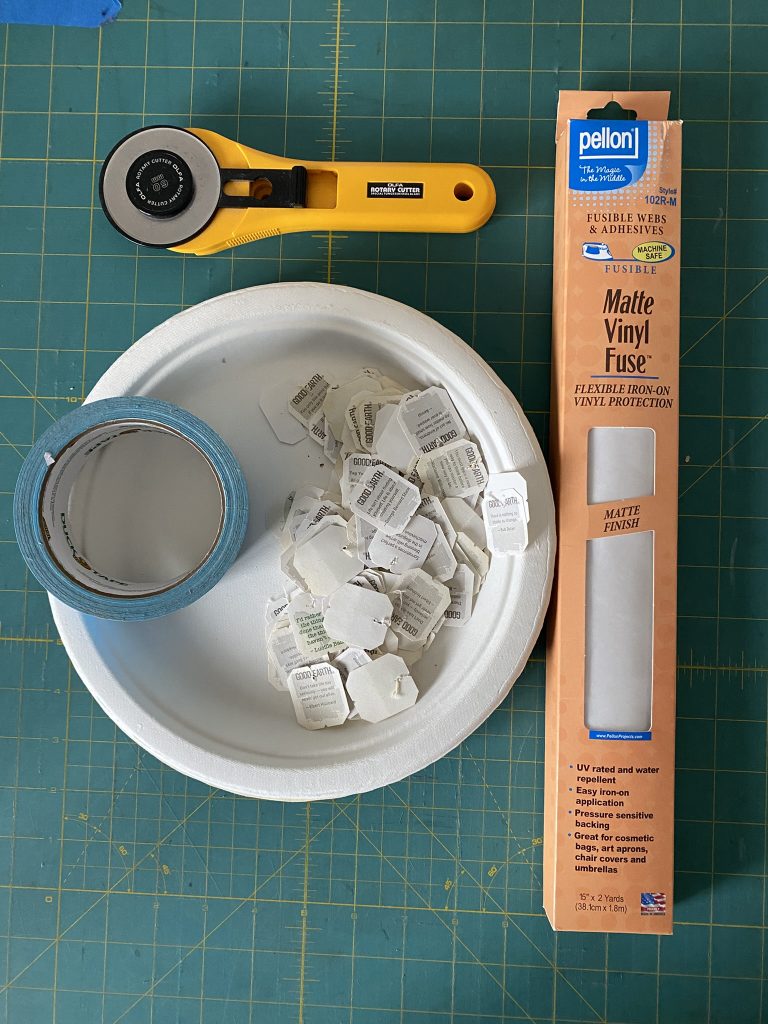
- A copious amounts of tea tags (at least 50) with motivational quotes (or any tea tags, really)
- Fusible vinyl
- Duct tape
Tools
- Rotary cutter and mat
- Acrylic ruler
- Sewing clips
- Iron or Cricut Mini Press
- Ironing board or ironing surface
- Parchment paper or Teflon pressing sheet
Instructions
- Cut four pieces of fusible vinyl at 8" x 6".
- Remove the protective sheet from one piece of vinyl and place it sticky side UP on your ironing surface.
- Grab a handful of tags and fill the fusible vinyl sheet using a random pattern.
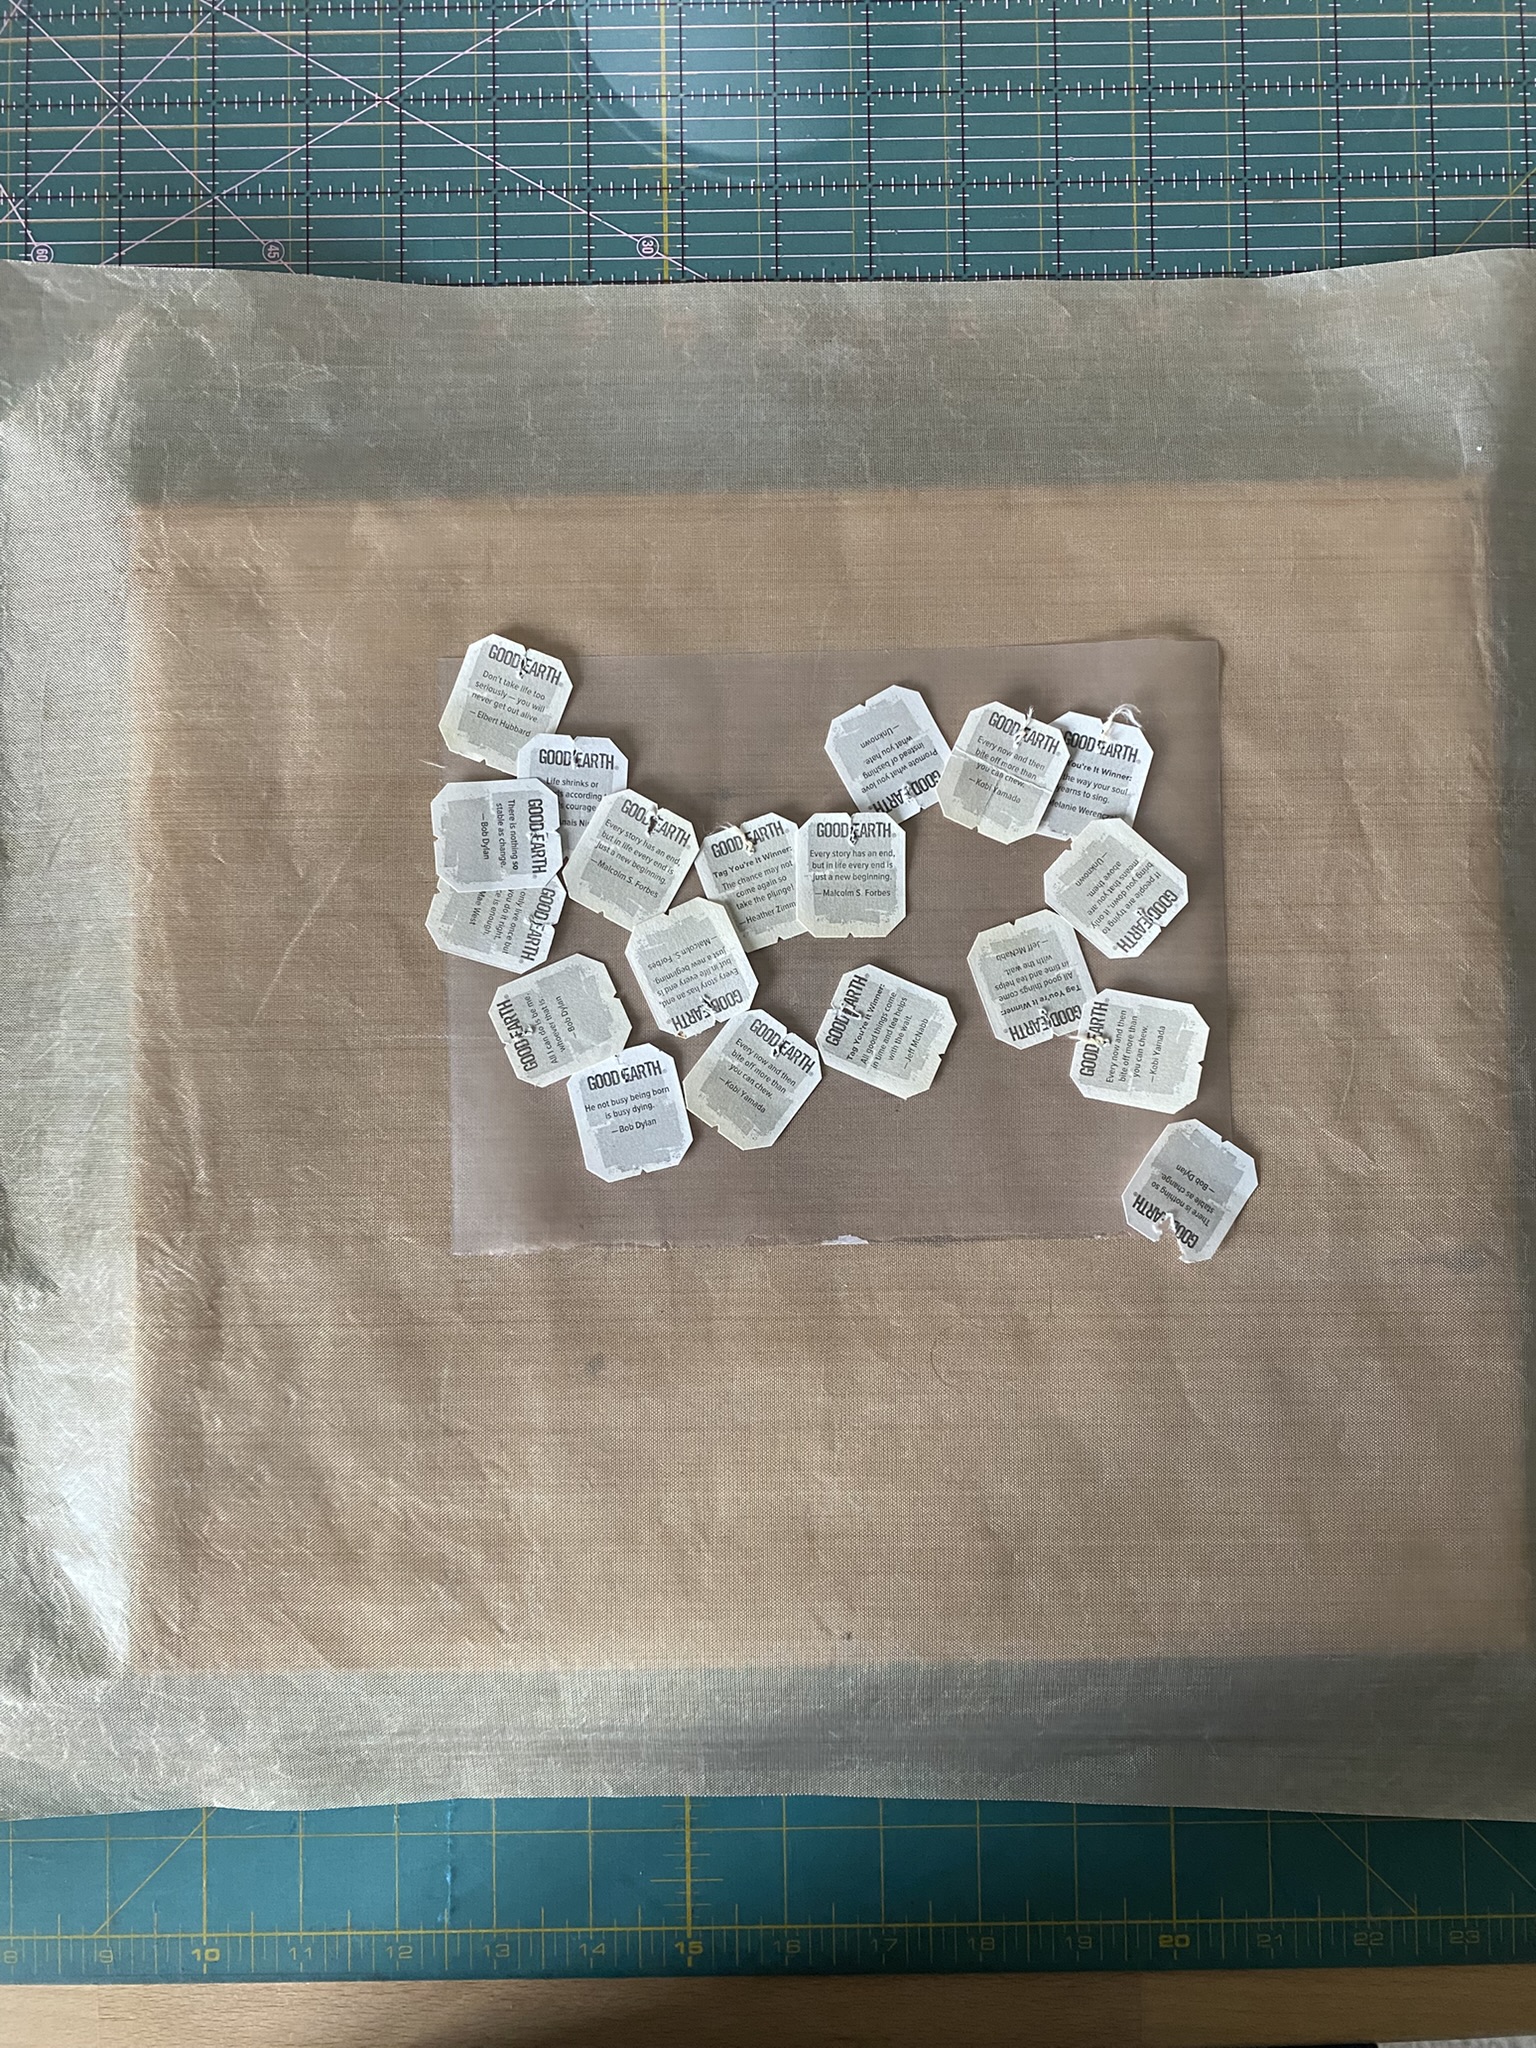
- Cover the tags with your pressing sheet and fuse the tags to the vinyl
- Remove the cover sheet from another piece of vinyl and place it over the unfinished side of the tags.
- Iron the vinyl sheet to fuse the two sheets together.
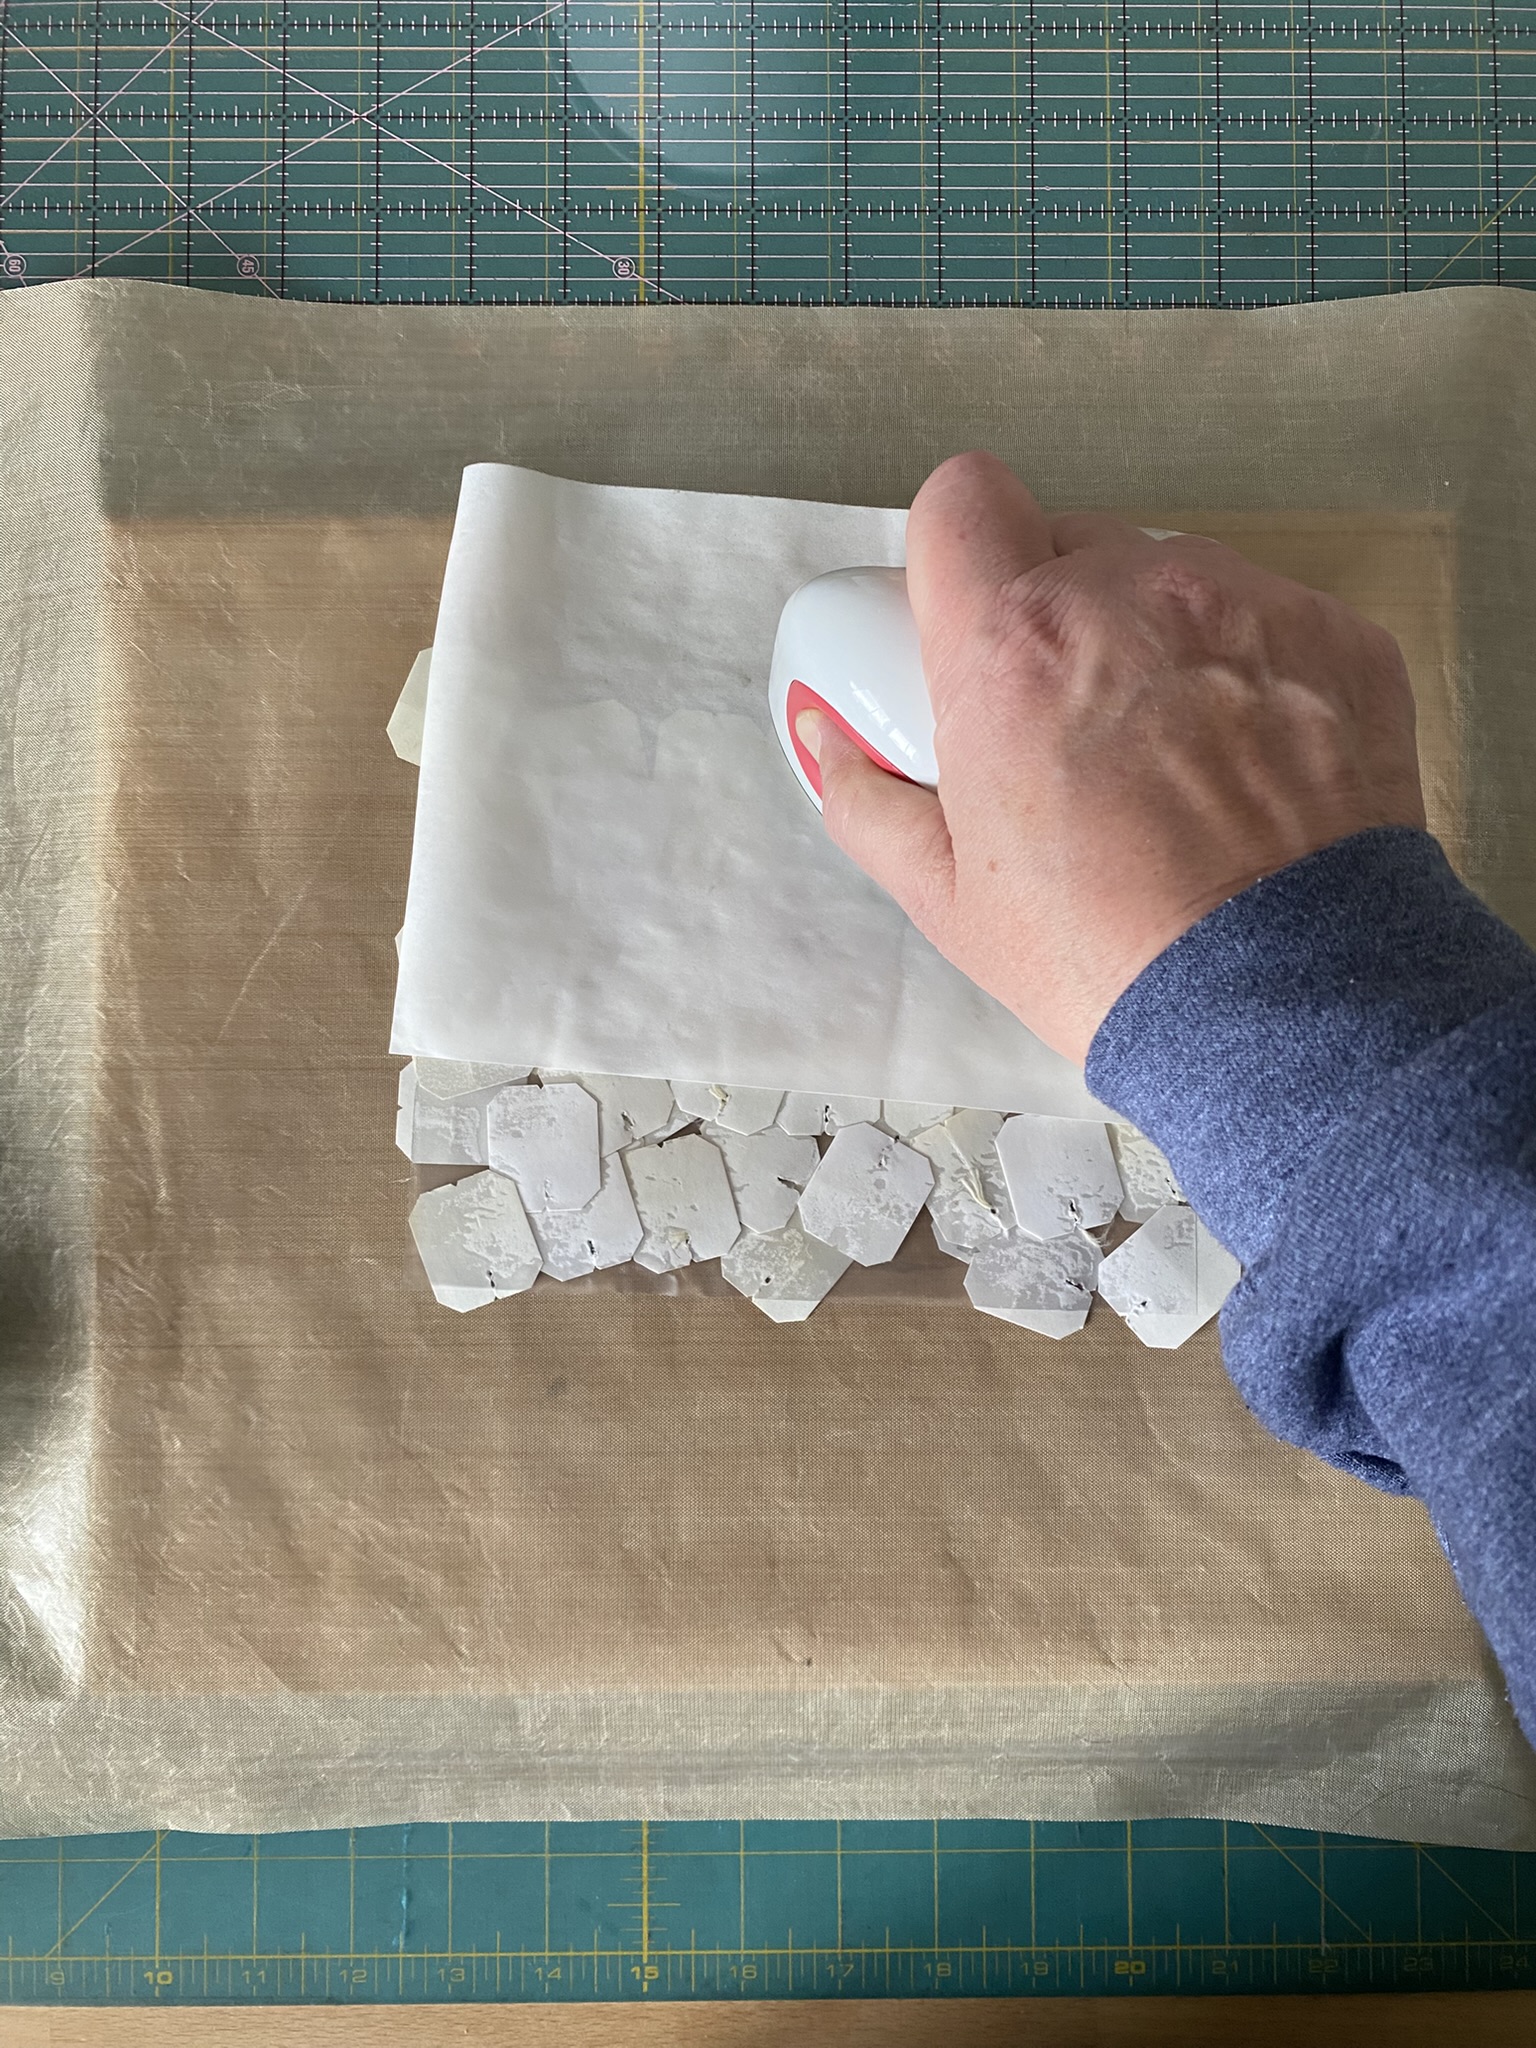
- Repeat steps 2 - 6 to create a second finished sheet of tea tags
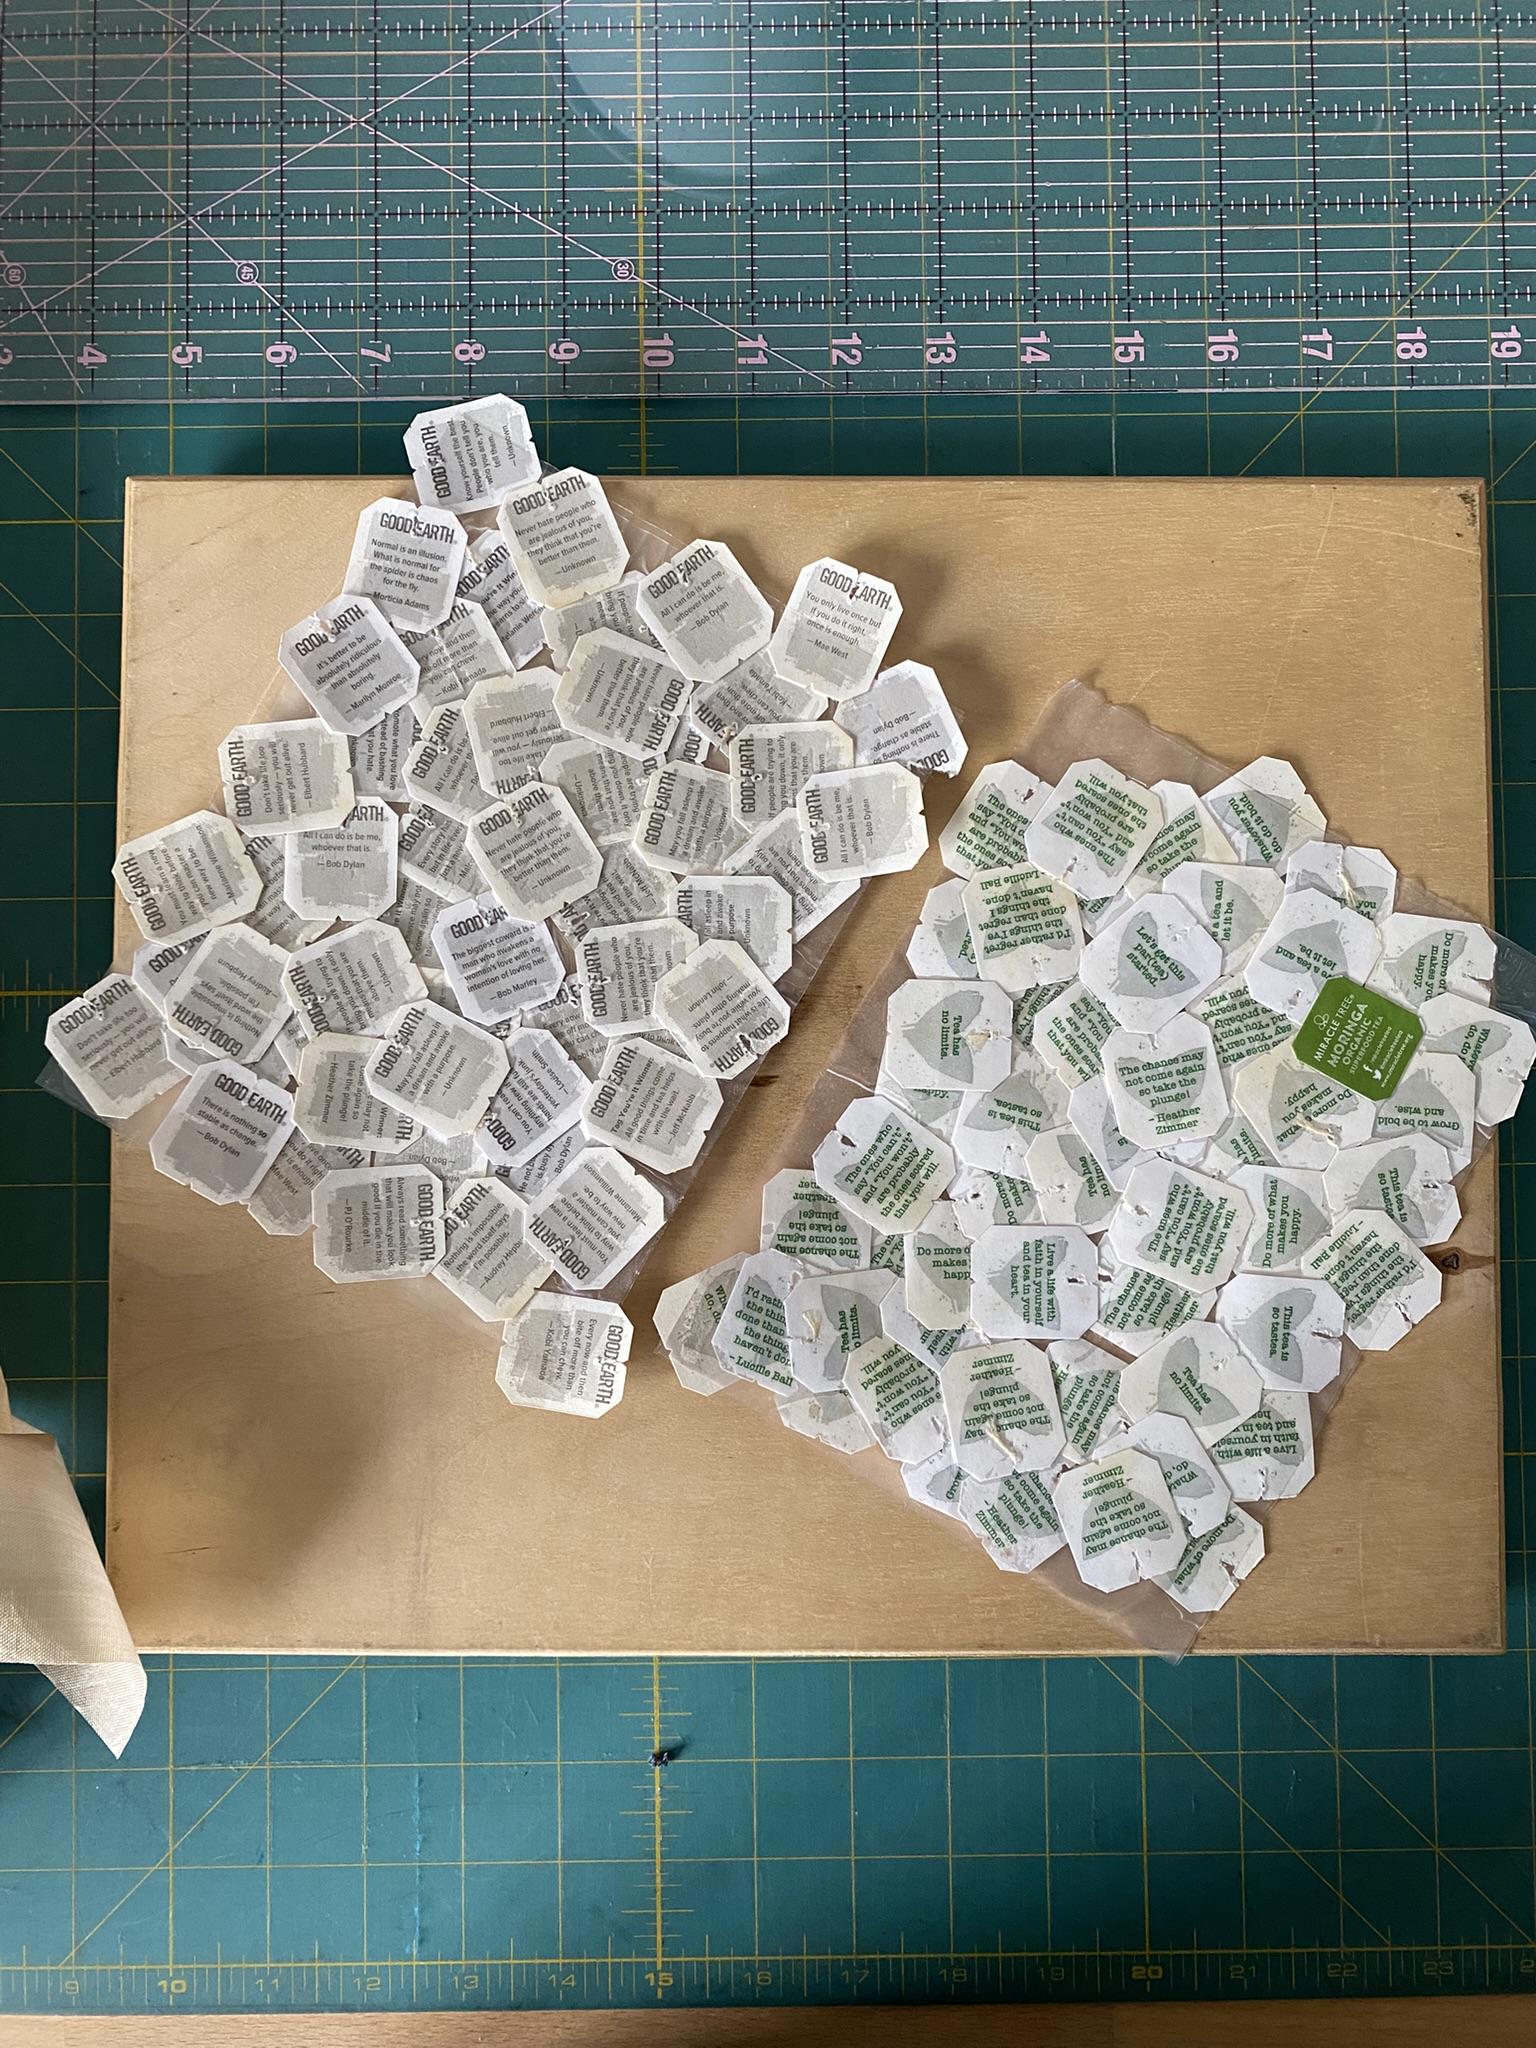 .
- Cut four pieces of duct tape that are 8" in length.
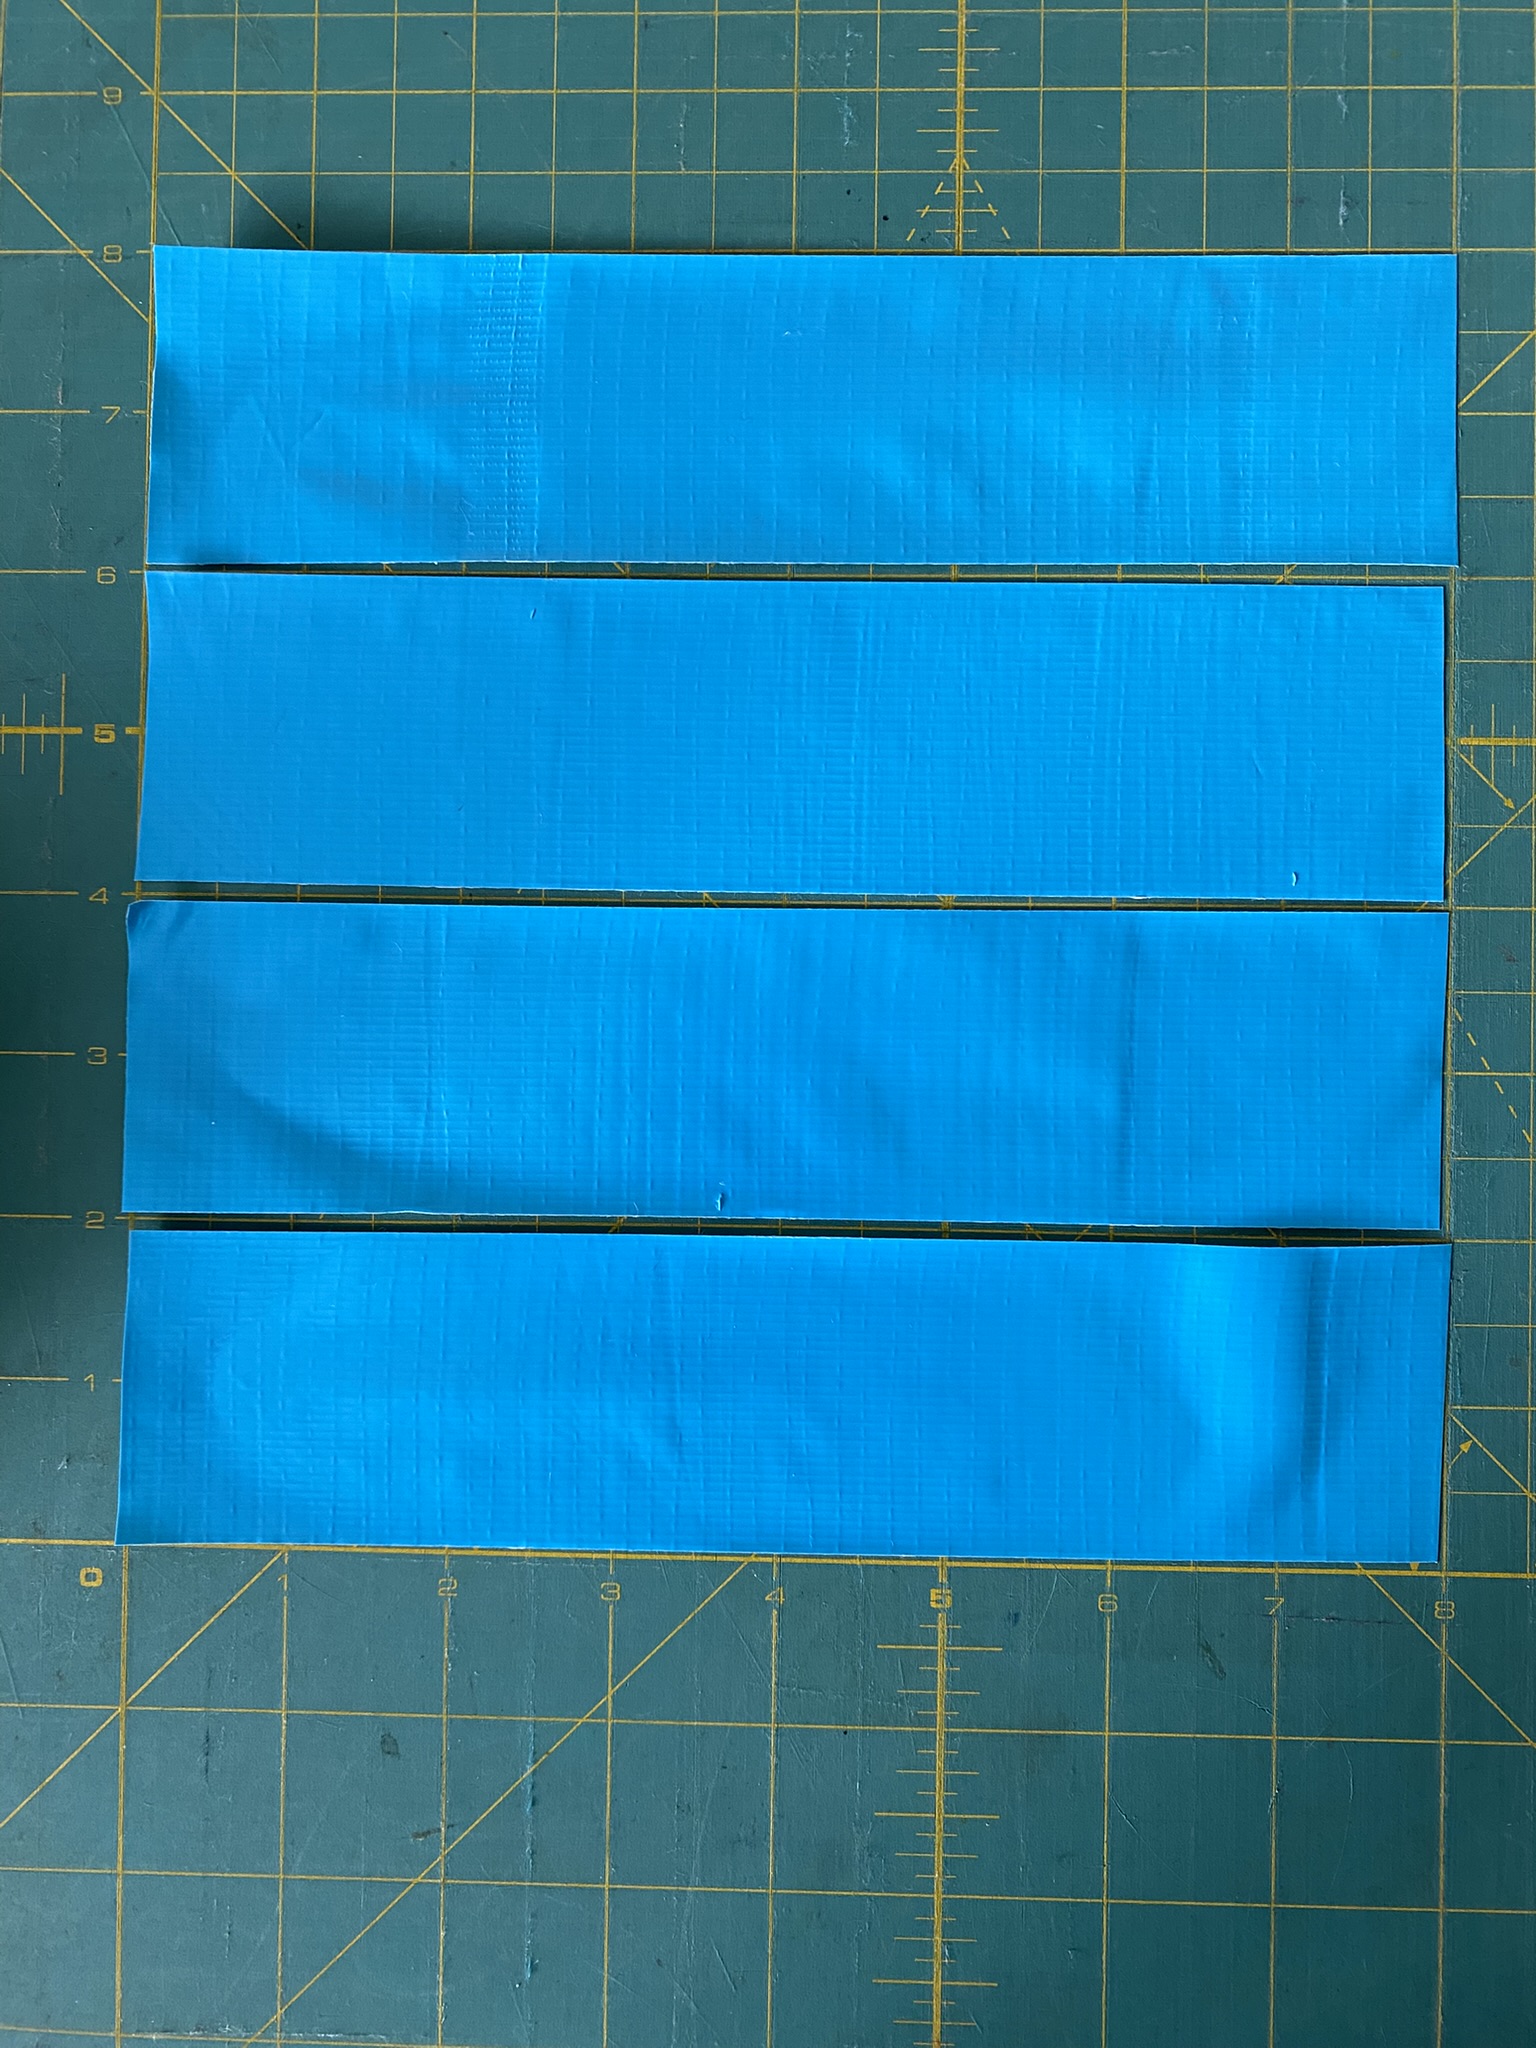
- Overlap one piece about 1" over the other and then repeat with the other set of pieces.
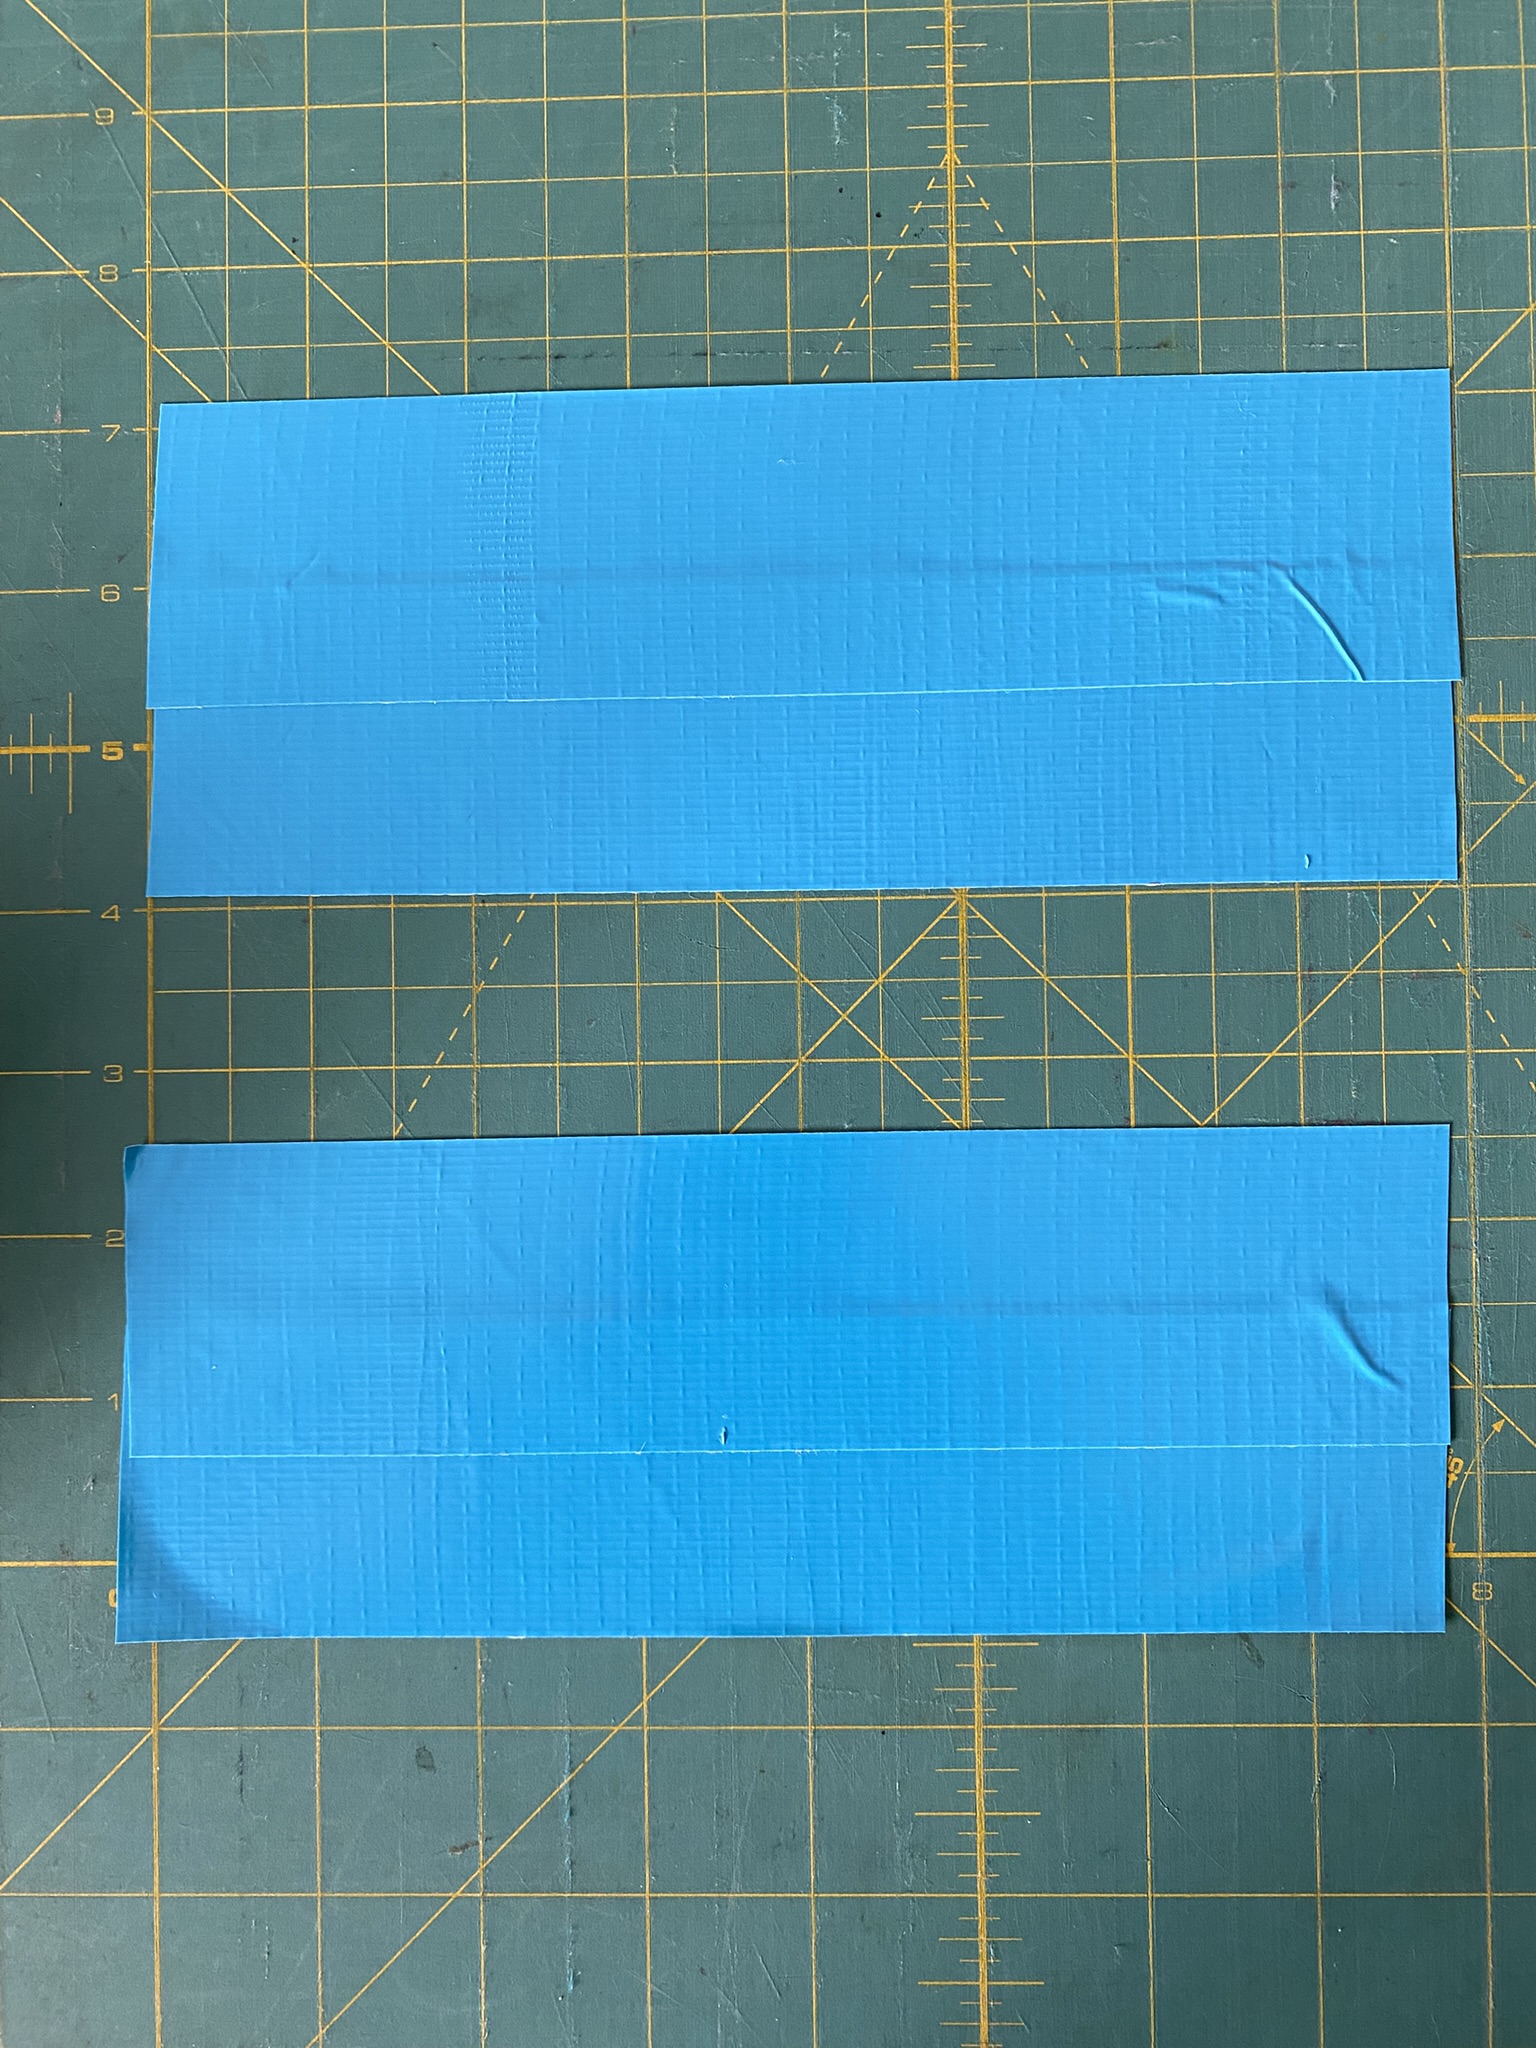
- Layout the tea tag pieces so that the length measures 14" long. This will leave approximately a 2" gap. Use some painter's tape on the outside edges to keep the sheets in place.
- Connect the tea tag sheet using one of the joined pieces of duct tape.

- Flip over the connected sheet of tags and place the other joined piece of duct tape over the now exposed sticky-side duct tape.
- Trim up the large sheet to measure 14" L x 6" H.
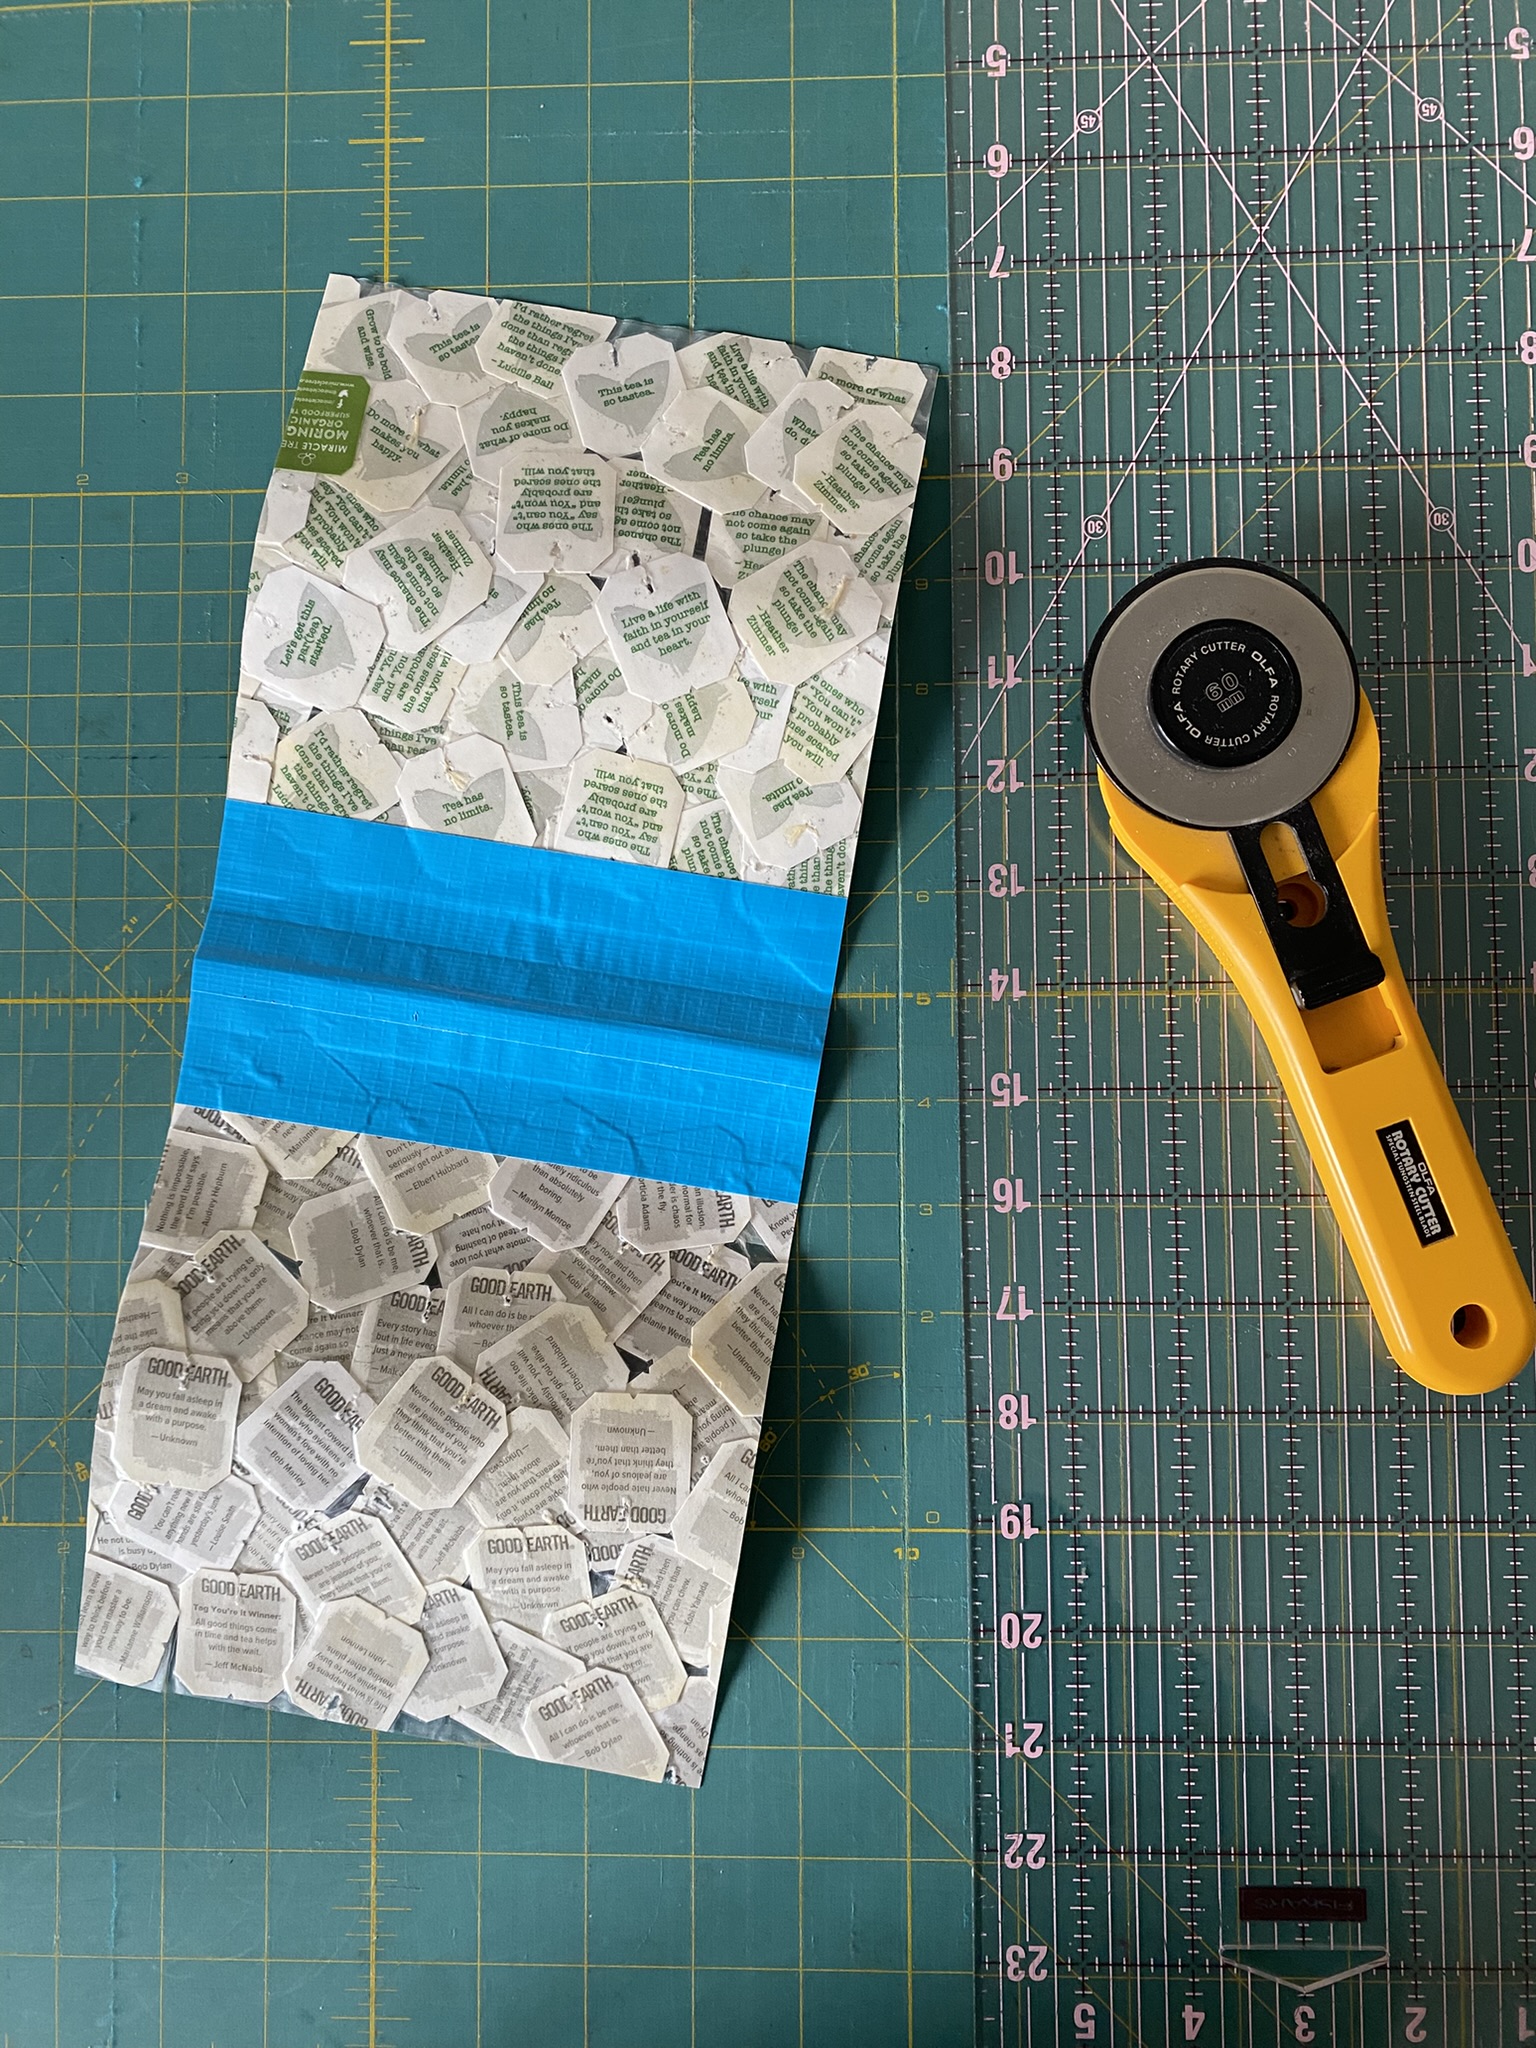
- Cut a 6" long piece of duct tape then cut it down the middle.
- Use the two smaller pieces to finish the short edges of the tea tag sheet.
- Fold the long sheet in half to find the center point (it should be around 7").
- Open the sheet up again and then fold a 3" piece of one short edge toward the center and clip.
- Repeat the fold and clip on the other side so that you've created two pockets.
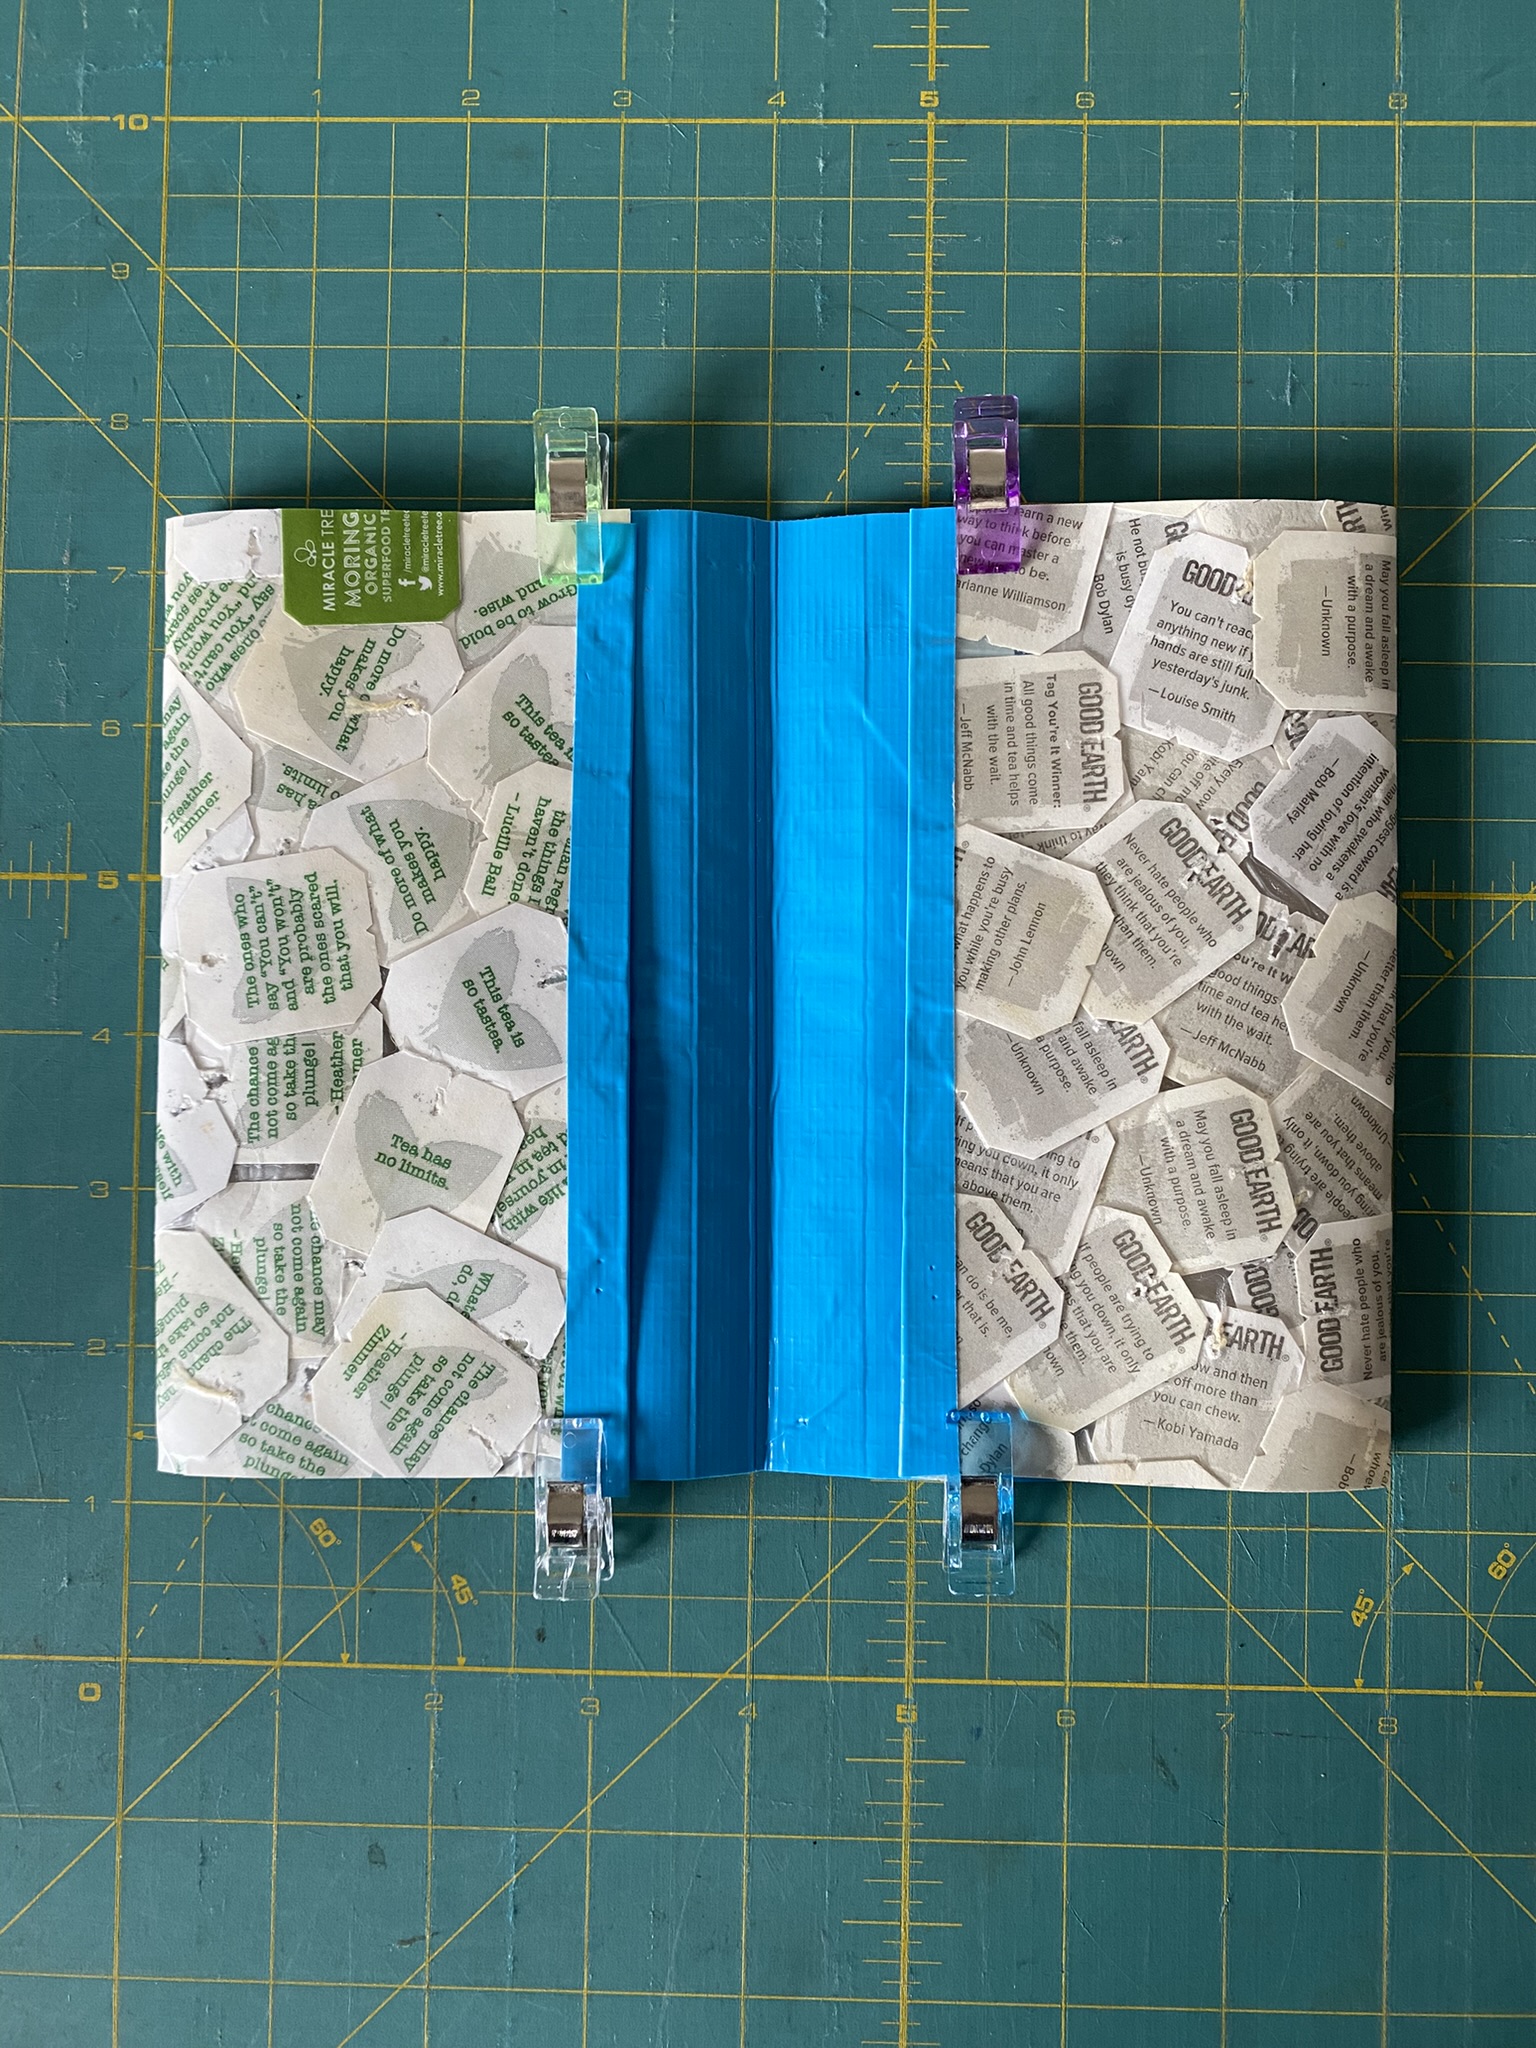
- Measure the length of your folded tea tag sheet - it should be around 8".
- Cut two pieces of duct tape the size of your folded tag sheet.
- Finish the long edges with the duct tape.
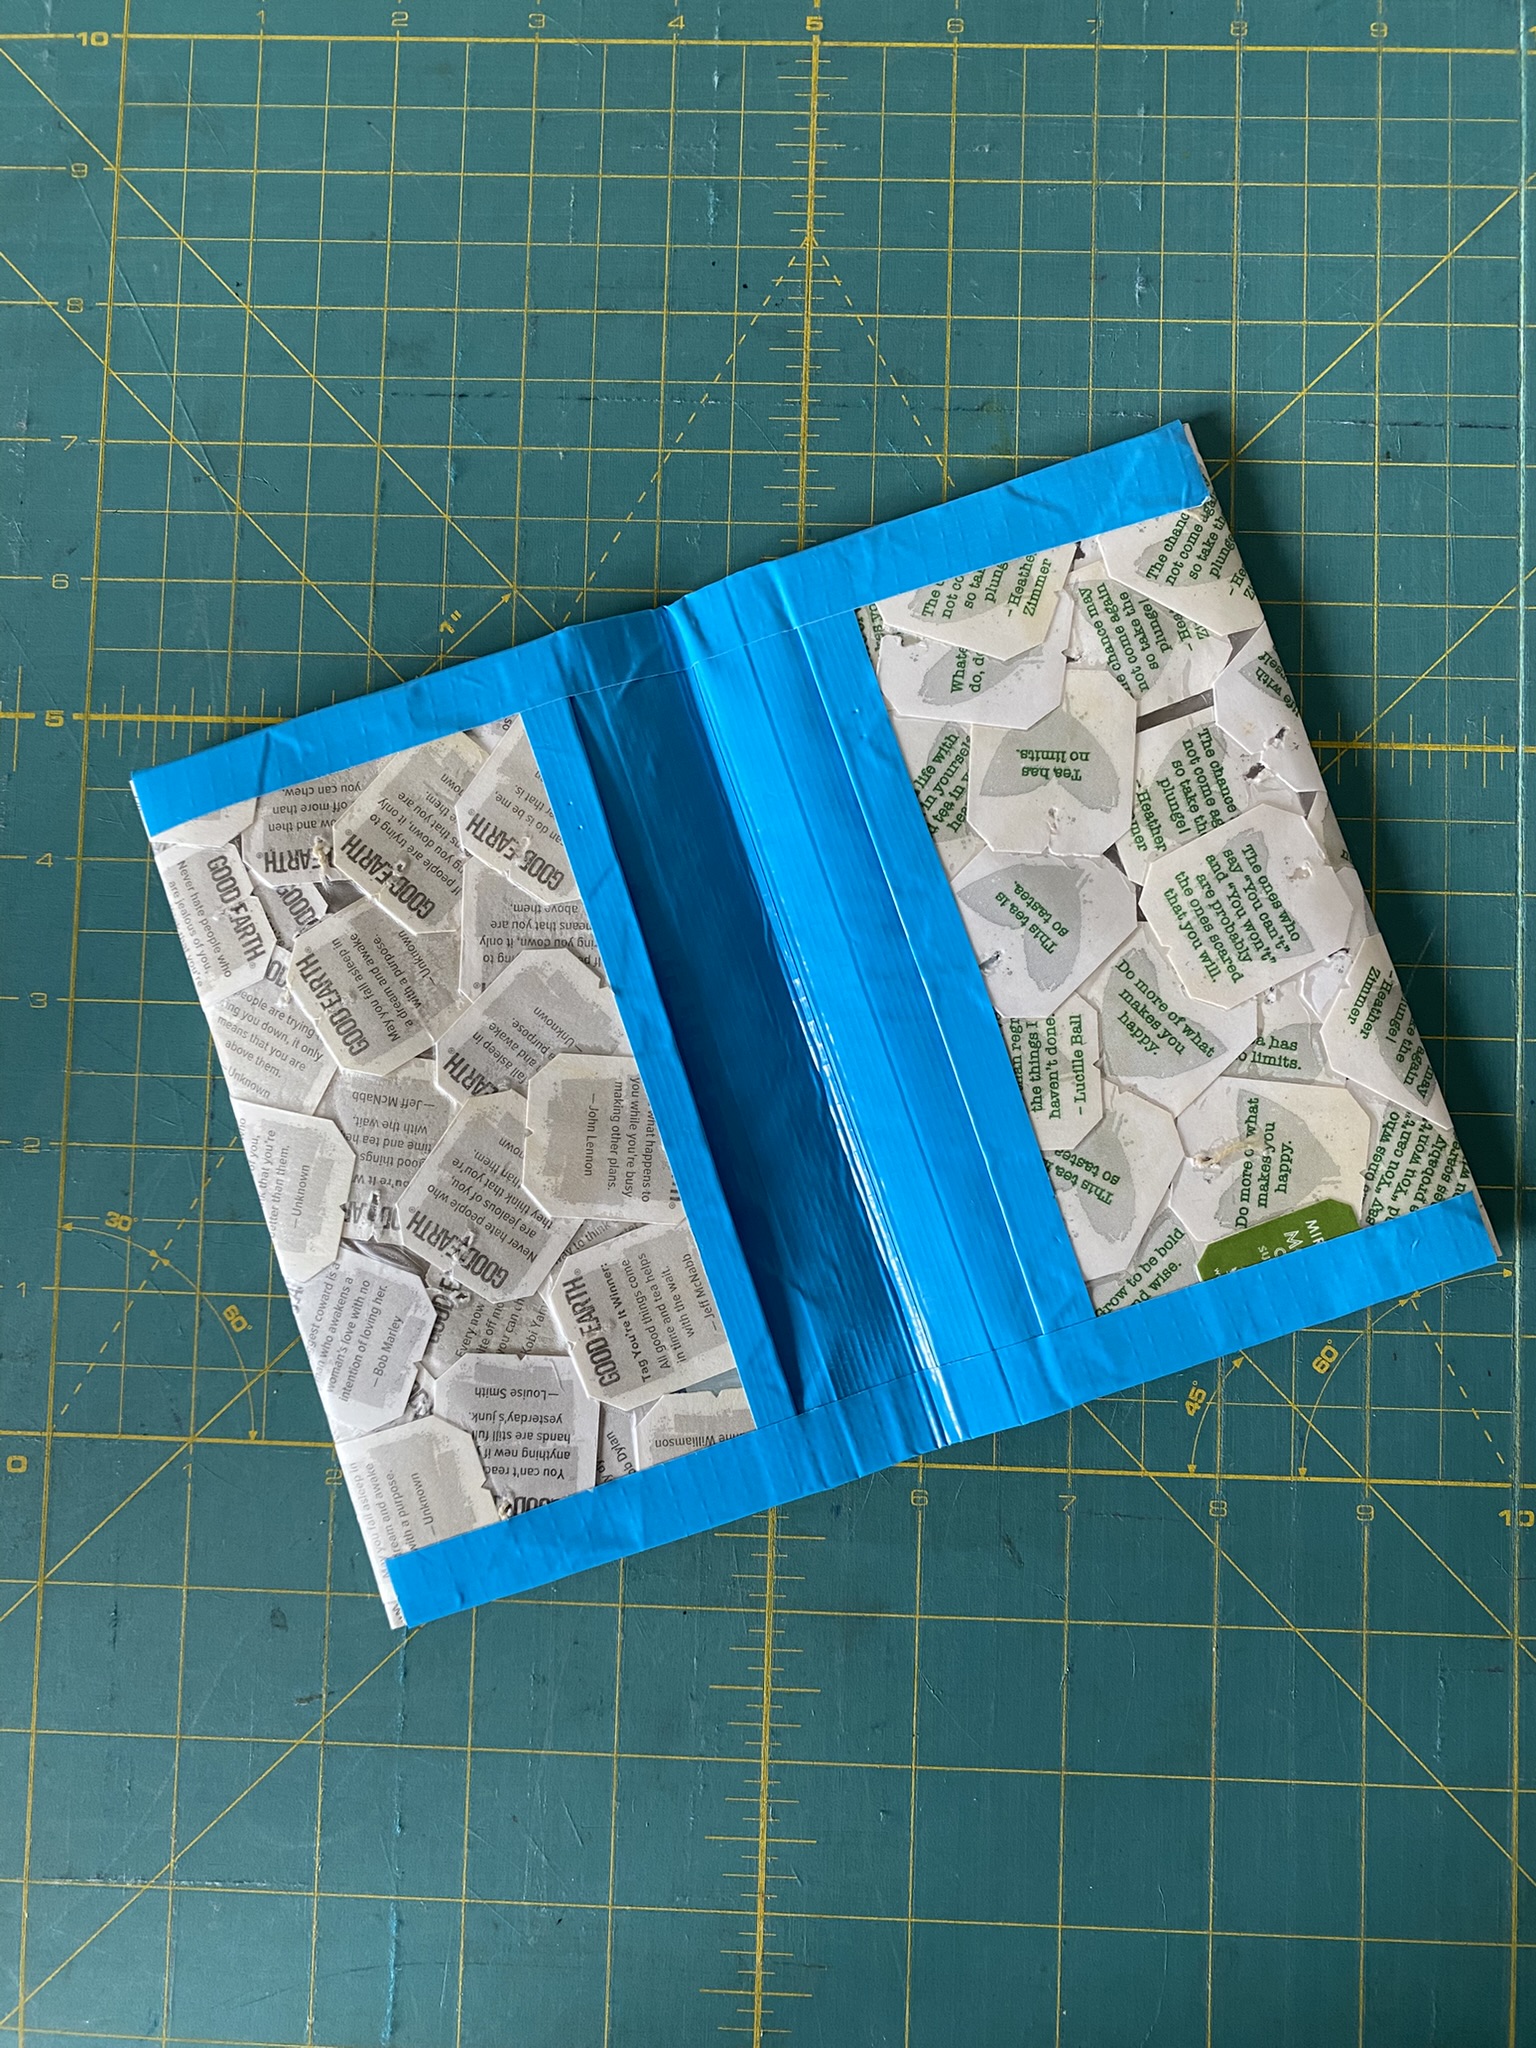
- Add some tea bags to your tea wallet and enjoy!
Notes
- When placing the tags, it's OK to let the paper tag hang over the edge of the vinyl. By doing this, you will have tags go all the way to the edge of the design since you will trim things up before finish the wallet.
Tea Tag Wallet Video Tutorial
Tea Time On The Go
This no-sew tea wallet from tea tags means you can always have your favorite tea bags on the go.
The DIY craft project is also a unique gift for the tea lover in your life as well as a teacher appreciation gift.
I hope you’ll give it a try and let me know how it goes!


